Home made dry cut miter saw (lots of pics)
Posted: Sat Jan 24, 2015 3:22 am
As I started to work with steel tubing to build different tables and carts for my shop, I struggled with my buddies dry cut saw because I'm so used to a wood miter saw with stops. It took me forever to cut all the part that I wanted and to get them to the exact length I needed. I was really frustrated!
I researched and found that what I wanted in a metal miter saw was way more money then what I wanted to spend.
The only other option for me was to build my own.
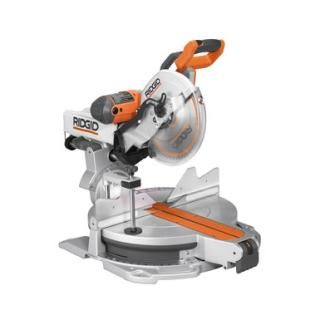
I bought a new RIDGID 12" compound miter saw because of it's swivel base that I really liked,
and a Dewalt 14" Multi Cutter Dry Cut Saw that had very good reviews.
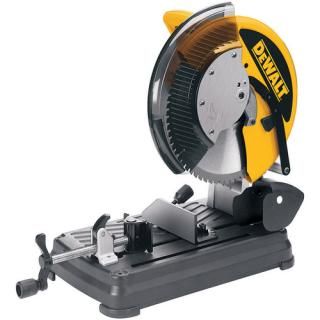
I took the Dewalt saw of it's base, and figured out the location of the saw kerf and mounting holes with a cardboard template, so I could transfer it to the RIDGID base.
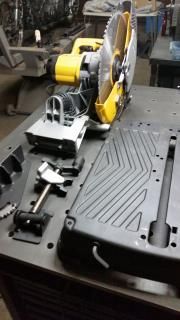
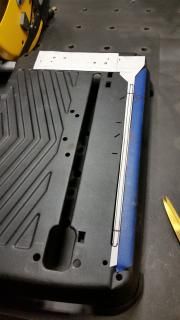
After I chopped off the compound mounting swivel section of the RIDGID base, I took my paper template to check the possibilities for my Dewalt saw on the RIDGID base in regard to cutting miters to the left and right.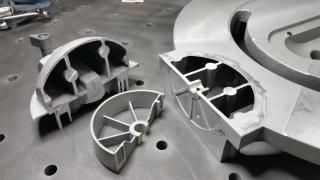
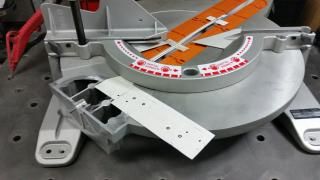
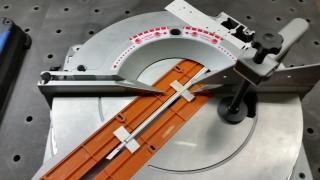
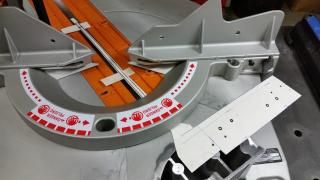
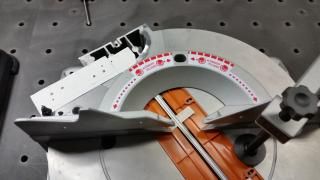
I'm able to cut 45 degrees to the left and 22.5 to the right, because of the offset of the mounting base to the left as shown in the pictures.
I drafted all the moving parts in CAD and came up with a layout for the mounting plate to install the Dewalt saw on the RIDGID base
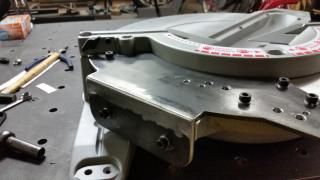
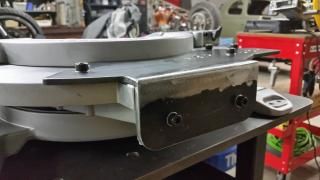
The parts were cut on a friends plasma table. I cleaned the parts, drilled the holes to the correct dimensions, and welded it up.
As luck would have it, everything lined up nicely and I was able to put the two pieces together.
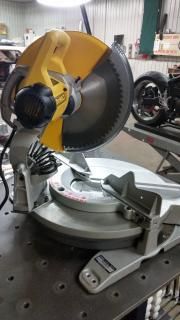
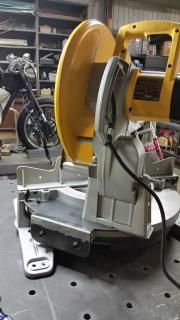
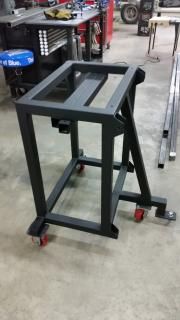
The goal was to have this setup as a mobile cutting station with a compact design for a cart.
I've been working with CAD in my cabinet business for years, and I hardly build anything without developing it first on the screen.
As soon as the concept took shape in CAD, I started cutting and welding.
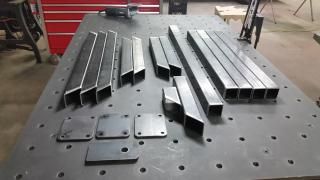
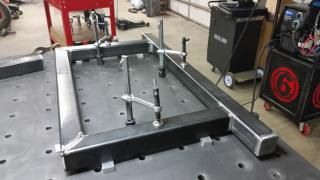
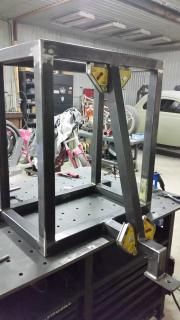
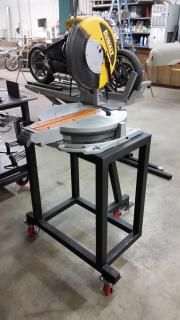
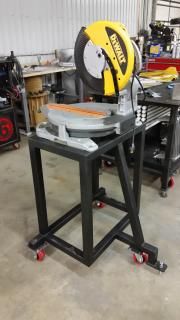
The existing fence (for wood trim) didn't seem strong enough to withstand the potential abuse for the new application and was limited in its adjustability for referencing a perfect 90 and 45 degree cut.
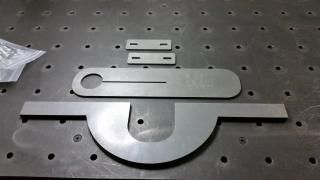
Another resource with a water jet was able to cut some parts for me form 1/2" and 1/4" plate.
Here are some images of the parts. The big piece is the fence base plate, the next piece replaced the plastic inserts in the table, and the two little ones are the base plates for the fence posts.
All the parts welded, bolted together, and mounted on the cart.
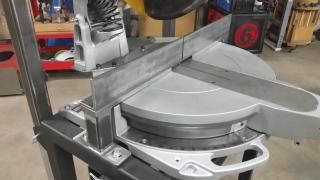
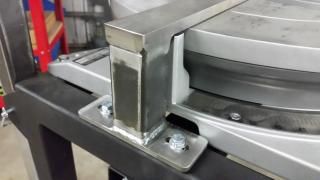
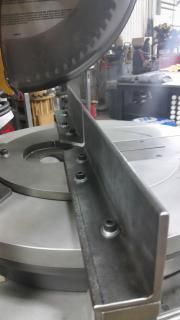
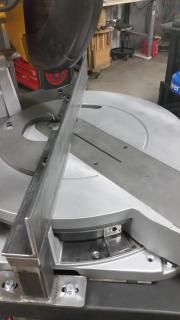
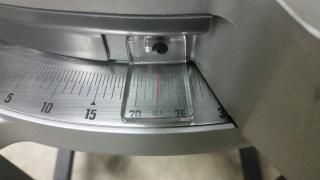
The RIDGID swivel base has several miter presets, and they are dead on and lock in place very easy. Here are my left and right max miter cuts.
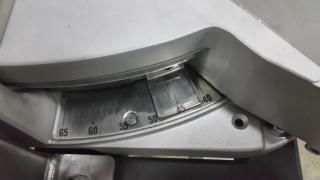
It took me about 2 weeks working on it in the evenings after my day job to get to this point.
I had a blast figuring it out and seeing it come together and working the way it did.
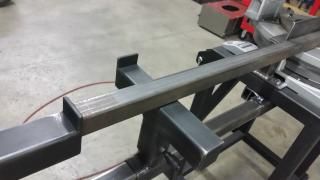
To be able to cut lengths repetitively with high accuracy and efficiency, I needed stops on both sides, sliding on removable rails and easily stored on the cart if not in use.
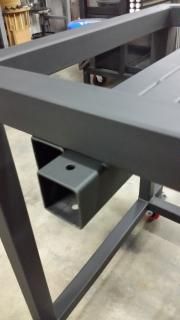
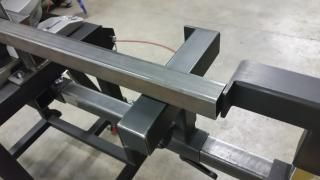
Here are the receiving sleeves, 2x2,welded to the cart, under the saw,
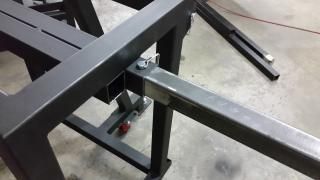
and with one of the sliding rails (1.75 x1.75) in place, locked by a pin.
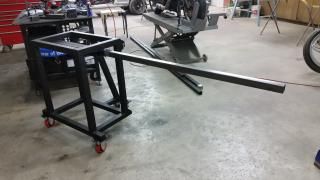
When not in use, the sliding rails are stored on the back side of the cart, held in place by a safety pin. The setup is very simple and quick.
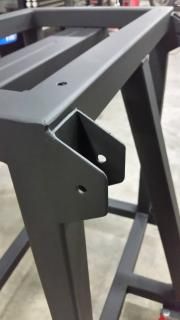
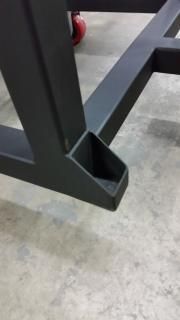
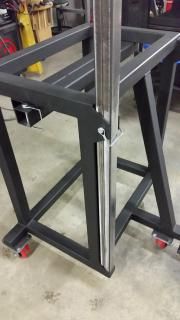
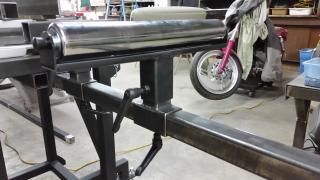
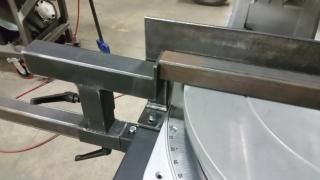
Here is a roller support, and the other supports, that also work as stops by turning them 90 degrees.
I needed something to catch the metal shavings and to reduce the mess behind the saW.
Here is my collection box, mounted to the backside of the saw, easy to clean.
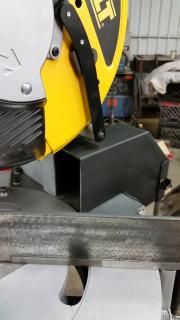
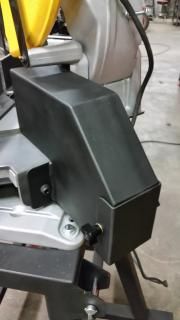
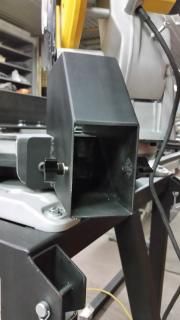
Some images with the slide rails and supports tucked away for a small footprint.
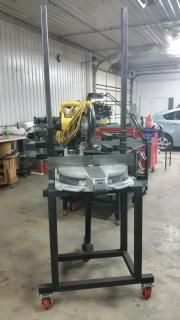
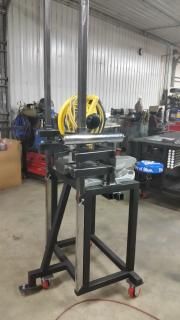
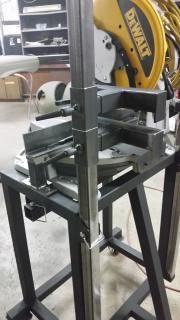
I got some strong hand drill press clamps last week to hold my tubing against the fence and in place.
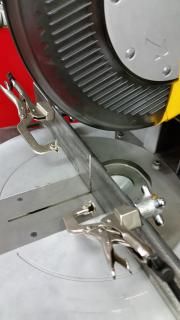
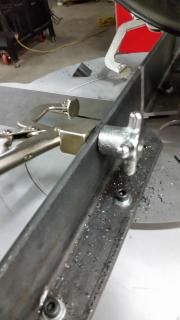
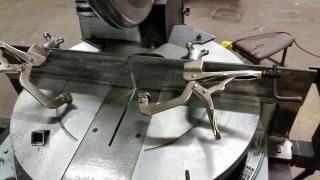
These things are really slick!!!!
I added some shelves and slots for saw blades the last two days to complete the setup.
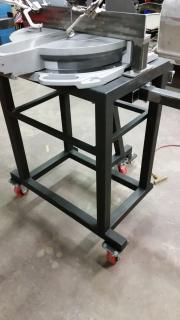
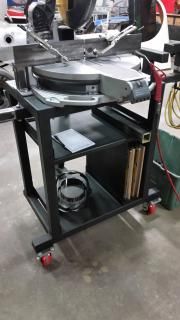
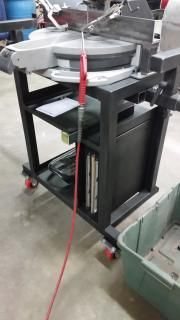
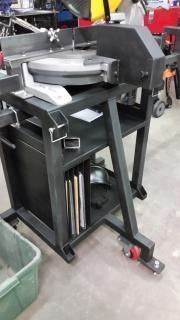
I'm a happy camper now!!!!!
Thoughts and comments welcome!
I researched and found that what I wanted in a metal miter saw was way more money then what I wanted to spend.
The only other option for me was to build my own.
I bought a new RIDGID 12" compound miter saw because of it's swivel base that I really liked,

and a Dewalt 14" Multi Cutter Dry Cut Saw that had very good reviews.

I took the Dewalt saw of it's base, and figured out the location of the saw kerf and mounting holes with a cardboard template, so I could transfer it to the RIDGID base.


After I chopped off the compound mounting swivel section of the RIDGID base, I took my paper template to check the possibilities for my Dewalt saw on the RIDGID base in regard to cutting miters to the left and right.


I'm able to cut 45 degrees to the left and 22.5 to the right, because of the offset of the mounting base to the left as shown in the pictures.
I drafted all the moving parts in CAD and came up with a layout for the mounting plate to install the Dewalt saw on the RIDGID base


The parts were cut on a friends plasma table. I cleaned the parts, drilled the holes to the correct dimensions, and welded it up.
As luck would have it, everything lined up nicely and I was able to put the two pieces together.


The goal was to have this setup as a mobile cutting station with a compact design for a cart.
I've been working with CAD in my cabinet business for years, and I hardly build anything without developing it first on the screen.
As soon as the concept took shape in CAD, I started cutting and welding.


The existing fence (for wood trim) didn't seem strong enough to withstand the potential abuse for the new application and was limited in its adjustability for referencing a perfect 90 and 45 degree cut.
Another resource with a water jet was able to cut some parts for me form 1/2" and 1/4" plate.
Here are some images of the parts. The big piece is the fence base plate, the next piece replaced the plastic inserts in the table, and the two little ones are the base plates for the fence posts.

All the parts welded, bolted together, and mounted on the cart.


The RIDGID swivel base has several miter presets, and they are dead on and lock in place very easy. Here are my left and right max miter cuts.


It took me about 2 weeks working on it in the evenings after my day job to get to this point.
I had a blast figuring it out and seeing it come together and working the way it did.
To be able to cut lengths repetitively with high accuracy and efficiency, I needed stops on both sides, sliding on removable rails and easily stored on the cart if not in use.
Here are the receiving sleeves, 2x2,welded to the cart, under the saw,


and with one of the sliding rails (1.75 x1.75) in place, locked by a pin.


When not in use, the sliding rails are stored on the back side of the cart, held in place by a safety pin. The setup is very simple and quick.


Here is a roller support, and the other supports, that also work as stops by turning them 90 degrees.


I needed something to catch the metal shavings and to reduce the mess behind the saW.
Here is my collection box, mounted to the backside of the saw, easy to clean.


Some images with the slide rails and supports tucked away for a small footprint.


I got some strong hand drill press clamps last week to hold my tubing against the fence and in place.


These things are really slick!!!!
I added some shelves and slots for saw blades the last two days to complete the setup.


I'm a happy camper now!!!!!
Thoughts and comments welcome!