Tig welding tips, questions, equipment, applications, instructions, techniques, tig welding machines, troubleshooting tig welding process

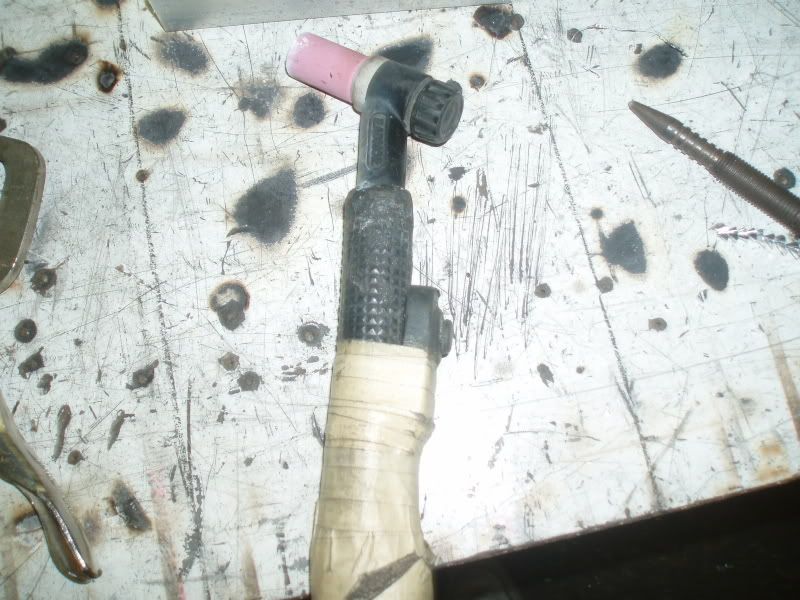
I'm setting up my vast array of welding tools with the capability to scratch start tig now as well. Is anybody familiar with tigging in this way? I know Jody has a few videos of it and i watched them but I'm just fishing for a little more advice or experience. I intend to practice up a good bit before I do any work but I'm just looking for some good pointers or guidelines.
Be the monkey....

- weldin mike 27
-
Weldmonger

-
Posts:
-
Joined:Fri Apr 01, 2011 10:59 pm
-
Location:Australia; Victoria
Hey,
Its a nice simple way of tigging. Just remember to use a very gentle action to start but a real quick "snap and twist" to break the arc at the end without leaving an arc trail. Dont forget that torch is always "live" like a stick electrode and to turn your gas valve off in between welds.
Mick
Its a nice simple way of tigging. Just remember to use a very gentle action to start but a real quick "snap and twist" to break the arc at the end without leaving an arc trail. Dont forget that torch is always "live" like a stick electrode and to turn your gas valve off in between welds.
Mick

- Otto Nobedder
-
Weldmonger
-
Posts:
-
Joined:Thu Jan 06, 2011 11:40 pm
-
Location:Near New Orleans
Both scratch-start and lift-arc have the possibility of leaving contamination, especially if you "stick" it. Just like stick-welding, it happens sometimes.
I generally try to start my arc at what will be the edge of my last pass, so I don't leave arc-marks outside the weld zone or tungsten inclusions within the weld.
Most of the time, this isn't critical at all, but it's a good habit to get into so you don't have to think about it when it IS important.
The technique I learned for breaking the arc to avoid cratering and keep gas coverage as long as possible is to slowly roll the cup so the tungsten is at a steep angle, while backing away at 45* so the arc diffuses. Once the arc approaches the width of the weld, I then snap away quickly.
Steve S
If your machine has a remote function, might as well take advantage of it. Doesn't mean you have to use a pedal. This is even more convenient than scratch start, just for not having to mind the gas alone. This is a switch from miller, but a micro snap switch from radio shack would work as well. The other advantage, outside of avoiding contamination is, you get to pulse off the final crater and is especially handy when you have a lot of tacks to perform on builds consisting of many parts.
Miller ABP 330, Syncrowave 250, Dynasty 300 DX.
Honorary member of the Fraternity of Faded Tee Shirts.
Honorary member of the Fraternity of Faded Tee Shirts.
I have 2 separate machines that i need to keep my equipment interchangeable on. A miller 301g and a 1975 black face SA200. All of my stuff will work on either engine drive. I am a fully portable set up and need to keep my tools simple yet effective. Thanks for the suggestion though jeff! I may look into modifying something with my spool gun module to add an on/off contactor to the hot lead.
Be the monkey....
Return to “Tig Welding - Tig Welding Aluminum - Tig Welding Techniques - Aluminum Tig Welding”
Jump to
- Introductions & How to Use the Forum
- ↳ Welcome!
- ↳ Member Introductions
- ↳ How to Use the Forum
- ↳ Moderator Applications
- Welding Discussion
- ↳ Metal Cutting
- ↳ Tig Welding - Tig Welding Aluminum - Tig Welding Techniques - Aluminum Tig Welding
- ↳ Mig and Flux Core - gas metal arc welding & flux cored arc welding
- ↳ Stick Welding/Arc Welding - Shielded Metal Arc Welding
- ↳ Welding Forum General Shop Talk
- ↳ Welding Certification - Stick/Arc Welding, Tig Welding, Mig Welding Certification tests - Welding Tests of all kinds
- ↳ Welding Projects - Welding project Ideas - Welding project plans
- ↳ Product Reviews
- ↳ Fuel Gas Heating
- Welding Tips & Tricks
- ↳ Video Discussion
- ↳ Wish List
- Announcements & Feedback
- ↳ Forum News
- ↳ Suggestions, Feedback and Support
- Welding Marketplace
- ↳ Welding Jobs - Industrial Welding Jobs - Pipe Welding Jobs - Tig Welding Jobs
- ↳ Classifieds - Buy, Sell, Trade Used Welding Equipment
- Welding Resources
- ↳ Tradeshows, Seminars and Events
- ↳ The Welding Library
- ↳ Education Opportunities