Hi Fellows,
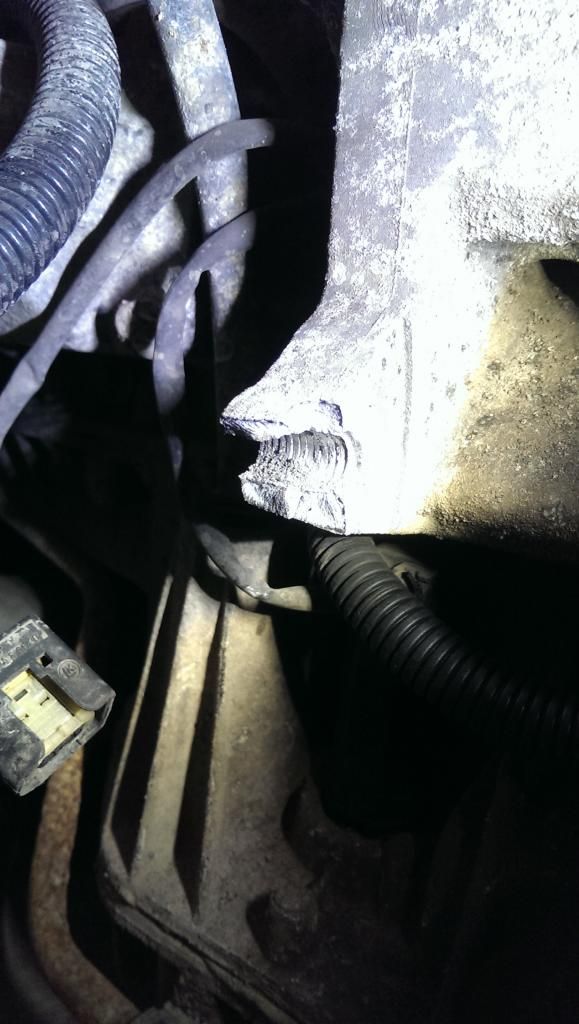
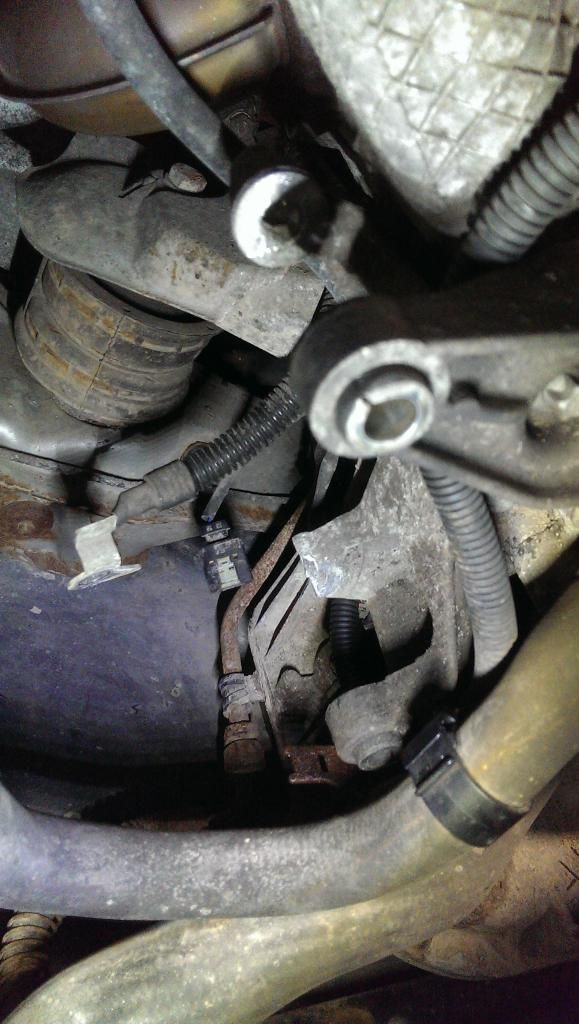
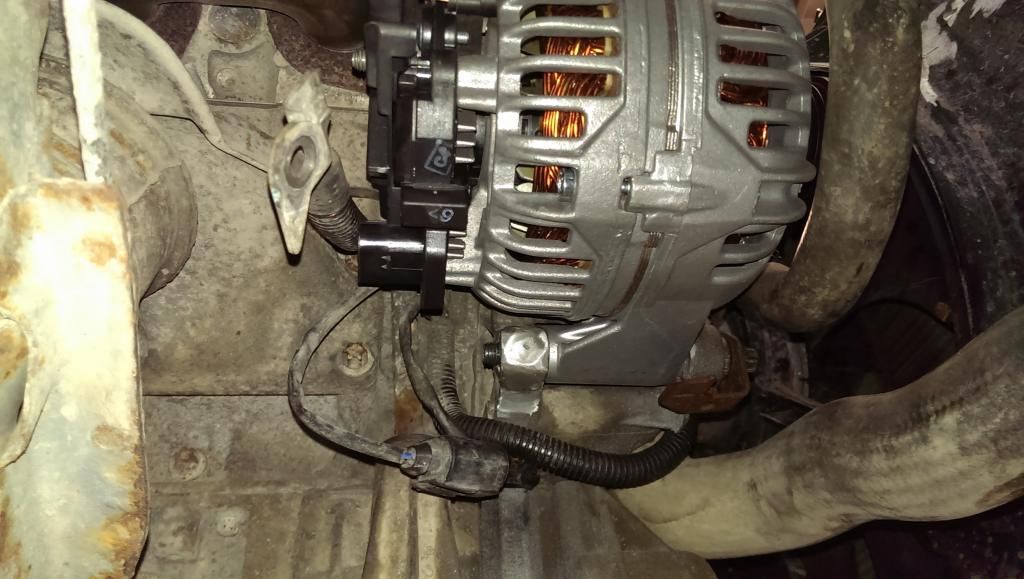
I need to repair a cast alloy timing cover on the engine and in the car. Rather than attempt to weld the broken piece back on the cover I thought it would be best to insert a copper tube in the bolt hole. I would then fill the void around the tubing by building up material with up a number of passes at high amps for a short period. The end result hopefully would be a solid piece to machine out for a helicoil, thread or just nut the thing at the back. See what you think. ,,
Thanks,
Don
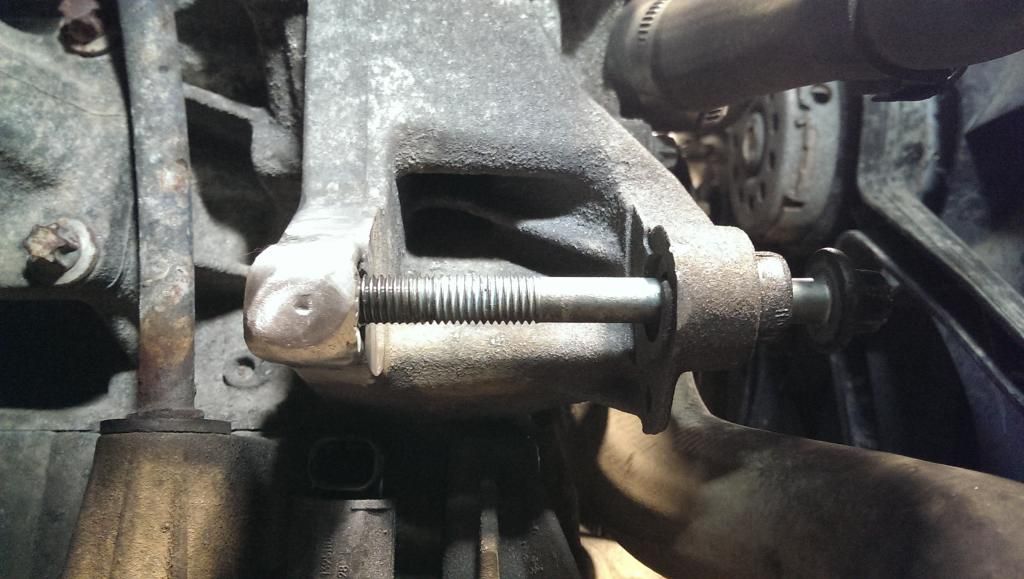
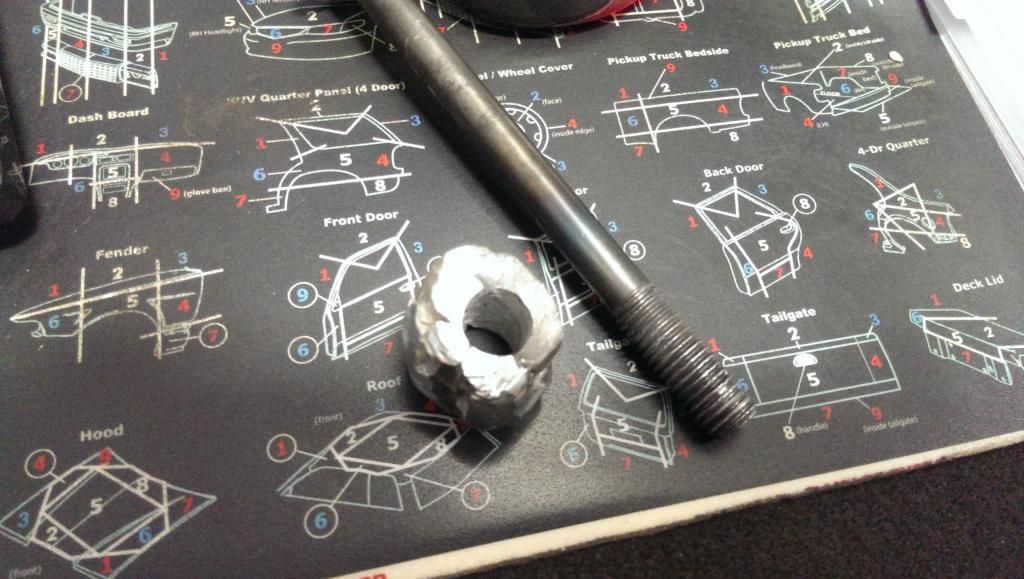
Thanks again to those who replied with suggestions. I would like to thank Andrew from OZ ("and TOTO too") for recommending the bolt. I used a dummy bolt and sandwiched the broken section of the timing cover with 2 washers. This allowed me to keep the bolt centering intact. I filled the gap using 5356 rod. I started with a 1/16 tunsten with a #4 cup. Finished it with a 3/32 tunsten and # 6 cup.I employed the velocity of the shielding gas from the #4 to "push" the puddle into the crevices. I know I'm just posing as a welder but this poser saved a man $2,000.00 in labor to replace that cover. [/img]
Last edited by mbenzocaine on Thu Nov 07, 2013 10:08 pm, edited 4 times in total.
First, I'd recommend a copper rod, not tube, or you'll blow it right out.
Second, cast is notoriously difficult to weld. It's going to be hard to effectively pre- and post-heat in the car, and it's anyone's guess wht the base alloy is closest to and the best rod to build it up with.
It's worth a try, though.
Stick that busted-off piece in the bench grinder with the lights down, and look for a few white sparks. This suggests a 53XX series alloy, and 5356 may be a good candidate. If not, 4043 may be the better choice.
Preheat shouldn't be an issue, just make sure the piece is not ice cold. Expansion should not be an issus because you are welding on an outside end. Try to use some helium in your gas. Helium makes this go much easier. Hit the whole area with a carbide bur and get all that oxide off of there. I don't think I would even fool with copper rod. Just weld it solid and drill & tap for heli coil. Its hard to see how much working room you have. Also be aware that HF does not play well with on board computers. I think this is more true for inverters than "trannys". I do all my welding with 4043. It has always worked well for castings. Also, try to find out why the casting broke there. If it's an alignment problem, that needs to be corrected, or it will break again. No chance to remove the cover and do it on the bench? Good luck
Heres the before of a casting I did today. This is a Harley "shovelhead" I was able to disassenble the head and properly clean it. I glass bead blasted it. I then took all the rough casting off with a cardide burr. This head is a least 30 yrs. old. HD seems to use a good alloy, because these heads always quite nicely. I'l post some after pics and some with the bolt hole drilled and coiled.
thank you for the suggestions. I thought I would ground the negative electrode on the block.I've been told that disconnecting the negative battery cable should be good enough to protect electronics. Thanks for the reminder to clean off that oxidation.
it's good to see someone resurrecting those old bike parts also.
Another method I've used is to use a bolt to support the hole as the welding is being done.
I use enough amperage to start welding on the cast but not enough to melt the steel or stainless steel bolt.
One trick here is to linish the threads flat slightly so they don't come to a point and this makes it less likely to melt the bolt threads while welding.
Doing it this way generally allows me to unscrew the bolt leaving me with a round hole to then rethread with a helicoil.
You just need to be gentle when unscrewing the bolt with lots of back and forth movement to make sure it doesn't gall.
Regards Andrew from Oz.
We are Tig welders, gravity doesn't worry us. Miller Dynasty 350 OTC hybrid wave 300 amp inverter Tig at work (Now retired) Kemppi MLS 2300 inverter, 230 amps of welding brilliance for home use
Thanks again for the suggestions. I will grind a little on the broken piece to see if it's 53xx. That piece will be fitted with a bolt shank minus the treads and plating. Practice passes will be made experimentally on the piece. The intent is to close the aluminum around the steel bolt in practice. I'm still leaning toward the copper rod in order to avoid further corruption of the weld, however.
Regards,
Don
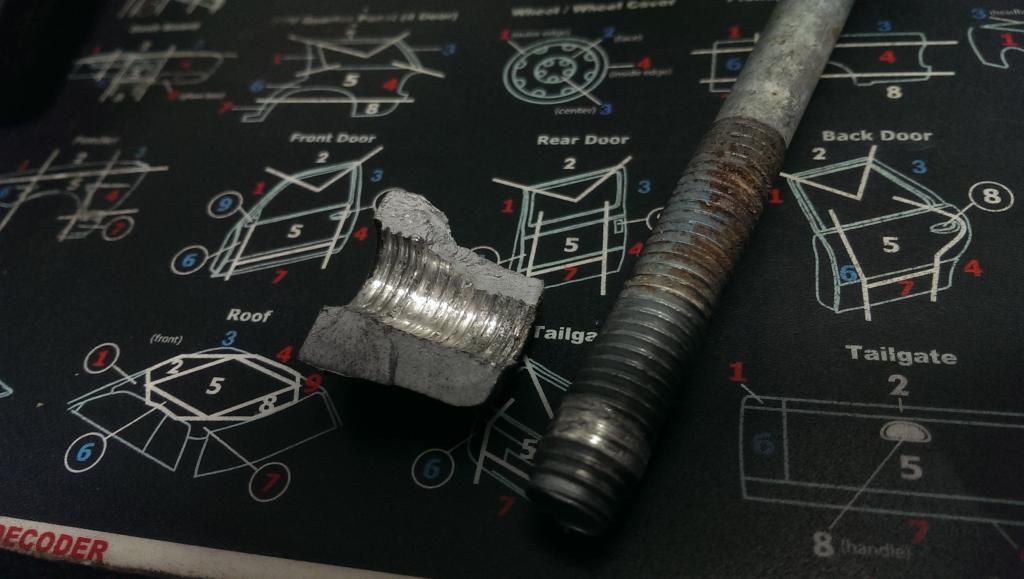
I practiced last night using 1/16 tunsten, #4 cup, and since things got hot quick I used 3/32 filler. I used a dummy bolt mated up to the remnant of threads left in the piece. Finding center and drilling was easy. The dummy bolt recieved only minor thread damage.
Here's the practice piece: Tell Jody Fido is loose in Michigan.
From the edits and added photos, I see you completed the job, and nicely done!
I love that about this forum, how so many perspectives and suggestions come together into an answer.
I would not have thought about linishing the threads on a bolt and using it as the form to build metal around. I'll use that next time something like that comes up. Your addition of washers to serve as dams to contol the ends was good thinking as well.
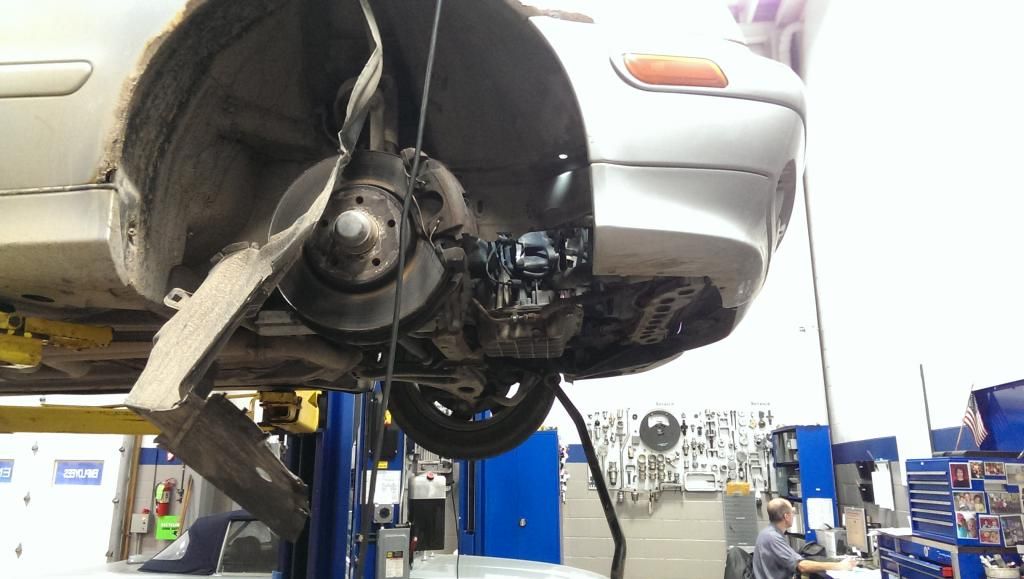
Hello and thanks for the compliments. This was one of those occasions when it was possible to help some people out. The cost to replace that timing cover may have exceeded the value of the vehicle. (a very corroded 2001 CLK 320). WT&T is a most valuable resource. The thoughtful people who subscribe and post here deserve the credit for the forethought going into this project and it's success. Thanks again all.
Failure would have been "not pretty". Looks fine to me! Just a little dressing up, as you did, and done!
And yeah, I said "washers"... The flanged nuts are a much better heat sink. Were I to do this, or suggest it to another, I'd recommend a thin coat of anti-sieze compound for the outer nut, just as insurance against galling. If the inner nut were to sieze, the bolt could be cut out once free of the aluminum.
Again, nice work, and nice brain work to get to that solution from all the ideas tossed at you. We'll all file that one away for future reference.
quote]"I used a dummy bolt and sandwiched the broken section of the timing cover with 2 washers. This allowed me to keep the bolt centering "[quote.
In a previous post I did say I used washers. Sorry to have mislead you Steve.
Good suggestion to use anti-seize also.
Another thing I did was to run the engine up to operating temperature to preheat the cast a little bit.

 ,
, ,
,


 Tell Jody Fido is loose in Michigan.
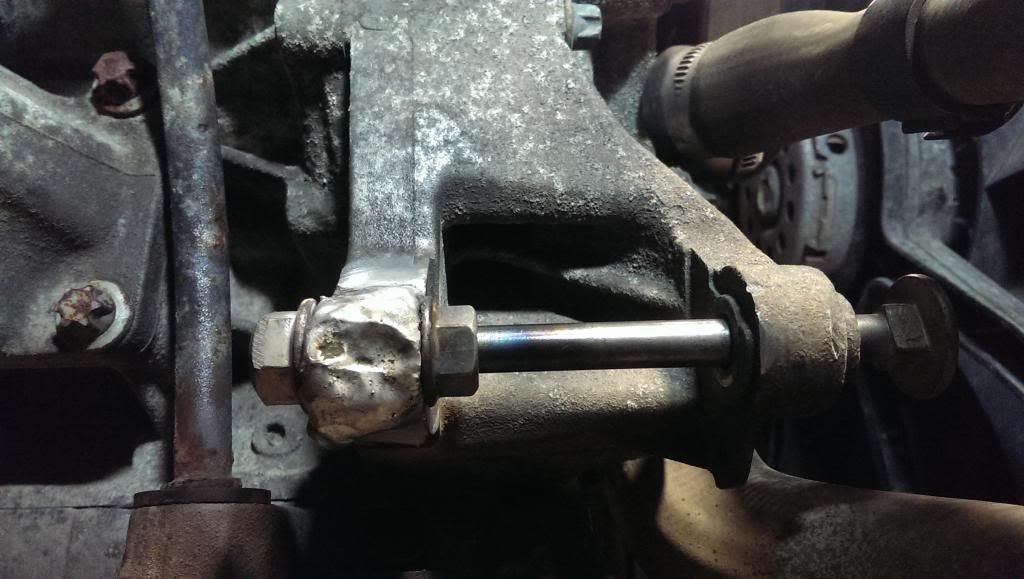 Not pretty eh?