Tig welding tips, questions, equipment, applications, instructions, techniques, tig welding machines, troubleshooting tig welding process
Rick_H
  • Posts:
  • Joined:
    Sat Feb 08, 2014 1:50 pm
  • Location:
    PA/MD

dunkster wrote:Rick

What went wrong in the cooler? I've had mine apart several times for pump rebuilds....trying to wrap my head around what could've gone bad requiring a new unit. This was the tigrunner, correct?
To be honest I'm not 100% sure, we blew up 2 torches and they called our local Miller repair center to come out and look at it. I did pull the lines to check flow which we were getting, but it would fault out with a flow fault. I purged and primed it a few times but it would constantly fault. I know they replaced a filter and a relay but the problem still existed. Then I heard after a second service call that the cooler was dead, in repairable and a external cooler was on the way. I was expecting a Cool mate 3 that would bolt into the bottom.....I came back from a vacation day and saw the big ole Coolmate 4 sitting beside it. I also can't believe it couldn't be fixed, I may call down and get the scoop from the repair center.

So since I'm known for my fab work they asked me if I could make a shelf for it to keep it off the floor....I decided to build the cart and keep it all contained and the same width so the cables and torch doesn't get damaged, I think I'm the only one at my work that truly cares about maintaining the welders and treat them like my own.
I weld stainless, stainless and more stainless...Food Industry, sanitary process piping, vessels, whatever is needed, I like to make stuff.
ASME IX, AWS 17.1, D1.1
Instagram #RNHFAB
  • Posts:
  • Joined:
    Thu May 07, 2015 11:46 am
  • Location:
    KY.

Nice job on the cart. I'm in the same boat as you. I seem to be the only one at work with any fab skills, so I get all of those jobs. I also seem to be the only one who cares about the welding machine. I begged for several years for a new weld booth that we could keep clean and have a nice place to do the small precision welds that need to be made on the tooling that we work on. I go in the booth just about every day to clean up the crap that other people leave behind, and wrap up the weld leads and the torch hoses.
Freddie
Rick_H
  • Posts:
  • Joined:
    Sat Feb 08, 2014 1:50 pm
  • Location:
    PA/MD

big gear head wrote:Nice job on the cart. I'm in the same boat as you. I seem to be the only one at work with any fab skills, so I get all of those jobs. I also seem to be the only one who cares about the welding machine. I begged for several years for a new weld booth that we could keep clean and have a nice place to do the small precision welds that need to be made on the tooling that we work on. I go in the booth just about every day to clean up the crap that other people leave behind, and wrap up the weld leads and the torch hoses.
I hear you there....sounds very familiar. Luckily I do have my own Maxstar 150sth for my sanitary work so it is always ready, clean and just like I left it.
I weld stainless, stainless and more stainless...Food Industry, sanitary process piping, vessels, whatever is needed, I like to make stuff.
ASME IX, AWS 17.1, D1.1
Instagram #RNHFAB
  • Posts:
  • Joined:
    Thu May 07, 2015 11:46 am
  • Location:
    KY.

This is from a 304 SS liner that I had to build for a coating machine. This weld was around 1/8 inch wide and 18 feet long. The cover has to be replaced about every 3 months, so I've made quite a few of these.
Attachments
DSC00419.JPG
DSC00419.JPG (21.87 KiB) Viewed 1865 times
Freddie
dunkster
  • Posts:
  • Joined:
    Sun Jun 28, 2015 7:41 pm
  • Location:
    Florida

big gear head wrote: This weld was around 1/8 inch wide and 18 feet long.

:shock:...nothing like a little seat time.


Repaired a swingarm off a Suzuki RM 500...oldschool, '83-'84'ish.
swing2.JPG
swing2.JPG (35.78 KiB) Viewed 1820 times
...then padded some beads since it was fired up.
DSCN0756.JPG
DSCN0756.JPG (61.02 KiB) Viewed 1820 times
Rick_H
  • Posts:
  • Joined:
    Sat Feb 08, 2014 1:50 pm
  • Location:
    PA/MD

Looks good...only 18' huh.

Swing arm looks good, I have found the alum in those swing arms to be pretty good quality.
I weld stainless, stainless and more stainless...Food Industry, sanitary process piping, vessels, whatever is needed, I like to make stuff.
ASME IX, AWS 17.1, D1.1
Instagram #RNHFAB
  • Posts:
  • Joined:
    Thu May 07, 2015 11:46 am
  • Location:
    KY.

409 SS H pipe for my son's Mustang. I converted it from single exhaust to dual exhaust using pipes from a GT and cutting up the old single pipe for the bends to make the H pipe. The picture is not very good. I forgot to take a picture before we put it on the car.
Attachments
IMAG0130.jpg
IMAG0130.jpg (34.34 KiB) Viewed 2311 times
Freddie
User avatar
  • Posts:
  • Joined:
    Thu Jan 24, 2013 6:44 am

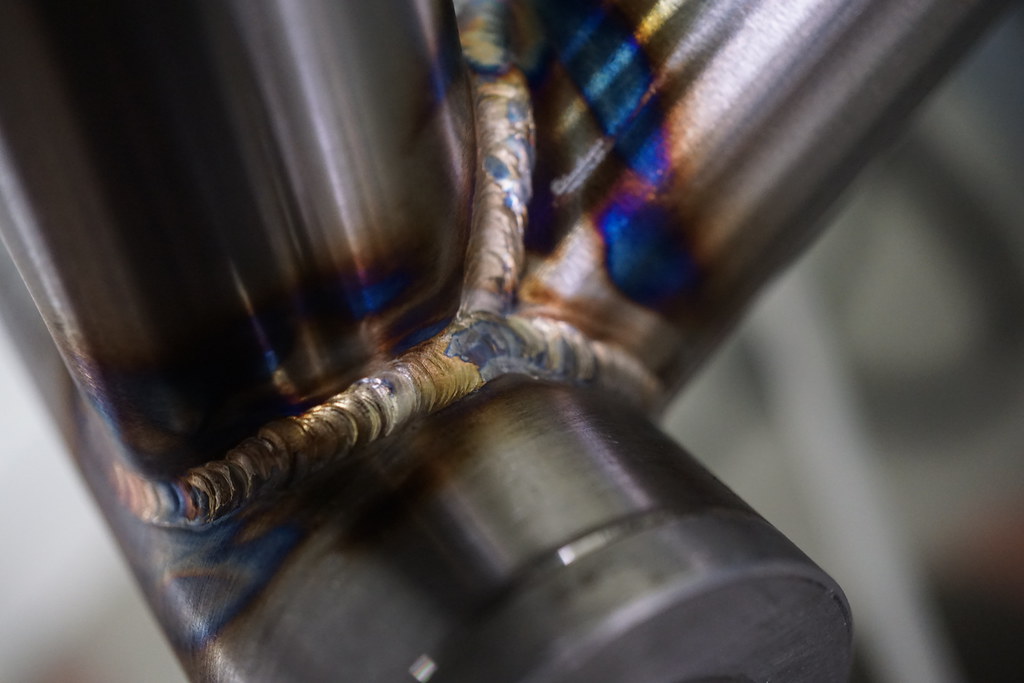
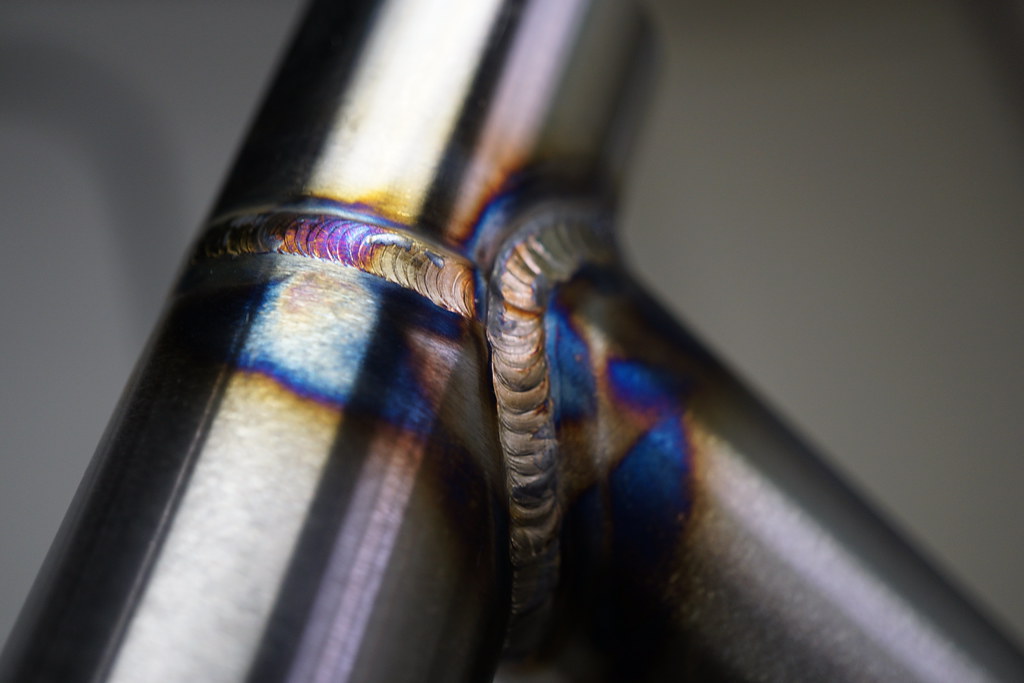
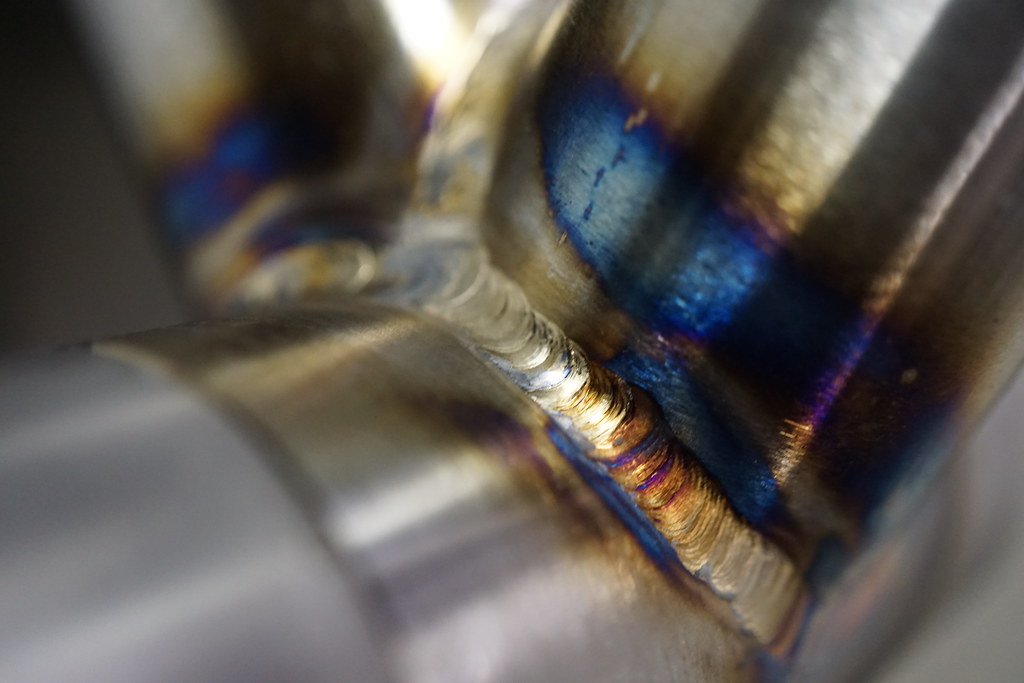
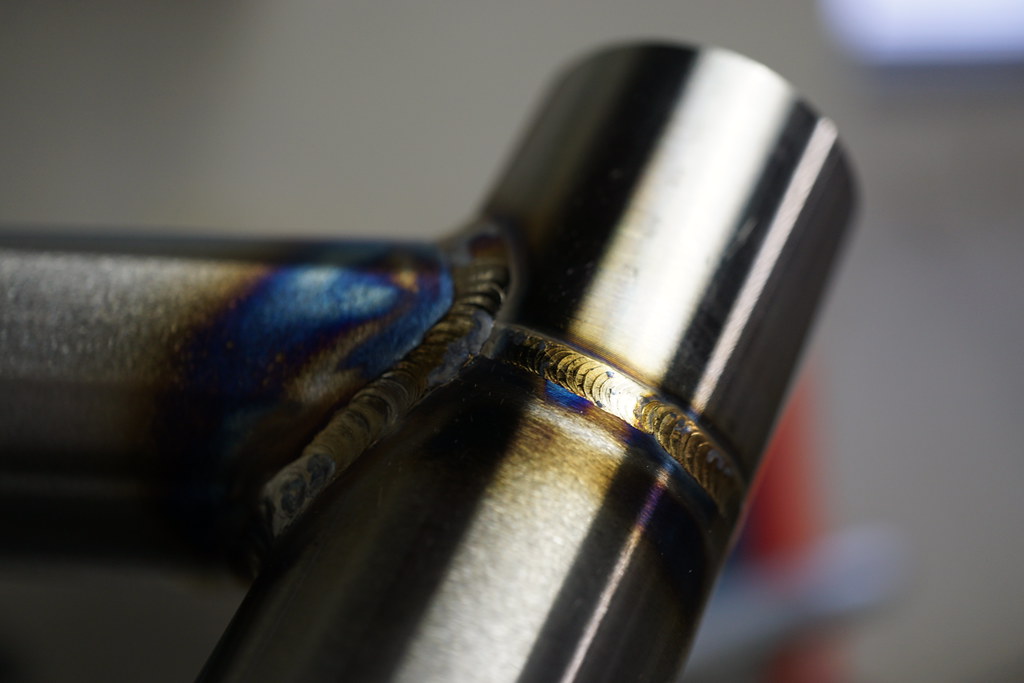
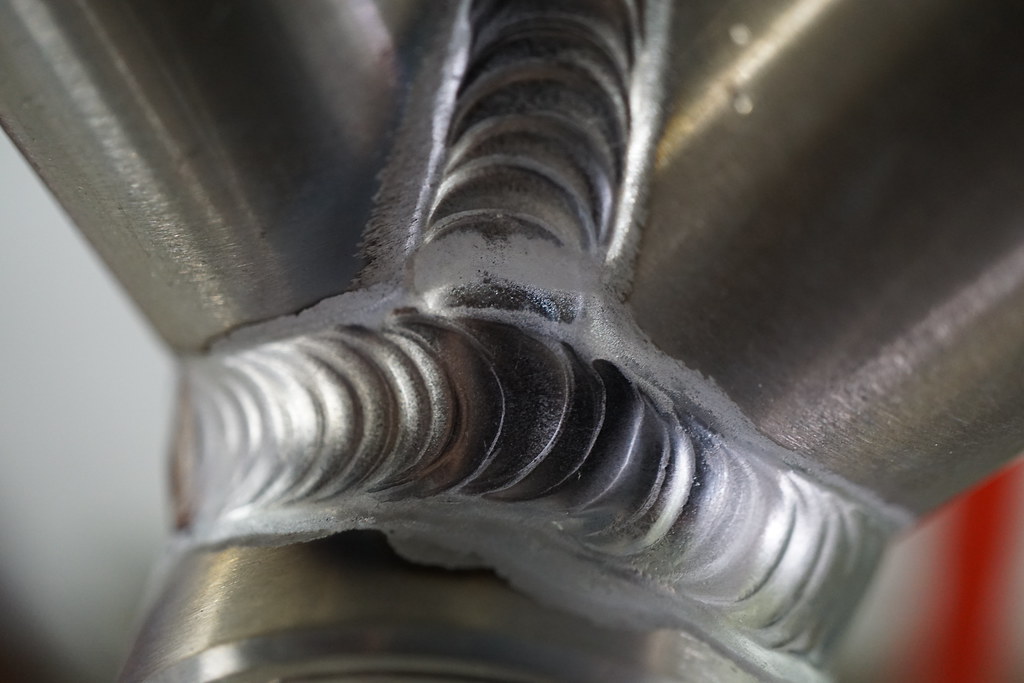
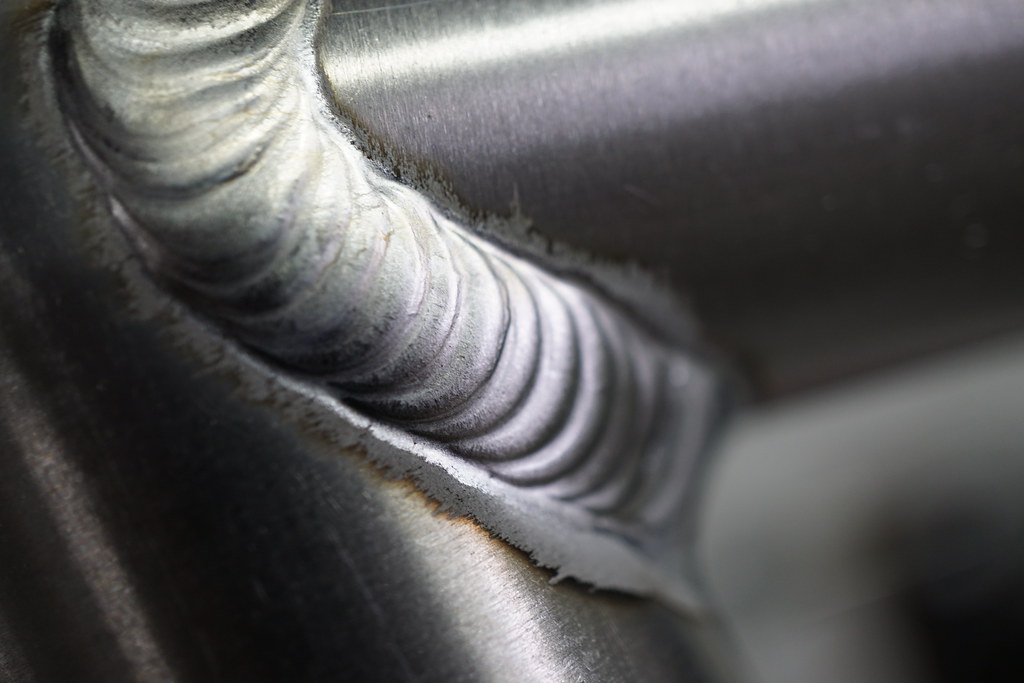
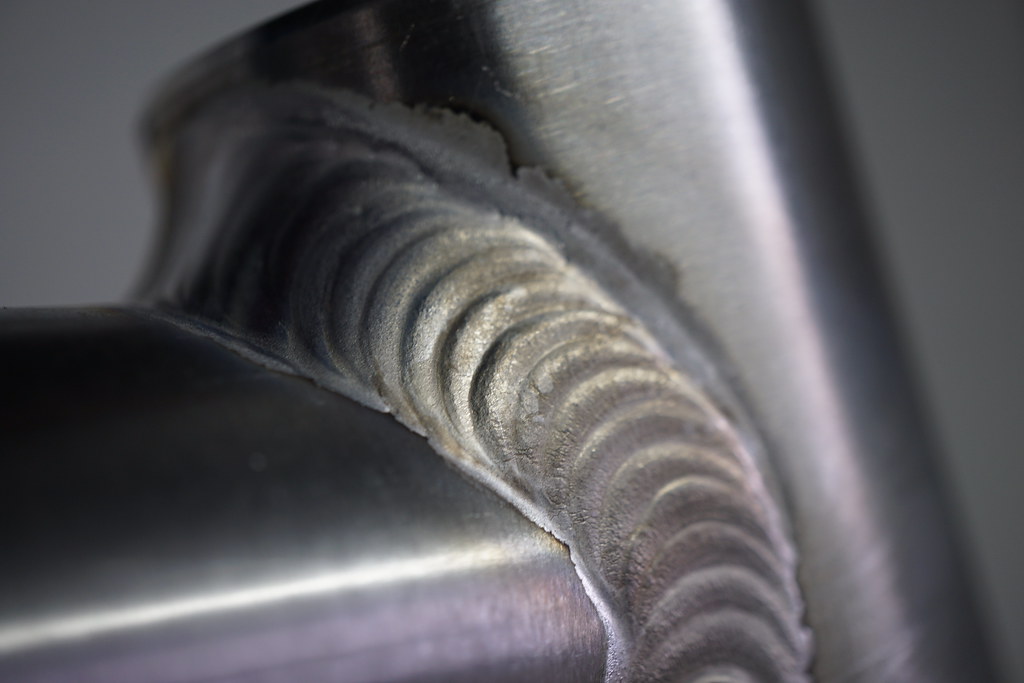
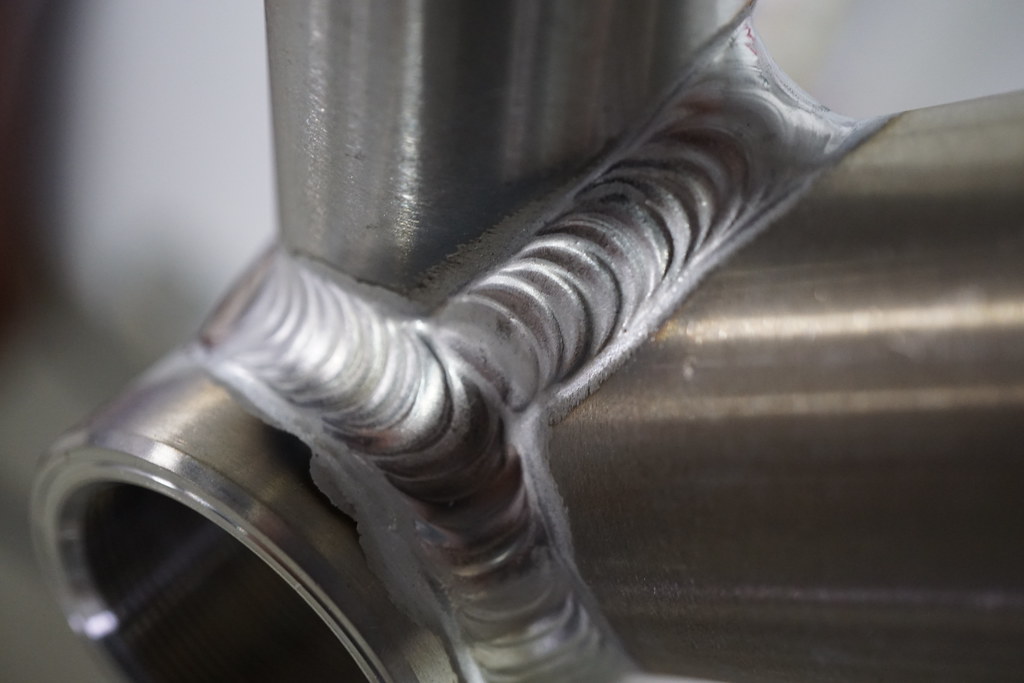
Macro Madness.

Image
Dean F by Mike Zanconato, on Flickr

Image
Dean F by Mike Zanconato, on Flickr

Image
Dean F by Mike Zanconato, on Flickr

Image
Dean F by Mike Zanconato, on Flickr

Image
Geoff S by Mike Zanconato, on Flickr

Image
Geoff S by Mike Zanconato, on Flickr

Image
Geoff S by Mike Zanconato, on Flickr

Image
Geoff S by Mike Zanconato, on Flickr
  • Posts:
  • Joined:
    Thu May 07, 2015 11:46 am
  • Location:
    KY.

Very nice Zank.
Freddie
Rick_H
  • Posts:
  • Joined:
    Sat Feb 08, 2014 1:50 pm
  • Location:
    PA/MD

A new structural support for a product dumper at work, A500 steel, 3/8" wall, 1/2" end plates, 1" center tab. I use a Miller 252 with 98%2%, spray transfer. Requires a 30°single bevel per the print, I made a fixture and rough cut with plasma first, then clean it up with a grinder.
Attachments
Backside
Backside
IMG_20150718_214402418.jpg (51.7 KiB) Viewed 2239 times
All complete, let it cool and paint
IMG_20150718_214347854.jpg (49.25 KiB) Viewed 2239 times
Center tab, preheated first
IMG_20150718_214314154.jpg (44.39 KiB) Viewed 2239 times
IMG_20150718_213557927.jpg
IMG_20150718_213557927.jpg (33.07 KiB) Viewed 2239 times
IMG_20150718_212426380.jpg
IMG_20150718_212426380.jpg (29.26 KiB) Viewed 2239 times
Rough bevel with plasma
IMG_20150718_203955881.jpg (59.77 KiB) Viewed 2239 times
I weld stainless, stainless and more stainless...Food Industry, sanitary process piping, vessels, whatever is needed, I like to make stuff.
ASME IX, AWS 17.1, D1.1
Instagram #RNHFAB
nathan
  • Posts:
  • Joined:
    Sun Jun 16, 2013 1:20 pm
  • Location:
    Texas

IMG_20150719_115944352_HDR.jpg
IMG_20150719_115944352_HDR.jpg (82.02 KiB) Viewed 2172 times
Before
IMG_20150719_150331442_HDR.jpg
IMG_20150719_150331442_HDR.jpg (47.82 KiB) Viewed 2172 times
After

Made a rail for a buddy's trailer yesterday. That was a cool experience and I actually made money on it too. The whole process of making a drawing, making a parts list, submitting a quote, and getting materials to do the job was very exciting.
Instagram: @nathanppiatt

Owner/welder at Homegrown Metal Fab

Lincoln Weld-Pak 125 HD
Lincoln AC/DC 225/125
Lincoln Port-a-torch
30" 40 ton homegrown press brake
Northern Industrial1HP 3/4" chuck, 16 speed drill press
User avatar

nathan wrote:
IMG_20150719_115944352_HDR.jpg
Before
IMG_20150719_150331442_HDR.jpg
After

Made a rail for a buddy's trailer yesterday. That was a cool experience and I actually made money on it too. The whole process of making a drawing, making a parts list, submitting a quote, and getting materials to do the job was very exciting.
Good job, you earned the satisfaction of a job well done from start to finish
Richard
Website
nathan
  • Posts:
  • Joined:
    Sun Jun 16, 2013 1:20 pm
  • Location:
    Texas

Thanks LtBadd! It was fun, and I did a job that I'm proud of. The customer is very happy with it too. Now I've got the money-making bug lol
Instagram: @nathanppiatt

Owner/welder at Homegrown Metal Fab

Lincoln Weld-Pak 125 HD
Lincoln AC/DC 225/125
Lincoln Port-a-torch
30" 40 ton homegrown press brake
Northern Industrial1HP 3/4" chuck, 16 speed drill press
taz
  • Posts:
  • Joined:
    Mon May 26, 2014 12:43 pm
  • Location:
    Athens - Greece

Just finished instructing a training course on pipe welding with cellulosic electrodes.
No pics but I shot a video experimenting on how to film arc shots.
The first part is filmed through a Schott Athermal gold 11 shade lens and the latter through a speedglas 9100xx trying various shades but ending up with 11 shade.
Camera: iphone 6 plus

WWEzEursU1U
motox
  • Posts:
  • Joined:
    Thu Nov 28, 2013 12:49 pm
  • Location:
    Delaware

rick
30 degree angle on the 1/2" center lug as well?
craig
htp invertig 221
syncrowave 250
miller 140 mig
hypertherm plasma
morse 14 metal devil
Rick_H
  • Posts:
  • Joined:
    Sat Feb 08, 2014 1:50 pm
  • Location:
    PA/MD

motox wrote:rick
30 degree angle on the 1/2" center lug as well?
craig
Shockingly all they call out is a 3/8" fillet, I bevel them around 30° which is around .25" in, put solid tacks, then burn it in.

I weld so much thin stainless, its nice to crank up a MIG or TIG nice and hot every once in awhile. I never used spray transfer till I did my D1.1 3g test on 3/8" plate, the penetration impressed me immediately...after I got use to the sound difference.
I weld stainless, stainless and more stainless...Food Industry, sanitary process piping, vessels, whatever is needed, I like to make stuff.
ASME IX, AWS 17.1, D1.1
Instagram #RNHFAB
TamJeff
  • Posts:
  • Joined:
    Tue Dec 04, 2012 4:46 am

I have been building a LOT these last many months by now, which is why I haven't been around much. So, when something simple comes along, it amuses me just to not have the every day pressure of production quotas.

This is a busted skeg on a relatively new, Yamaha outboard motor. It's foil shaped.
Image

I 'hate' grinding and milk wheels make my eyes itch for days, just from being in the same room with the dust from them so I try and keep that to a minimum. So, I pre-profile my parts on my trusty old 80" (70's era with a few mods by me) Craftsman bandsaw freehand, just slightly oversize enough to be able to grind out the saw marks while retaining the original foil shape. Some of the high performance motors are uni-foil, which means, flat on one side and convexed on the opposite to help counteract the the throw from the prop at high speeds.
Image

Here's as it is being tuned up for a good fit. It would have just slightly less land than what is shown, and I gap it at about 3/32" besides this, Reason being, that if you don't get enough penetration to the opposite bevel, this thing would warp to whatever last side you weld, So I weld it out that way initially to where the alternate bead will settle it in just enough past, so that the next alternate weld will bring it just back to true. I end up using my bandsaw as my grinder for this part.
Image

It ends up as one root pass at 245 amps while really shoving the 1/8" filler through the root so that it draws on the opposite side too as it shrinks. Then a normal single pass bead to fuse into the penetration bead on the opposite side, and then covered with a 'tri-weave' for a good, grindable build up with very little body work after the fact. This way, I don't have to do all that jigsaw puzzle fitting crap. In other words, if they are going to hit it hard enough (again) to break it, I would rather it break near the weld than the actual gear case. The bulb at the top is so I can build up that trailing edge without undercutting a notch into it and then chasing that back and forth with filler. Also, the shaft cavity is filled with water beforehand so as I don't damage any seals.
Image

No putty needed. I was done with the whole thing in just under an hour.
Image
Miller ABP 330, Syncrowave 250, Dynasty 300 DX.
Honorary member of the Fraternity of Faded Tee Shirts.
User avatar
  • Posts:
  • Joined:
    Wed Aug 06, 2014 12:48 am
  • Location:
    Melbourne, Australia

TamJeff

Sensational

You really are the master.
And fast too!!

Trev
EWM Phonenix 355 Pulse MIG set mainly for Aluminum, CIGWeld 300Amp AC/DC TIG, TRANSMIG S3C 300 Amp MIG, etc, etc
motox
  • Posts:
  • Joined:
    Thu Nov 28, 2013 12:49 pm
  • Location:
    Delaware

TamJeff » Wed Jul 22, 2015 2:39 am

I have been building a LOT these last many months by now, which is why I haven't been around much. So, when something simple comes along, it amuses me just to not have the every day pressure of production quotas.

TamJeff
i can see i have a way different idea of what is a "simple project".
really nice repair!
craig
htp invertig 221
syncrowave 250
miller 140 mig
hypertherm plasma
morse 14 metal devil
User avatar
  • Posts:
  • Joined:
    Sun Sep 22, 2013 10:14 am
  • Location:
    Minneapolis Mn 55407

Sawcut bevels! Superb.
Everlast 250EX
Miller 250 syncrowave
Sharp LMV Vertical Mill
Takisawa TSL-800-D Lathe
Coupla Bandsaws,Grinders,surface grinder,tool/cutter grinder
and more stuff than I deserve(Thanks Significant Other)
  • Posts:
  • Joined:
    Thu May 07, 2015 11:46 am
  • Location:
    KY.

Very nice work. It's always easier when they bring it to you before trying to fix it themselves. A guy brought be a damaged boat engine last week AFTER he covered it with JB Weld. It was going to take me hours just to get all of his mess off before I could start doing any welding. I turned down the job. People are always bringing me aluminum boats with cracks that they have already filled with JB Weld or silicone. I tell them that it would have been a lot cheaper if they had just brought it to me when it cracked instead of trying to fix it themselves.
Freddie
TamJeff
  • Posts:
  • Joined:
    Tue Dec 04, 2012 4:46 am

Thanks, people.

Yes, I have been up against JB weld. Is why I cringe when I see it mentioned as a fix for anything. It's become increasingly popular since the internet came along.

I have had to weld some pretty scuzzy cast aluminum over the years. These are pretty ok usually, as long as you don't dawdle trying for perfect edges if it doesn't want to. Otherwise, you end up finding salt inclusions and other pits waiting to be born.

Here is what has to be some of the most 'piss thin' cast I have done just recently. It didn't need to be pretty, just welded fast and strategically so that it does not f-up the gasket surfaces or the bolt pattern. By strategically, I mean, welding from opposite directions so that they meet on that corner. Then a good overlapping tie in to chase the tension into something substantial. Groove it out with a 1/8" drill bit and leave a few places not drilled so that it holds the joint apart some until you get some pin tacks on it and then just burn through those bits by the time you get on them.

I dunno, this is some pretty run of the mill work, bead appearance wise. I just try to think of the structural implications first and speed is important if you don't want to overheat it. Plus, all we have is a momentary switch on the torch and it's a ridiculously fine line between enough heat and travel speed and full penetration.

As it stands, I now have my son at work with me and I have had a torch in his hand every day for about a year now. He's getting a crash course on all of this stuff. Every time I get on one of these little quirky jobs, I see his reflection with his hood on in my rear view. :D

You can see where I left the crack undrilled surrounding these tacks.
Image

More of the same. I dunno. . . .they are satisfying little repairs if nothing else. In spite of that yummy burnt motor oil flavor.
Image

It has about a 1/8" high penetration on the inside as well.
Image
Miller ABP 330, Syncrowave 250, Dynasty 300 DX.
Honorary member of the Fraternity of Faded Tee Shirts.
therbrig
  • Posts:
  • Joined:
    Mon Jul 20, 2015 6:11 pm
  • Location:
    Tx

Another job well done!
  • Posts:
  • Joined:
    Thu May 07, 2015 11:46 am
  • Location:
    KY.

That would be good for someone using a foot pedal. It's pretty great for someone without one.

I wonder how the helium mix would work on something like that.
Freddie
  • Posts:
  • Joined:
    Thu May 07, 2015 11:46 am
  • Location:
    KY.

I never tried walking the cup before. I've never had a need for it. After watching some of Jody's videos and looking at some of the pictures on here I thought I'd give it a try. This was my first attempt. I think I can probably get the hang of it with some more practice.
Attachments
weld.jpg
weld.jpg (53.98 KiB) Viewed 1913 times
Freddie
Post Reply