

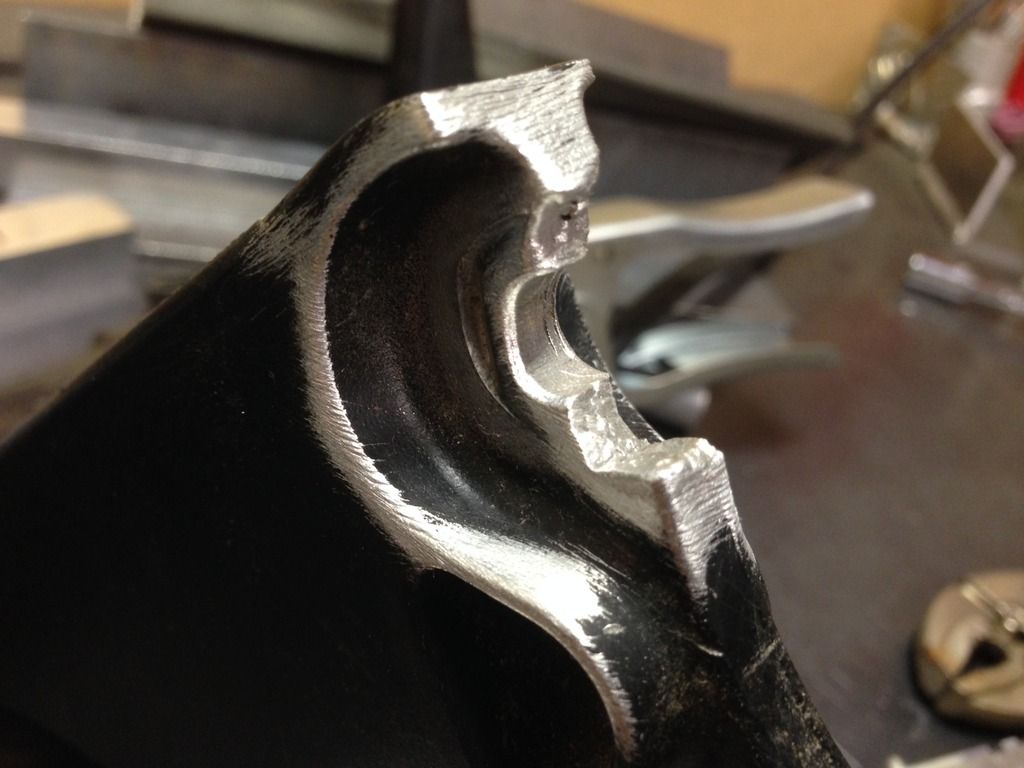
#aluminatoplus by Mike Zanconato, on Flickr

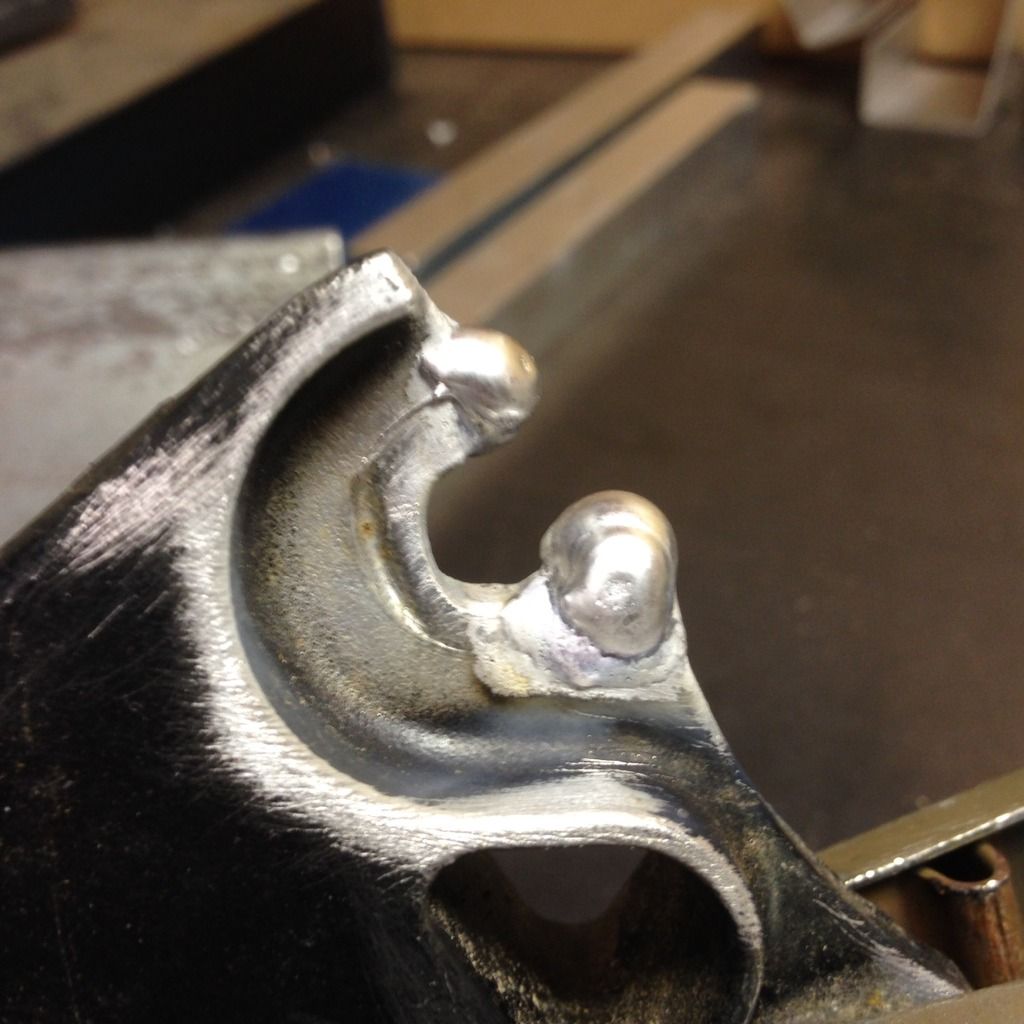
#aluminatoplus by Mike Zanconato, on Flickr

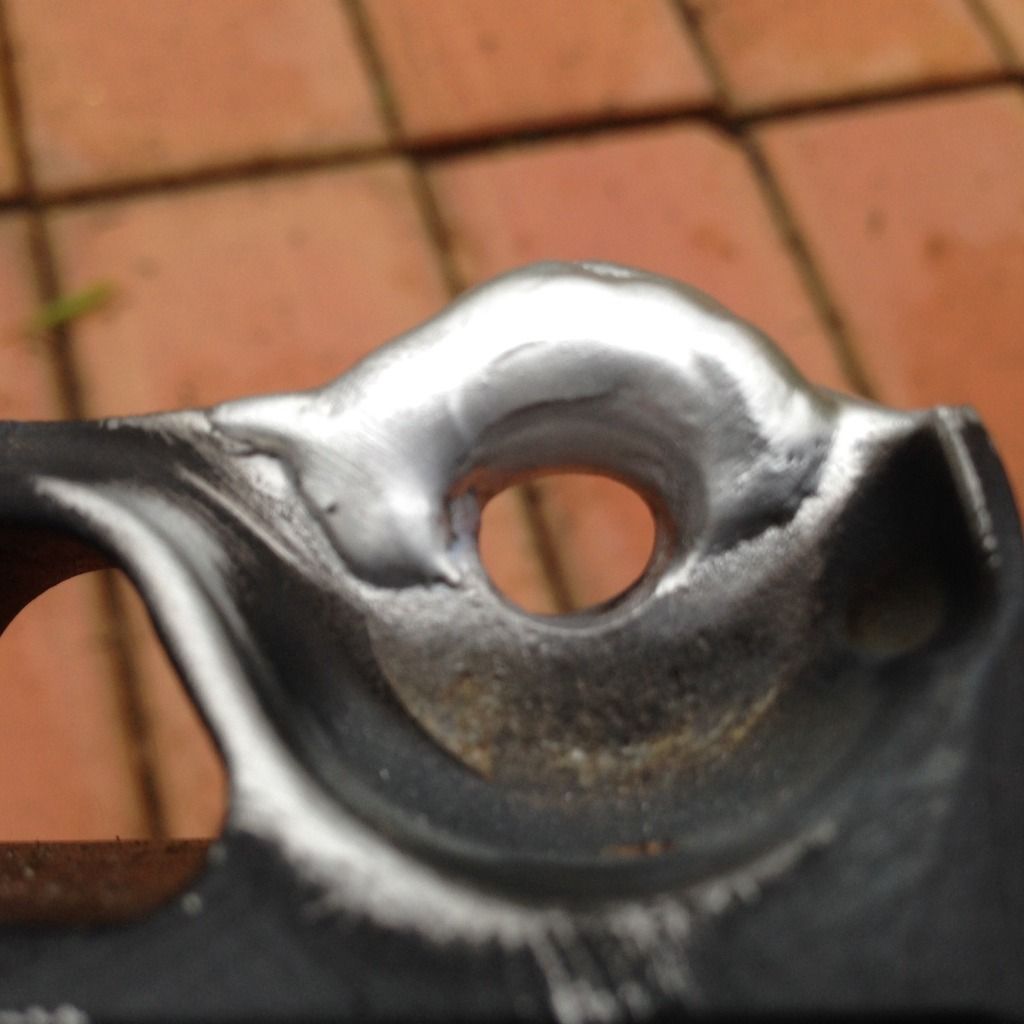
#aluminatoplus by Mike Zanconato, on Flickr

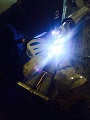
#aluminatoplus by Mike Zanconato, on Flickr

#aluminatoplus by Mike Zanconato, on Flickr


Unfortunately he did not have enough cage to be running that kind of MPH or ET... It is really sad to see. I am sure someone somewhere is going to be in some pretty serious trouble for letting that happen.BigD wrote:Came across this today, goes back to what we were talking about... just because someone will let you do 9s passes with barely a hoop, it doesn't mean you should...AFR_Autoworks wrote:Every joint specified that requires gussets is where there would be two bars intersect to form an X. I would certainly agree that for most cases FIA is overkill. It is just great information to know. I find drift cages to be an absolute joke. Mind you the crashes that a drift car will see are very minor compared to rally.
Video showing his "cage":
https://www.youtube.com/watch?v=e9UCaVGBd5k
RIP:
http://honda-tech.com/attachments/drag- ... 160709.jpg
Completed all of the additions I wanted to do. I couldn't fully weld the forward/upper joint on the gusset bars for the strut tower bars, will weld a 1/8" triangle plate in there to make up for that.
The attachment 10003252_10154212047013287_1222364715429269989_n.jpg is no longer availableThe attachment 10357245_10154205593108287_3641707928343058516_n.jpg is no longer availableThe attachment 1918848_10154212047008287_5219981817817531595_n.jpg is no longer available
- image.jpeg (95.23 KiB) Viewed 2393 times
- image.jpeg (64.75 KiB) Viewed 2393 times
Yeah, we did something like that:BigD wrote: Yeah, when one of our guys crashed our Chump, it looked rough from the outside. The driver was only emotionally damaged and the car was almost unchanged between the axles, while outside of the cage it was wiped out pretty hard.
The attachment 10405281_10152910788208287_5478236345307868806_n.jpg is no longer availableI refused to get back in the car (I was pretty much done with this kind of racing at this point, maybe I'm not "hardcore" enough but this was unacceptable to me) but the other guys used two trucks to bend the ends straight as much as they could, sawzalled off the metal touching the tires and finished the race!
The backstay angle looks good and that is at least somewhat reinforced metal they are tied to so from the safety standpoint you seem ok. If you were going for frame rigidity, it wouldn't be perfect but you could tie the towers in from the sides like this without it being a huge amount of work. Granted, the only thing I like less that welding while contorted around a brake rotor is the joys of climbing into a trunk to weld...BigD wrote:The back stays are terminated on top of the stock spring perch area. This was part of the original roll bar and it's too much work to improve for now. At some point I would like to tie it into the strut towers and diff mount.


Mine all get pickled clean, and polished in most cases...LtBadd wrote:Looks good Rick, seeing your weld reminds me of my last employer who was emphatic about us brushing our sst welds.Rick_H wrote:Custom parts for a bottle dryer I designed


Cheers Flo. This is one of my own bikes. I also have a heap of steel frame welding to do on one of my old bikes in the near future. I'll put some pics up here as I progress.OzFlo wrote:Nice work Kym! So is this from your bike or somebody else's?
Rick_H and ajlskater1 nice work with the stainless..
Flo
Hey Pete.ex framie wrote:Gday Kym,
Nice work.
I'd be interested on how well that repair lasts, or if it cracks at the HAZ,cast is a funny animal.
Keep me posted please.


Most time consuming thing was making sure each section was round and flat. Lots of prep. but in the end it made it much easer to weld up.big gear head wrote:Looks like a lot of work, but it should flow much better.
Horizontal band saw. Set the fence at 5.5 degrees and rotated the pipe 180 after each cut.motox wrote:what did you use to cut the pie shaped pieces?
craig
Return to “Tig Welding - Tig Welding Aluminum - Tig Welding Techniques - Aluminum Tig Welding”
