Tig welding tips, questions, equipment, applications, instructions, techniques, tig welding machines, troubleshooting tig welding process

hi folks well bought a tig torch...wp17....trying to use my tombstone lincoln ac/dc as in the video old school .....but it came with a two pin connector and the gas hose...now the gas hose goes to my argon tank...(da)...and the vid had the stinger to the power on the tig gun( one wire)I have two... CRAP....dont suppose you know which one to hooke it to..or tie them together then put the stinger on it...Iam soooo confused.....st.morgan

- Otto Nobedder
-
Weldmonger

-
Posts:
-
Joined:Thu Jan 06, 2011 11:40 pm
-
Location:Near New Orleans
So, does the torch have a remote of some sort on it? A button or something?
Usually, the weld current is carried through a braid of copper around the gas line (like coaxial cable). If I had my tools at home I'd take pictures.
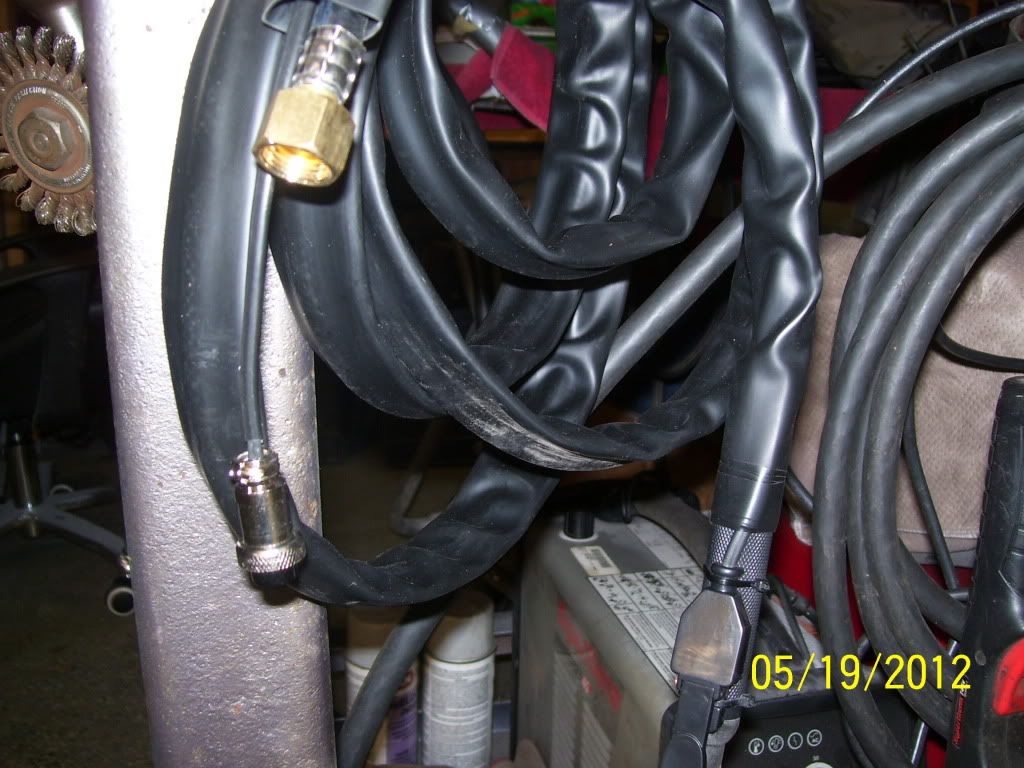
Usually, you would attach your torch hose to an adapter. A 3" piece of brass threaded for the torch hose at one end, for the incoming (non-conducting) gas line from your bottle at the other, and an eyelet off one side to attach DC NEG. from your machine to.
The two-pin connector you describe sounds like some sort of low-current circuit for a torch-mounted "on-off" switch.
Can you post images of the torch and connectors?
Steve
Usually, the weld current is carried through a braid of copper around the gas line (like coaxial cable). If I had my tools at home I'd take pictures.
Usually, you would attach your torch hose to an adapter. A 3" piece of brass threaded for the torch hose at one end, for the incoming (non-conducting) gas line from your bottle at the other, and an eyelet off one side to attach DC NEG. from your machine to.
The two-pin connector you describe sounds like some sort of low-current circuit for a torch-mounted "on-off" switch.
Can you post images of the torch and connectors?
Steve
hi steve -I think Ipicked the wrong torch in a rush cause it was a deal....yes the two pin connector runs to the torch handel to a finger control switch(paddel style) but theirs no connection to the gun itself...I beleive its a switch to turn on the juice if you dont have a foot pedal but Icant find any connection to the actual gun!!!cant understand how it works....duhhh....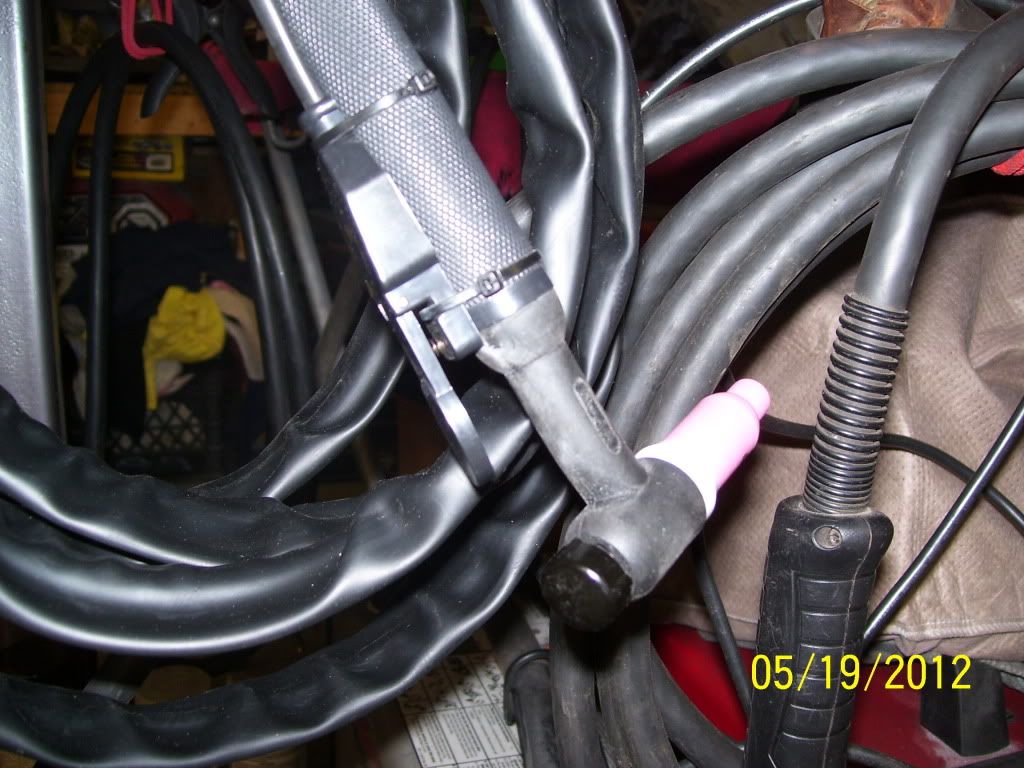
the one jody shows in the vid has a gas nozzle on the handel...I figured I could use the valve on the argon bottle to turn gas on and off for now but its the hook up part thats getting me...ok I thought I had to switch my welder to dc (+ or -)???then take my stinger lead to the mig torch wire(have two that go to switch)????and my ground from welder to part Iam tiging????easy right....but I have seen the on you talk about with the brass coupler to the neg????iam so confused...thanks steve for you input

- weldin mike 27
-
Weldmonger
-
Posts:
-
Joined:Fri Apr 01, 2011 10:59 pm
-
Location:Australia; Victoria
Hi there,
You're not gunna wanna hear this but your best bet would be to return that one if possible and get one that is designed for SCRATCH START tig. It is very similar to stick welding becase you start by scratching the tungsten on the job and stop by snapping the hand piece away to break the arc. It will have a gas valve on the torch body to turn the flow on and off. No wasted gas. And you just clamp the electrode holder onto the brass connecter at the other end where it would normally go into the machine.
Good luck. Mick
thanks mick...I thought that was gonna be the out come so for 10 bucks hey ive spent worse...I'll keep it and maybe down the road use it..Ive got anotherone on the way so Ill practice with this one(dry runs)and wait for the right one to come...thanks guys...I'll be back ...
- Otto Nobedder
-
Weldmonger
-
Posts:
-
Joined:Thu Jan 06, 2011 11:40 pm
-
Location:Near New Orleans
You can still use that torch for scratch start. As you pointed out, you'd have to turn the gas on and off at the bottle. You can cut those zip-ties and take the paddle switch and it's wires out of the equation, as they're not needed for your application.
You'll want the machine on DC-, so that the workpiece is +. Once you hook your gas line to the torch, clamp the brass nut at the end of the torch hose into your stinger, and you're good to go. If your stinger won't open that wide, clamp your smallest vise-grips to the hose fitting, and then clamp your stinger to that. Just don't let the bare metal here contact your workpiece, of course.
Steve
- weldin mike 27
-
Weldmonger
-
Posts:
-
Joined:Fri Apr 01, 2011 10:59 pm
-
Location:Australia; Victoria
Steve,
Good stuff mate,
sometimes I forget how to solve a problem. The cons of (glorified) production welding, I guess.
Mick.
Good stuff mate,
sometimes I forget how to solve a problem. The cons of (glorified) production welding, I guess.
Mick.
- Otto Nobedder
-
Weldmonger
-
Posts:
-
Joined:Thu Jan 06, 2011 11:40 pm
-
Location:Near New Orleans
Thanks, Mick,
Of course he still needs a torch with a gas valve, but hopefully this'll help him fuse some metal in the meantime.
I have a B.S. in redneck engineering. I'll leave it to you what the B.S. stand for.
Steve
Of course he still needs a torch with a gas valve, but hopefully this'll help him fuse some metal in the meantime.
I have a B.S. in redneck engineering. I'll leave it to you what the B.S. stand for.
Steve
great news it works!!!!!!I had my doubts when steve said this is how to hook it up... I thought hows the juice gonna travel to the torch threw the rubber hose well must be lined cause this little set up works pisssaaaa...I already used two peices of rod and Iam not stacking dimes yet...but watch out !!! still have some kinks to work out like the gas situation I forgot to turn of the gas once already only 1 min or so...the argon bottle cost 145.00 filled not bad I thought Iam at about 250.00 bucks to try tig welding if I liker it iam gonna save my pennies and get a miller like you big boys...you guys are great thanks mick and steve and the rest of you guys.......more to come..Ill send some pics when I can stack the dimes.....thanks....st.morgan...and the ove glove works excellent.. stilll gonna get a tig finger jody???
- Otto Nobedder
-
Weldmonger
-
Posts:
-
Joined:Thu Jan 06, 2011 11:40 pm
-
Location:Near New Orleans
Hot damn, crank.it, good for you!
Yeah, the power cable lines the gas hose. That's the usual way on a dry rig. (On water cooled, the power goes with the water hose to the torch.) I did once have a heavy-duty torch that had a separate power cable, but that S.O.B. was heavy and hard to use.
You'll save gas once you get the right torch for your app, but at least your makin' some fire!
Steve
- weldin mike 27
-
Weldmonger
-
Posts:
-
Joined:Fri Apr 01, 2011 10:59 pm
-
Location:Australia; Victoria
Hi there,
Got a request for ya.
Switch ya machine to ac and see if you can weld aluminium with it. Arc up on a peice of copper then drag over to the Al (so im told) The electrode will explode if it touches the Al. Was thinking about this and wanted to see if it would work. I have no idea what will happen, am just wondering.
Mick
RedIron881
- RedIron881
-
Workhorse

-
Posts:
-
Joined:Fri Mar 23, 2012 9:29 am
-
Location:Phoenix, AZ
Hey just wanted to show you the family of Gas Lens' that I use for a WP20/9 torch. The standard size is my normal work horse but the others defiantly have there place and time to be used. Before anyone asks all the black soot on the #8 cup is from the Blue Shield gas (95% Argon, 5% Hydrogen) we use. The small lens (8GV332) on the left is normally for a WP24 torch and you need a reverse pull collet. Great for getting into really small spots. Here is a great link for all the part numbers and what nots for a 20/9 torch.
http://www.ckworldwide.com/2series.pdf
I'm glad to see that others are using Weldcity too. They have some really great deals and buy from them often! Kind of Harbor Fright for welding but better.
http://www.ckworldwide.com/2series.pdf
I'm glad to see that others are using Weldcity too. They have some really great deals and buy from them often! Kind of Harbor Fright for welding but better.
- Attachments
-
- Optimized-IMG_2040.JPG (211.32 KiB) Viewed 2104 times
- Otto Nobedder
-
Weldmonger
-
Posts:
-
Joined:Thu Jan 06, 2011 11:40 pm
-
Location:Near New Orleans
RedIron,
What are you welding with that mix? I've never used an active gas on GTAW, so I'm curious about the application.
Thanks,
Steve
What are you welding with that mix? I've never used an active gas on GTAW, so I'm curious about the application.
Thanks,
Steve
RedIron881
- RedIron881
-
Workhorse
-
Posts:
-
Joined:Fri Mar 23, 2012 9:29 am
-
Location:Phoenix, AZ
Steve,
Where I work we make vacuum chambers for the computer chip industry. The chambers are made out of thick 304 stainless. The Blue Shield gas is used to bump up the heat much the same as Helium does for aluminum. The Blue Shield has it's ups and downs though like many things do. You go through a lot of tungsten because you only get 3-4 good arc starts before it's frosty and needs cleaned up, or you can get bad arc marks. The soot can be little, like in the photo, and other times it can be bad but that usually means your tungsten is contaminated (Shocker I know!). So, if you're welding any thick stainless (3/4"-1"+) it might be something to look into. Being able to weld thick plates together at 130 amps, moving at a good speed, that pass a Helium vacuum test after being machined (100% penetration), you can't go wrong. Just like everything else it's just another Trick of the Trade.
Where I work we make vacuum chambers for the computer chip industry. The chambers are made out of thick 304 stainless. The Blue Shield gas is used to bump up the heat much the same as Helium does for aluminum. The Blue Shield has it's ups and downs though like many things do. You go through a lot of tungsten because you only get 3-4 good arc starts before it's frosty and needs cleaned up, or you can get bad arc marks. The soot can be little, like in the photo, and other times it can be bad but that usually means your tungsten is contaminated (Shocker I know!). So, if you're welding any thick stainless (3/4"-1"+) it might be something to look into. Being able to weld thick plates together at 130 amps, moving at a good speed, that pass a Helium vacuum test after being machined (100% penetration), you can't go wrong. Just like everything else it's just another Trick of the Trade.
- Attachments
-
- Optimized-IMG_1510.JPG (54.19 KiB) Viewed 2094 times
- Otto Nobedder
-
Weldmonger
-
Posts:
-
Joined:Thu Jan 06, 2011 11:40 pm
-
Location:Near New Orleans
RedIron,
That's interesting to me, because I weld for high-vacuum applications as well (to below one micron), in cryogenic (-423 F) applications. My welds must also pass He leak test (I get to test them myself!). The vast majority of my welding is on sch. 10 304SS for process, and sch. 5 304SS for jacketing, so the extra heat is not needed for what I do. I'll file that info away for future reference, though, since the next thing I do usually builds on what I've done in the past.
Thanks,
Steve
- weldin mike 27
-
Weldmonger
-
Posts:
-
Joined:Fri Apr 01, 2011 10:59 pm
-
Location:Australia; Victoria
StephanusThie
- StephanusThie
-
Active Member

-
Posts:
-
Joined:Tue Dec 14, 2010 1:55 am
Hi RedIron,
I just bought CK200 with standard diameter gas saver kit , it's new to me to use gas saver. So here's some question I want to ask to you. The alumina nozzle should be snap on teflon heatsink, am I right? The steel ring on the collet body functioned as nozzle stoper, am I right?
The reason I'm asking this is the nozzle number 4 & 5 fitted loosely (no need power to put)on the heatsink while number 6,7&8 +pyrex fitted okay(have to press with little bit power).
What is your opinion on this matter? Thank you RedIron.
Steph.
Miller Syncrowave 250 DX
Hypertherm Powermax65
Hypertherm Powermax65
hey mick tried the ac part to weld al and got ELECTROCUTED  ....naa just kidding ....switched to ac and couldn't get an arc going it would start on the brass and pop on the al and stop....probably my ampes were wrong or rod or gas who knows...but when I get better i'll try again ...crank.it
RedIron881
- RedIron881
-
Workhorse
-
Posts:
-
Joined:Fri Mar 23, 2012 9:29 am
-
Location:Phoenix, AZ
Steph,
With the standard size gas saver I only have just the one set up. It was given to me from my weld supply store as a demo. But, with the large gas saver kit it came with a few smaller rubber O rings. I took off the metal ring on the standard size and popped on the rubber one. Now the pyrex cup fit so much better and should fit the alumina nozzle better also. The ring looked like it would fit on a 17 torch back cap. Not sure why it was in the kit but it worked (my order got messed up but worked out in the end). You can order just the gas saver body from Arc Zone (2CBGS) and try it on that before pulling off the metal one you've got (which is a pain). You do have to buy two but never hurts to have extra parts in your box.
Roy
StephanusThie
- StephanusThie
-
Active Member
-
Posts:
-
Joined:Tue Dec 14, 2010 1:55 am
Hi RedIron,
Doesn't the rubber O ring melted when exposed to heat when you were welding? Thank you.
Rgds,
Steph
Doesn't the rubber O ring melted when exposed to heat when you were welding? Thank you.
Rgds,
Steph
Miller Syncrowave 250 DX
Hypertherm Powermax65
Hypertherm Powermax65
RedIron881
- RedIron881
-
Workhorse
-
Posts:
-
Joined:Fri Mar 23, 2012 9:29 am
-
Location:Phoenix, AZ
Steph,
No, I'm sure if you're really cranking the amps for a while having the rubber O ring wouldn't be the best idea. Personally, I only use the pyrex setup for smaller parts, titanium, plugs, or just hard to see spots. Not a everyday set up. Just a normal gas lens works for me 98% of the time. I do know that the large gas saver does have a rubber O ring so it must hold up to some extent, but again I've never gone over maybe 100 amps with it.
No, I'm sure if you're really cranking the amps for a while having the rubber O ring wouldn't be the best idea. Personally, I only use the pyrex setup for smaller parts, titanium, plugs, or just hard to see spots. Not a everyday set up. Just a normal gas lens works for me 98% of the time. I do know that the large gas saver does have a rubber O ring so it must hold up to some extent, but again I've never gone over maybe 100 amps with it.
Return to “Tig Welding - Tig Welding Aluminum - Tig Welding Techniques - Aluminum Tig Welding”
Jump to
- Introductions & How to Use the Forum
- ↳ Welcome!
- ↳ Member Introductions
- ↳ How to Use the Forum
- ↳ Moderator Applications
- Welding Discussion
- ↳ Metal Cutting
- ↳ Tig Welding - Tig Welding Aluminum - Tig Welding Techniques - Aluminum Tig Welding
- ↳ Mig and Flux Core - gas metal arc welding & flux cored arc welding
- ↳ Stick Welding/Arc Welding - Shielded Metal Arc Welding
- ↳ Welding Forum General Shop Talk
- ↳ Welding Certification - Stick/Arc Welding, Tig Welding, Mig Welding Certification tests - Welding Tests of all kinds
- ↳ Welding Projects - Welding project Ideas - Welding project plans
- ↳ Product Reviews
- ↳ Fuel Gas Heating
- Welding Tips & Tricks
- ↳ Video Discussion
- ↳ Wish List
- Announcements & Feedback
- ↳ Forum News
- ↳ Suggestions, Feedback and Support
- Welding Marketplace
- ↳ Welding Jobs - Industrial Welding Jobs - Pipe Welding Jobs - Tig Welding Jobs
- ↳ Classifieds - Buy, Sell, Trade Used Welding Equipment
- Welding Resources
- ↳ Tradeshows, Seminars and Events
- ↳ The Welding Library
- ↳ Education Opportunities