I tried welding aluminum once before with no luck. New machine..........better consumables..........and a handful of Jody's videos and here is what I got !!!
This was a few weeks ago.
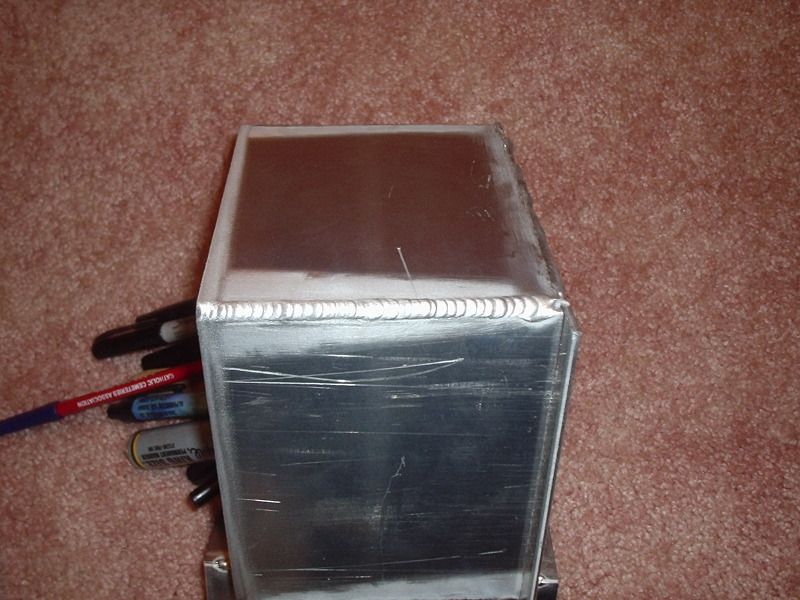
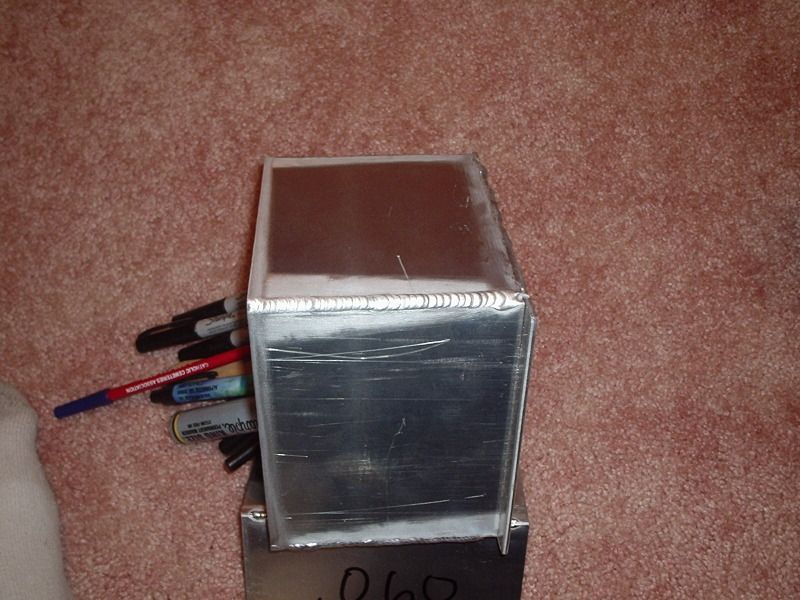
This was the first.........a pencil holder made from .125 aluminum this is the best weld.
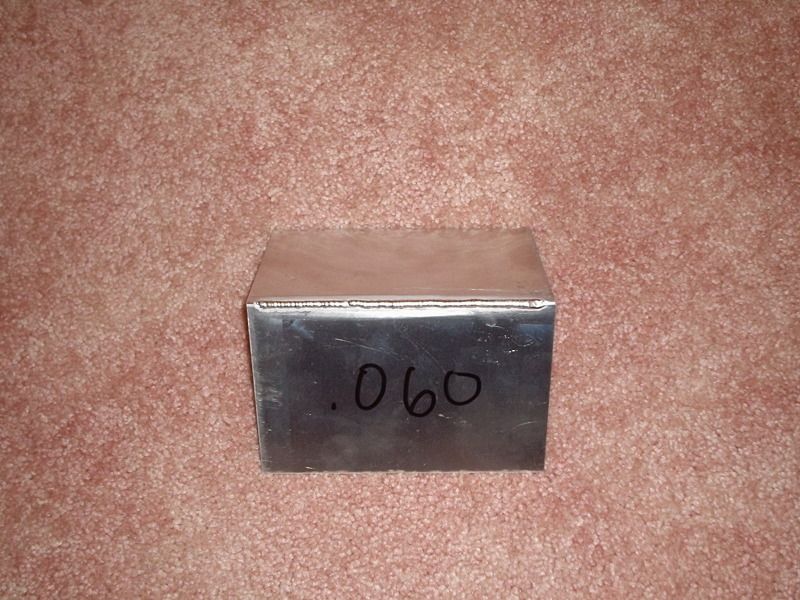
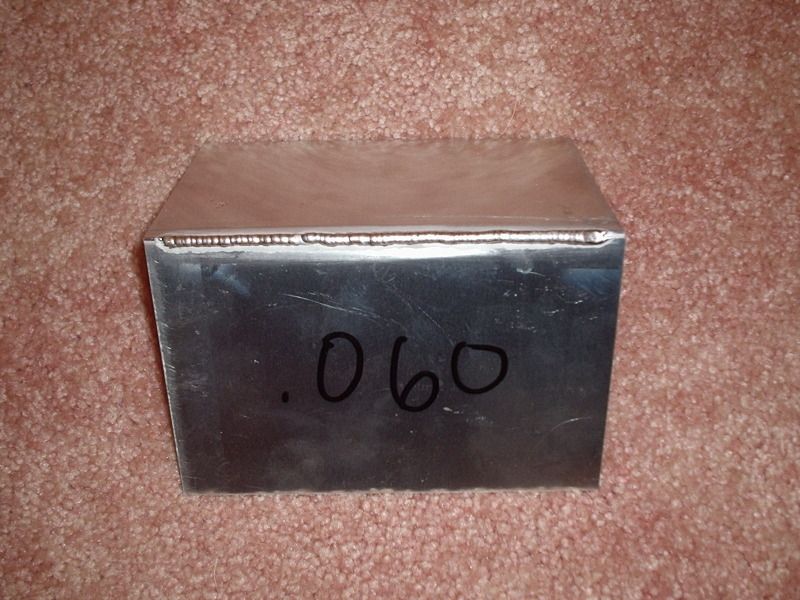
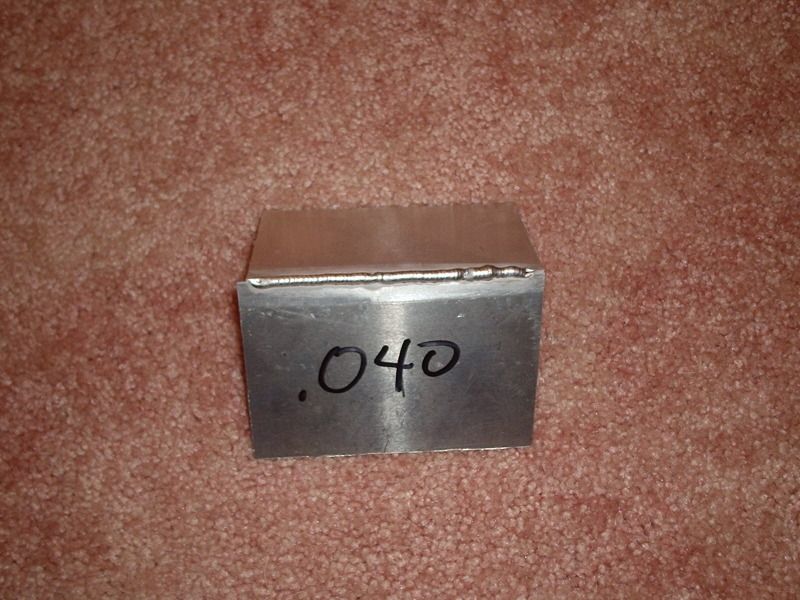
Considering I was lucky with .125 I went to .060 and then .040.
I do that even for SS pipe-- Knife-edge roots. Great for a root pass on a "gun barrel" to get good penetration without closing the pipe like a doughnut.
rahtreelimbs,
Nice work!
Once you understand what the metal is doing, everything else is just practice.
Really nice welds there..."stack 'o dimes" all the way. I have been welding the inside of a box about that size and it is a pain to get in the tight corners. I saw one of Jody's videos where he demoed the stubby torch kit and gas lens set up. WOW,WOW,WOW what a difference the combo. made. Better puddles, you can get the stinger way out there for the tight corners AND you get more room for the torch to hit the right angles. I have found it extrememly difficult to tig weld uphill on a corner. The weld wants to run downhill and blob up. very tough to make a stack of dimes look IMHO.
If you do the inside corners and seams of the box i'd love to see pictures of them.