
Looks like I need some help here.
I am welding some parts, 4130 steel, for my J3 Cub home-built aircraft. After beading the welds I noticed small black specks that are like glass hard and will not bead off without scraping them. Any suggestions what is causing this or what I am doing to cause these?
I am not a professional welder, just a hobbyist. So, please be kind on the weld appearance .... their not pretty but they work.
Any help would be very appreciative,
Keri-Ann
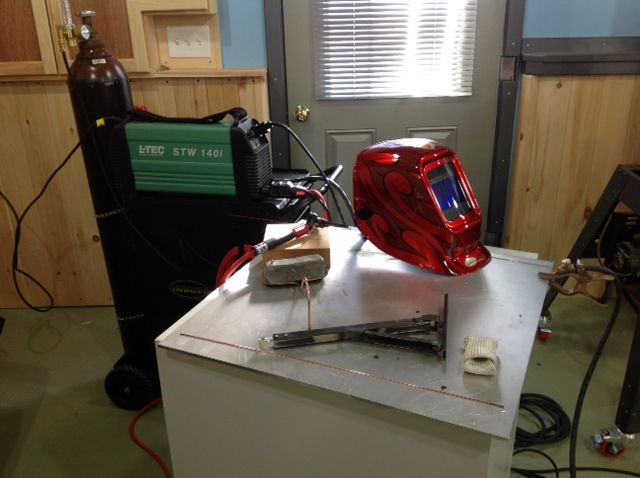
Using:
L-Tec STW 140i
Foot pedal control @ 30 Amps max set at Welder
CK 130 Flex-Torch ... love this torch.
ER70S-2 filler rod, new.
.06 dia, 2% Cert. electrode. Sharpened to a point, polished.
No.5 stubby cup and gas lens
Agron gas @ 20cfm