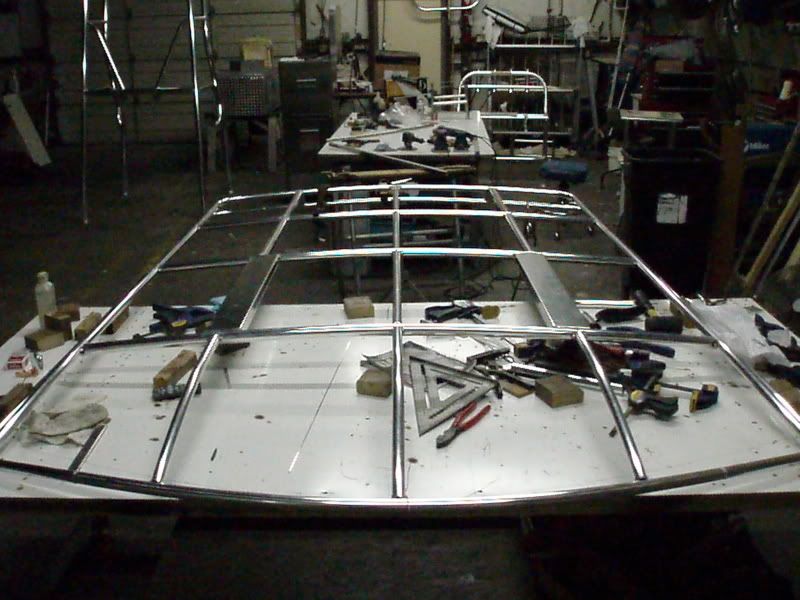
The idea is to get this 3D assembly right the first time. Not once, but yet again with it's mirror image too. I used two opposing layouts on my table for these parts that utilized the same control lines. It assures that everything will be aligned at exactly the same points from one side to the other.
By "dummies," I mean those little commando instant jigs of sorts made from whatever is at hand. The idea is to get these wrap around braces to fit 'exactly' on the layout. A flat table is a must. With compound copes, if you have to trim them to fit, they shrink in two directions when cutting in the bend.
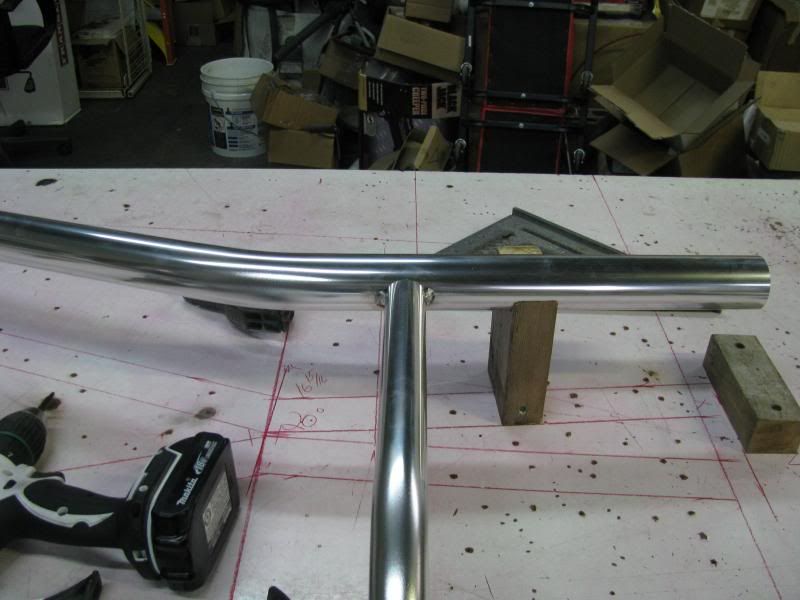
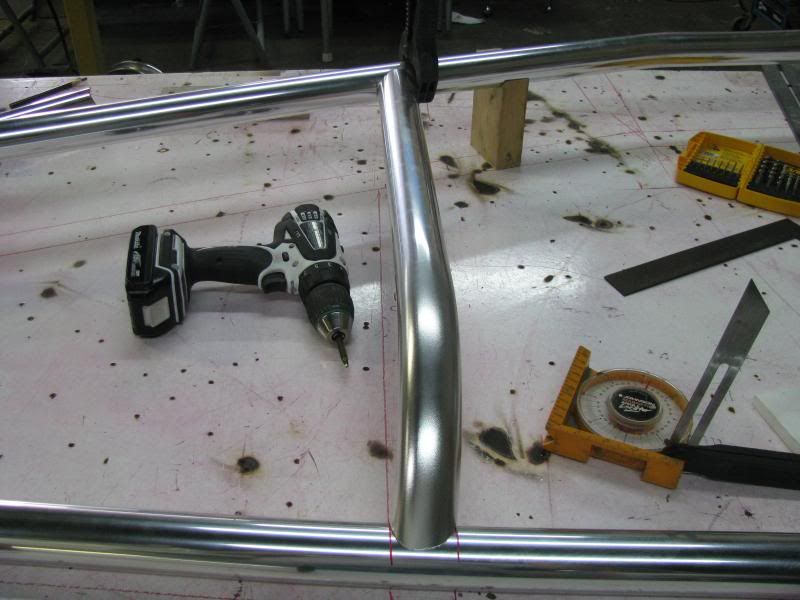
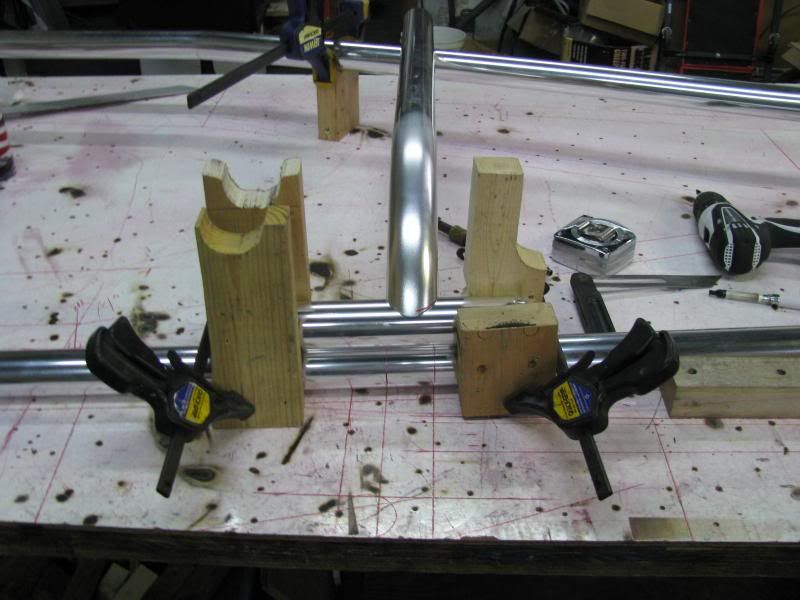
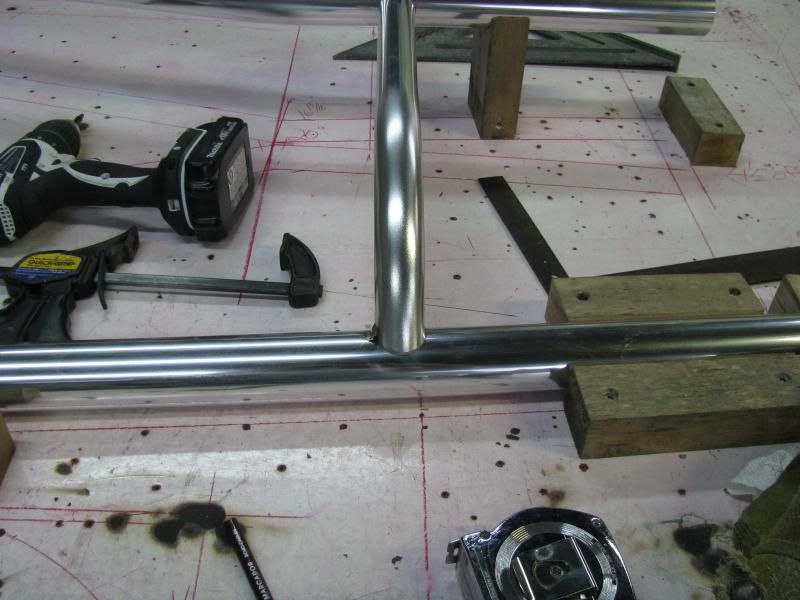
Here's where we want to end up. The legs that these go on, lean in 1 degree per side. That means the braces have to be set at 1 degree off of plumb to end up level once erected. If the two leg pipes were parallel, no big deal. These are at opposing angles with a cope in the bend at one end to make up for the 4.5" offset. The first set of "dummies" is the 3 wooden riser blocks holding the one leg 4.5" up.
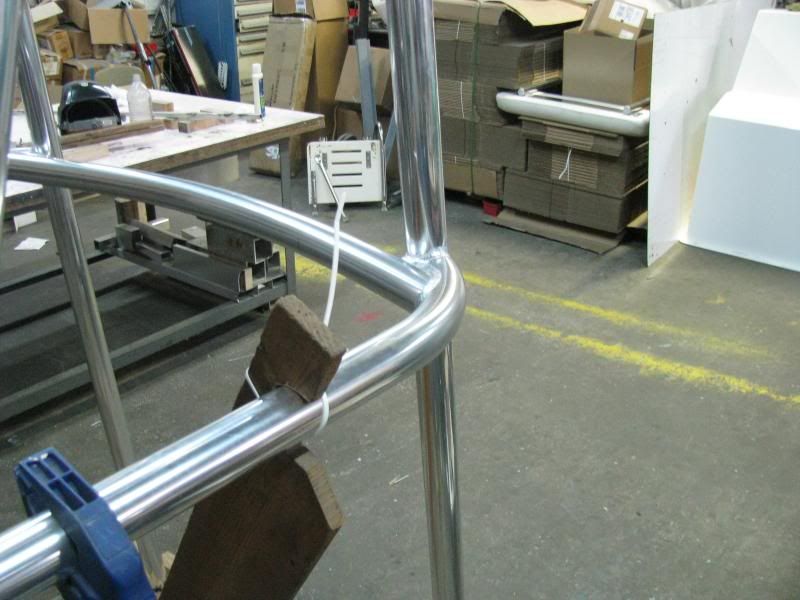
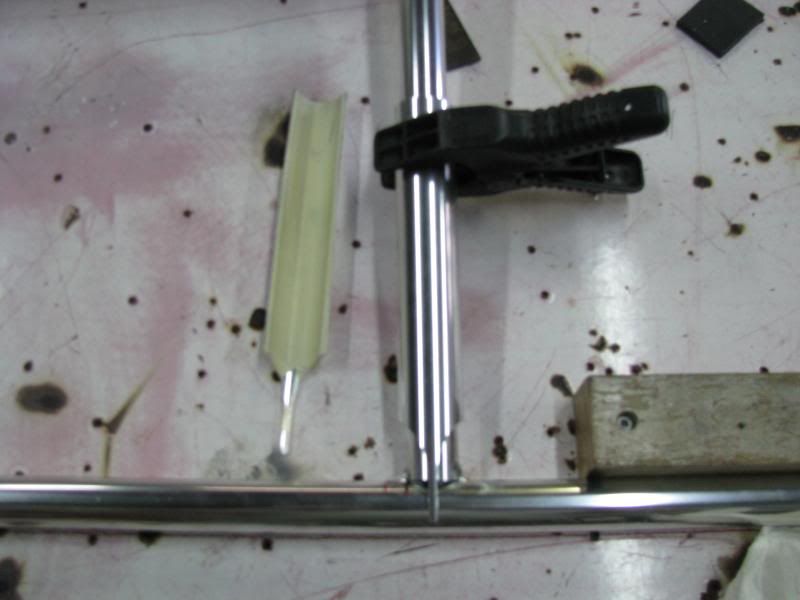
Here is the 2nd dummy set up. If I want the part to fit perfectly, I make the difficult cope in the bend on a table drawing and cut it out on the bandsaw. Then, just take a scrap of the same size pipe and capture it where the cope will go. This will allow it to sit level on the build, with the tail end running wild past where the 2nd cope will go.
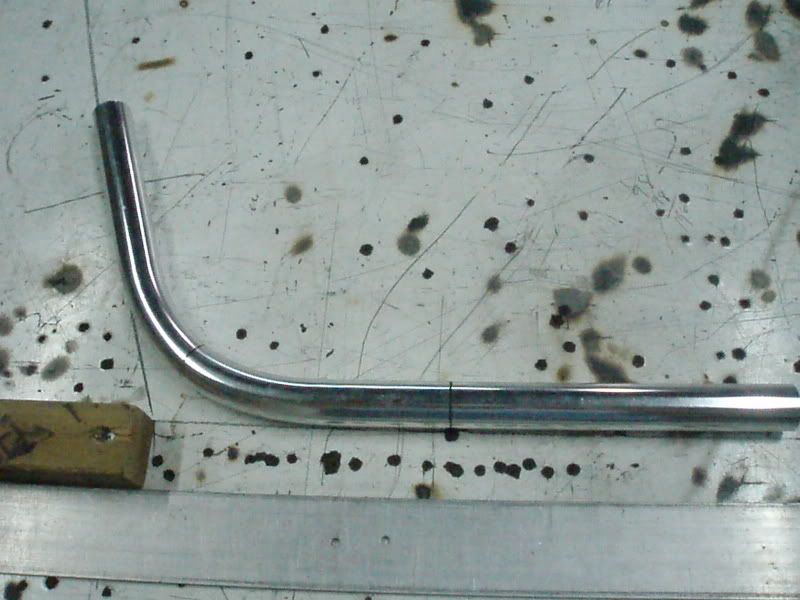
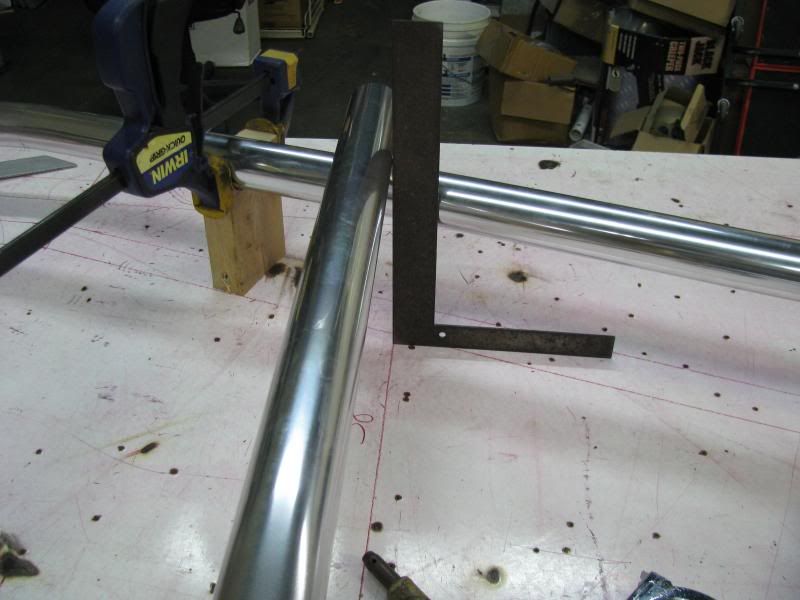
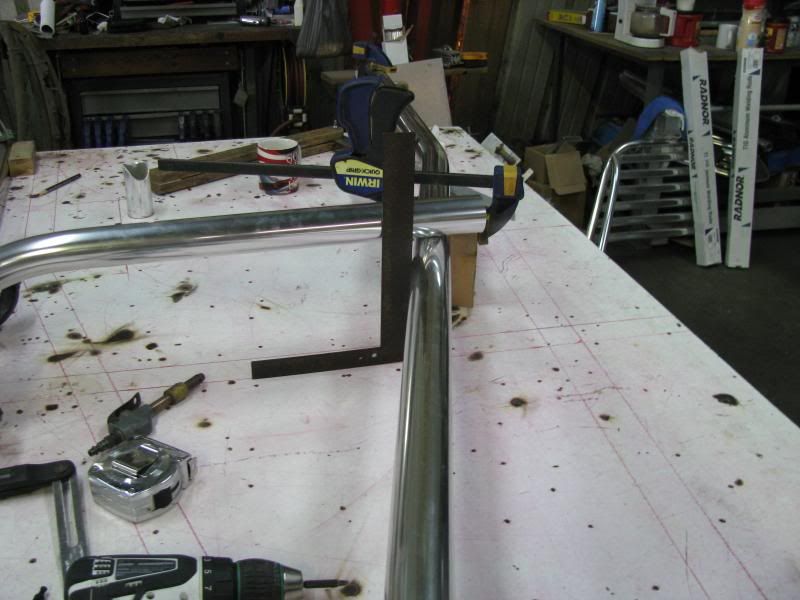
These next two photos should explain where I am going with this. Picking up my cope marks. Plumb up from my drawing to line it up and then use the square to capture the contact points for the cope. This cope happened to be 18 degrees.
Boom.
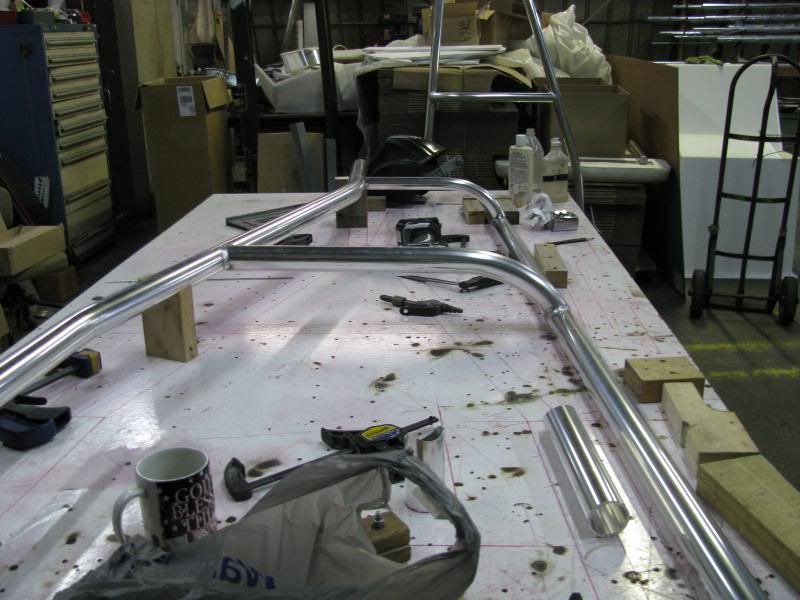
This brace needs to be 1 degree off as well. I do it with a tack. I 'know' about how big a tack I need for a certain degree, or, about two fat dips of filler per 1.5 degrees.
Then, I just freeze the angle with two tacks at the other end. When I tack the 2nd side of the leaned part, it will bring it back to about the 1 degree I needed.