


Not sure. The customer is putting the motor in himself. I haven't seen it.Otto Nobedder wrote:Slick!
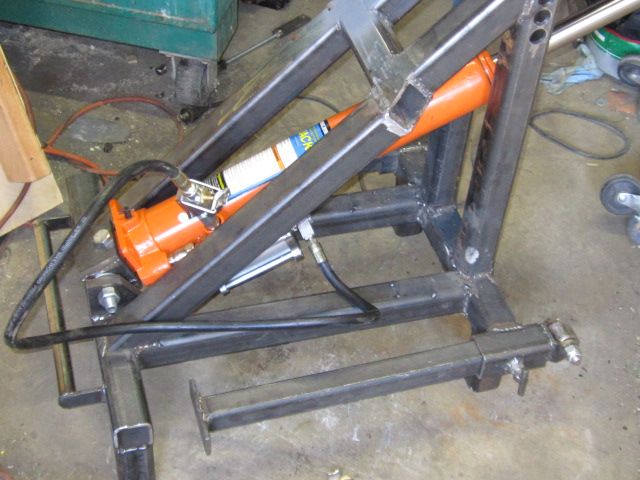
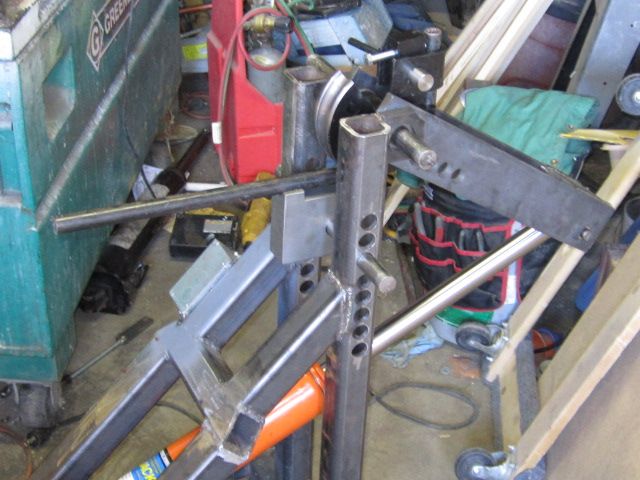
How close is the tank to the cylinder head? Will you need a heat shield or air deflector to keep that thing from getting warm?
Steve S

Return to “Welding Projects - Welding project Ideas - Welding project plans”