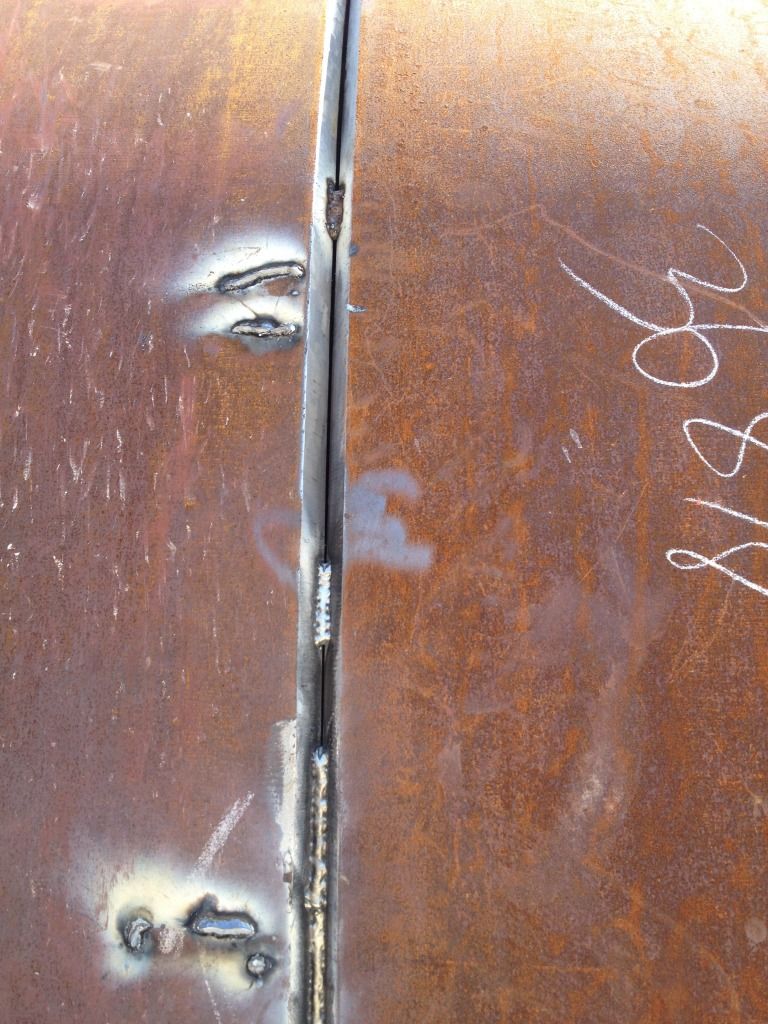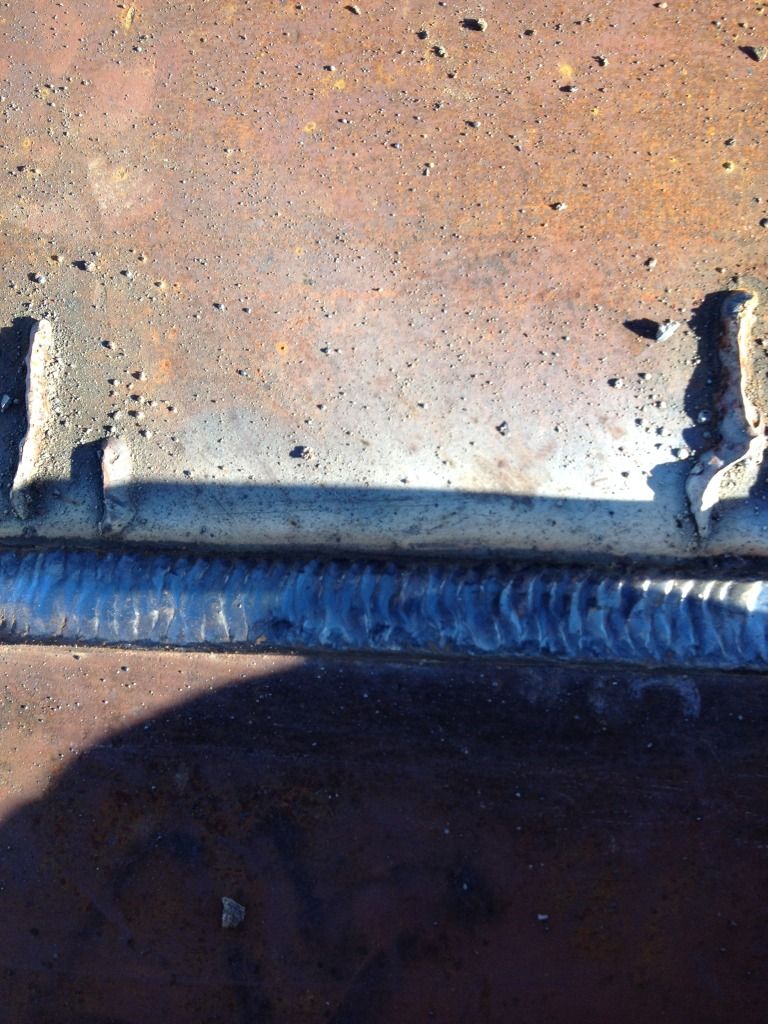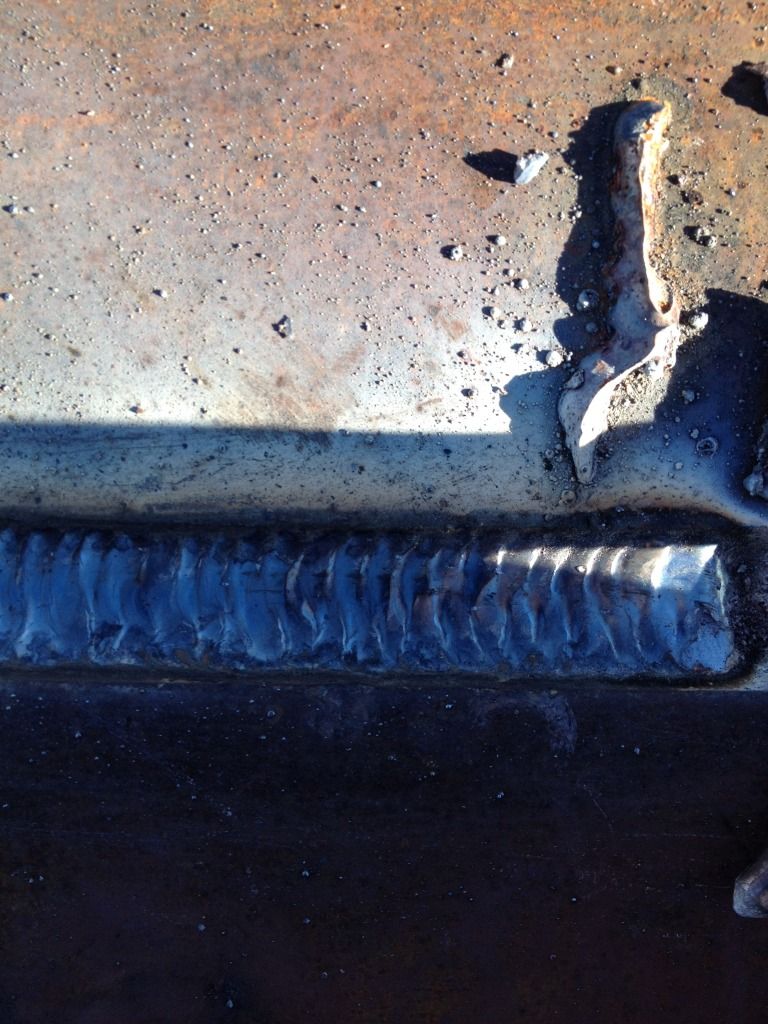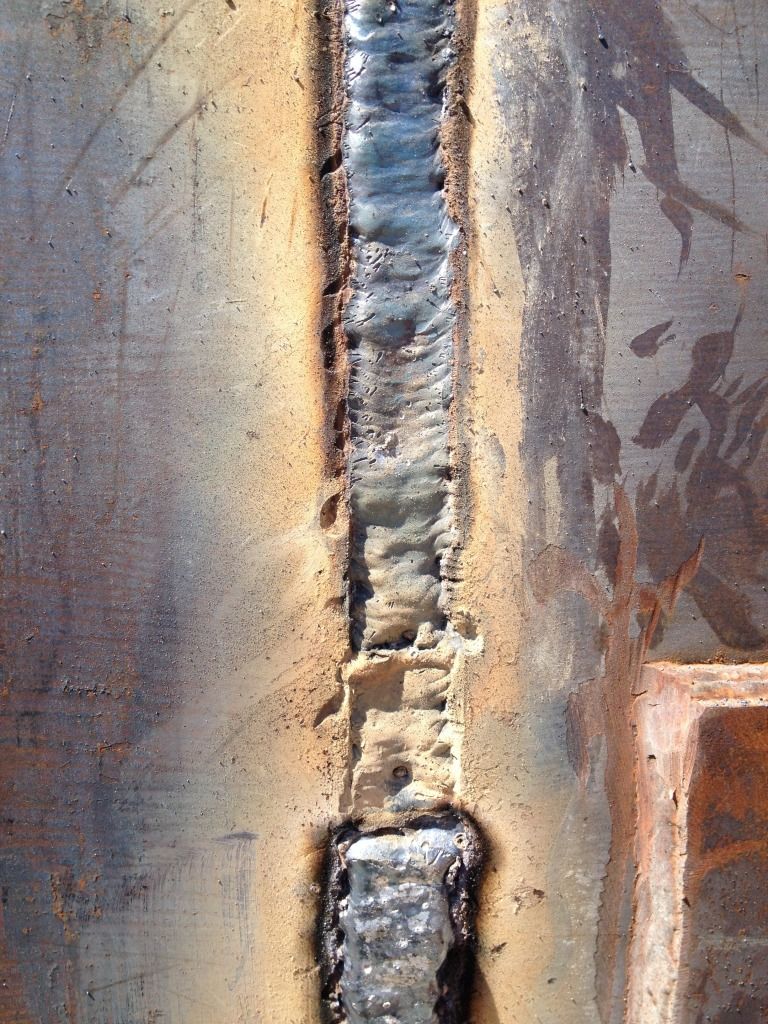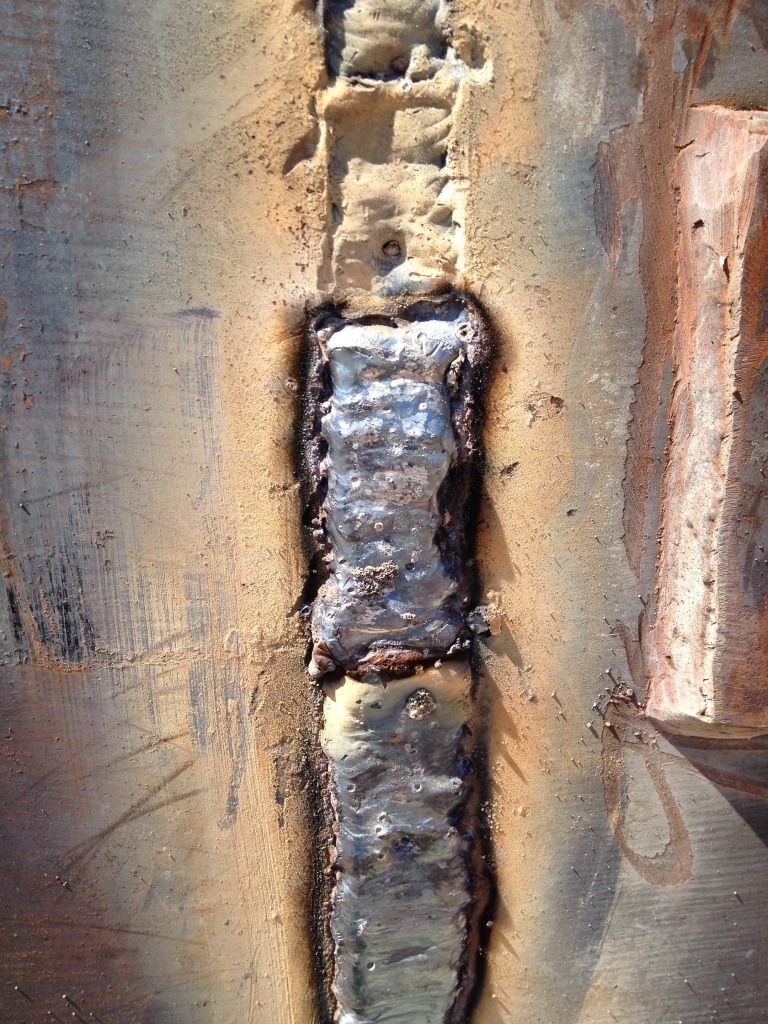

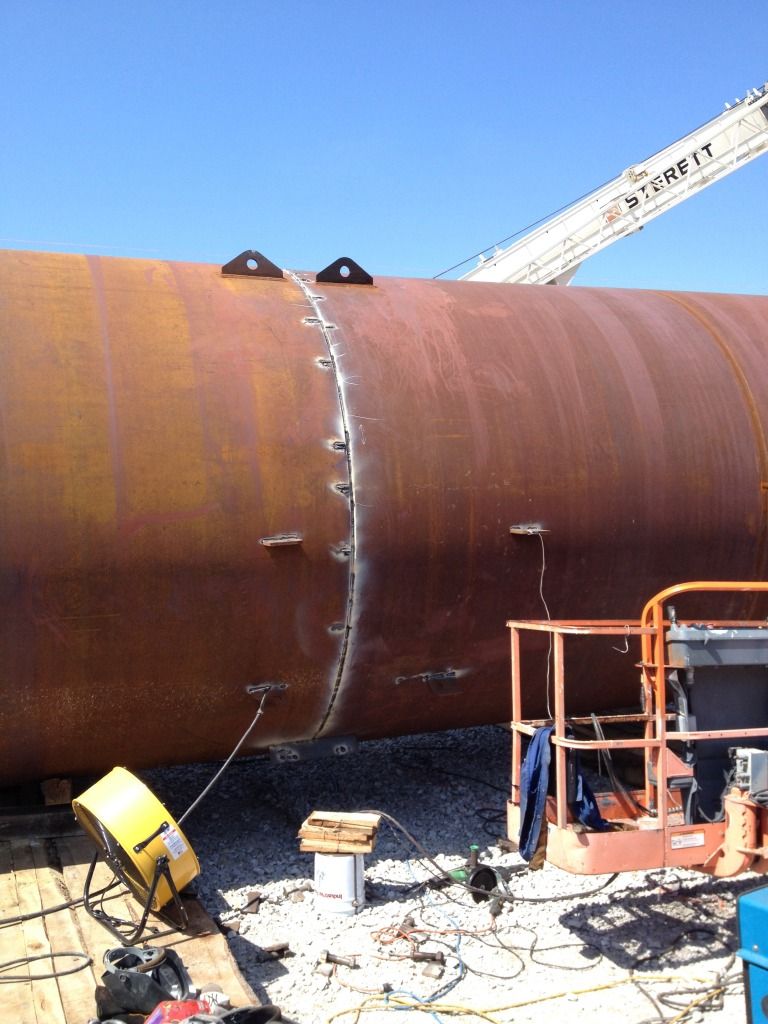
12' dia 1" thick welded in 5g with .068 NR-233
Shannon


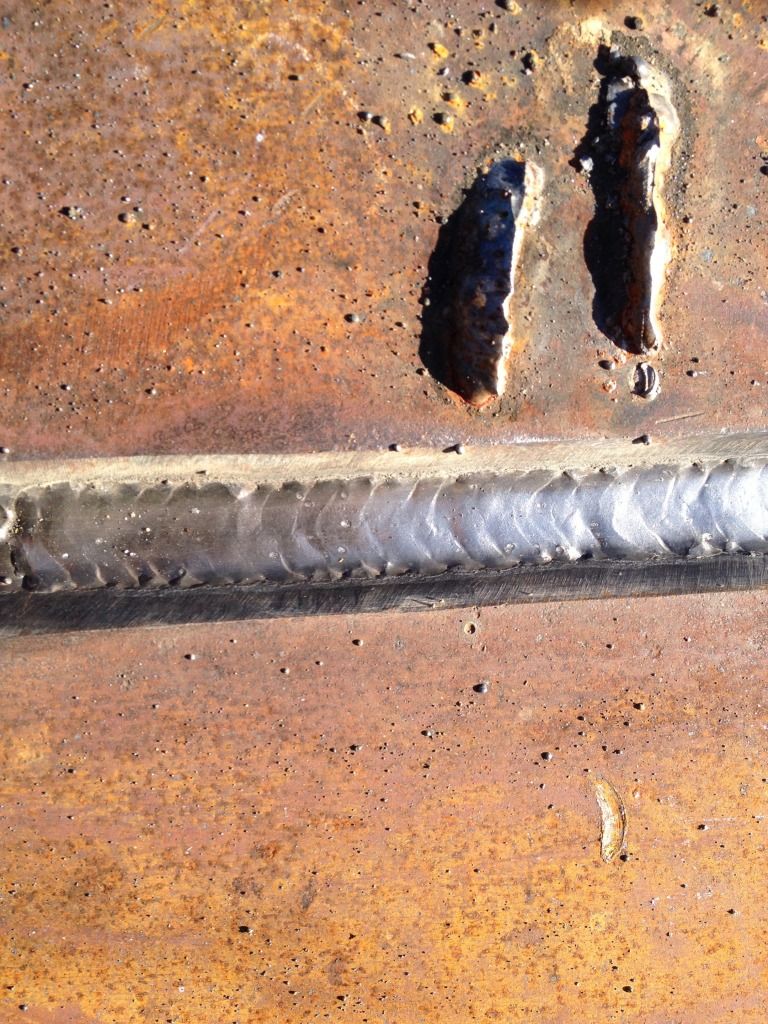
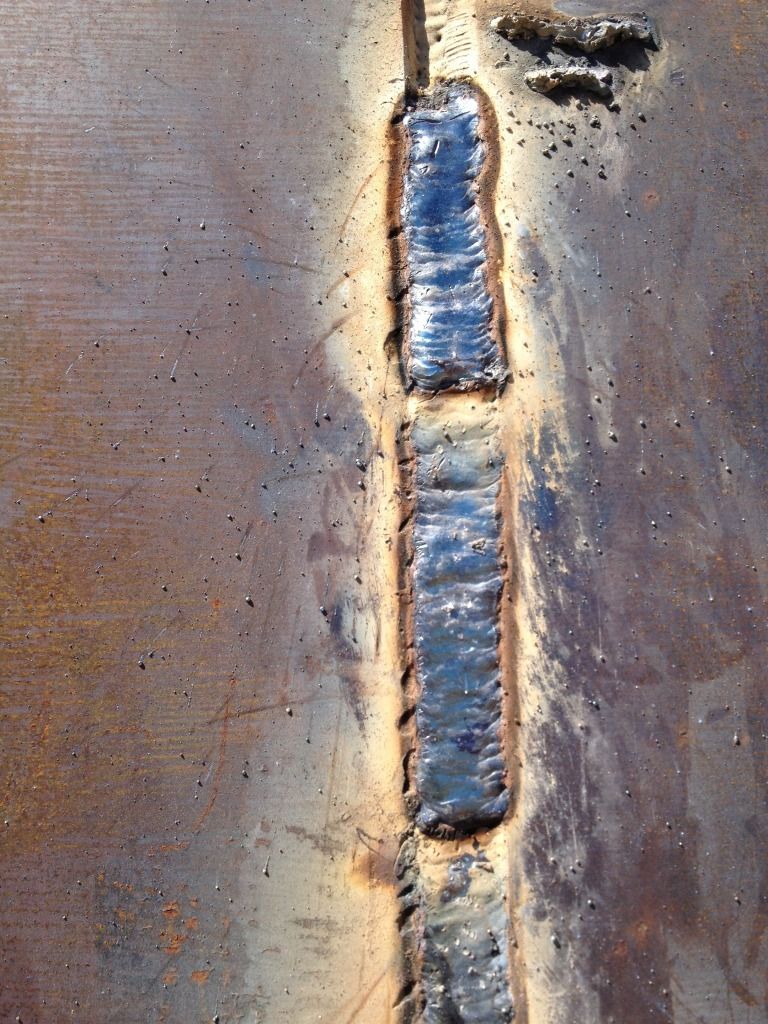
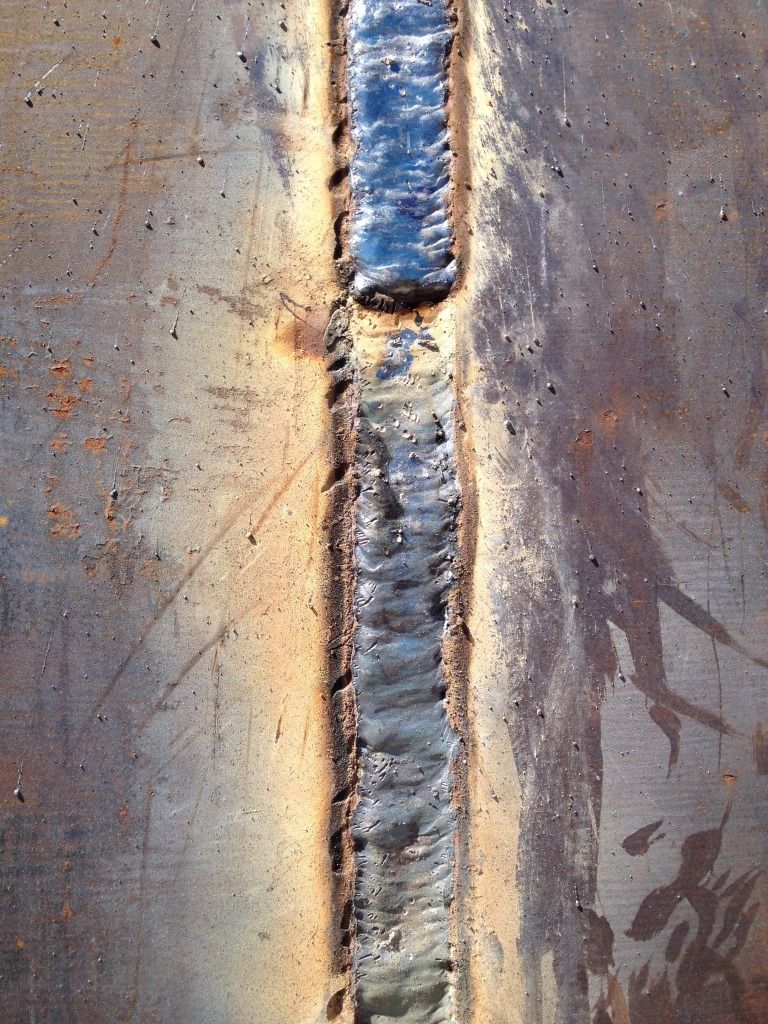
I am thinking they are left behind from bar that was welded on for lining up the two pipes.In photo #4, what is the purpose of the 2" (or so) welds that are perpendicular to the main weld joint?

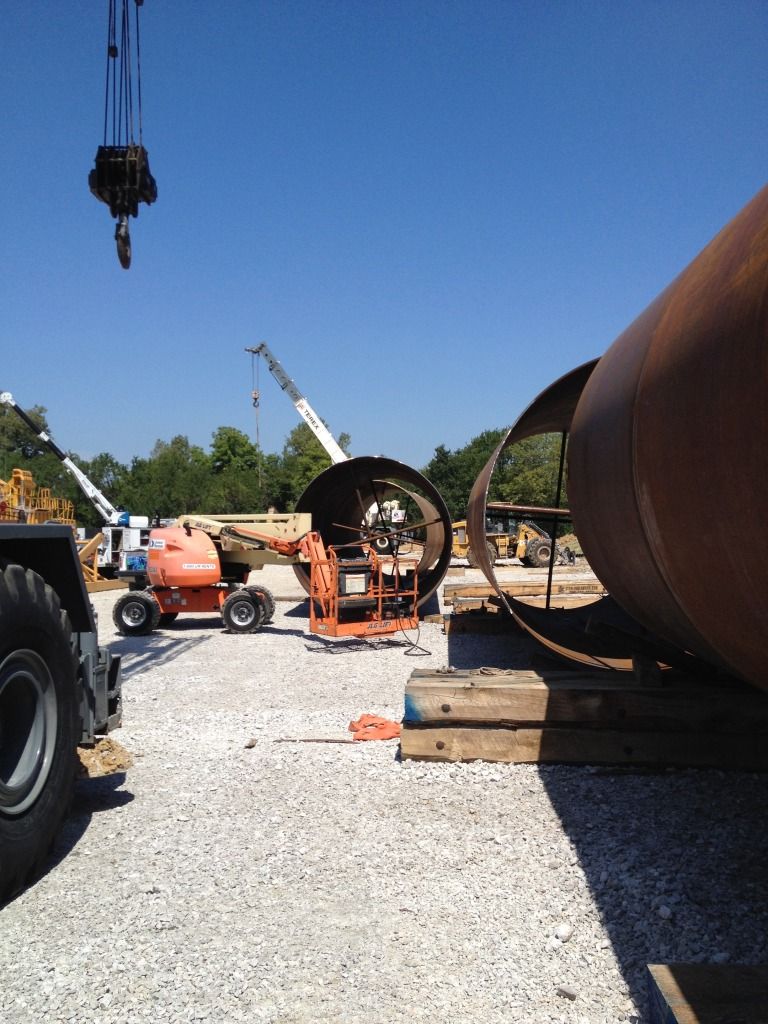
Trev,TRACKRANGER wrote:Well Shannon, all I can say is that I'm sure impressed with the gargantuan size of this project. Some serious runs involved there boy.
How many rods / packets / lbs do you reckon were required to complete a full joint around the circumference including root passes and cap etc?
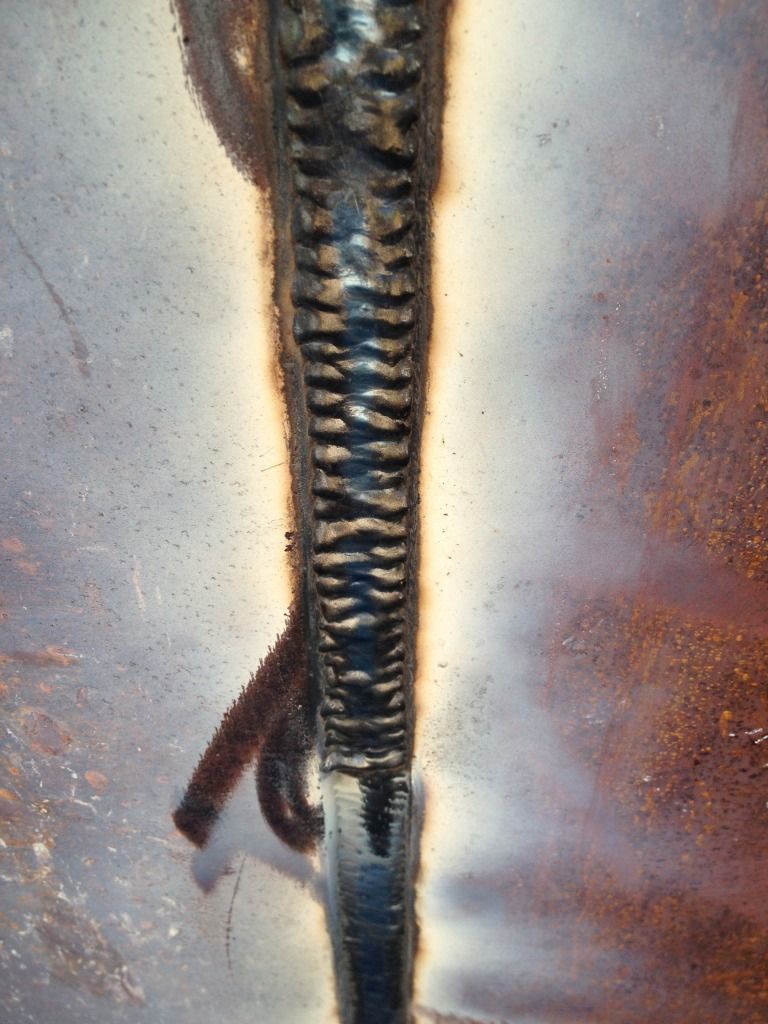
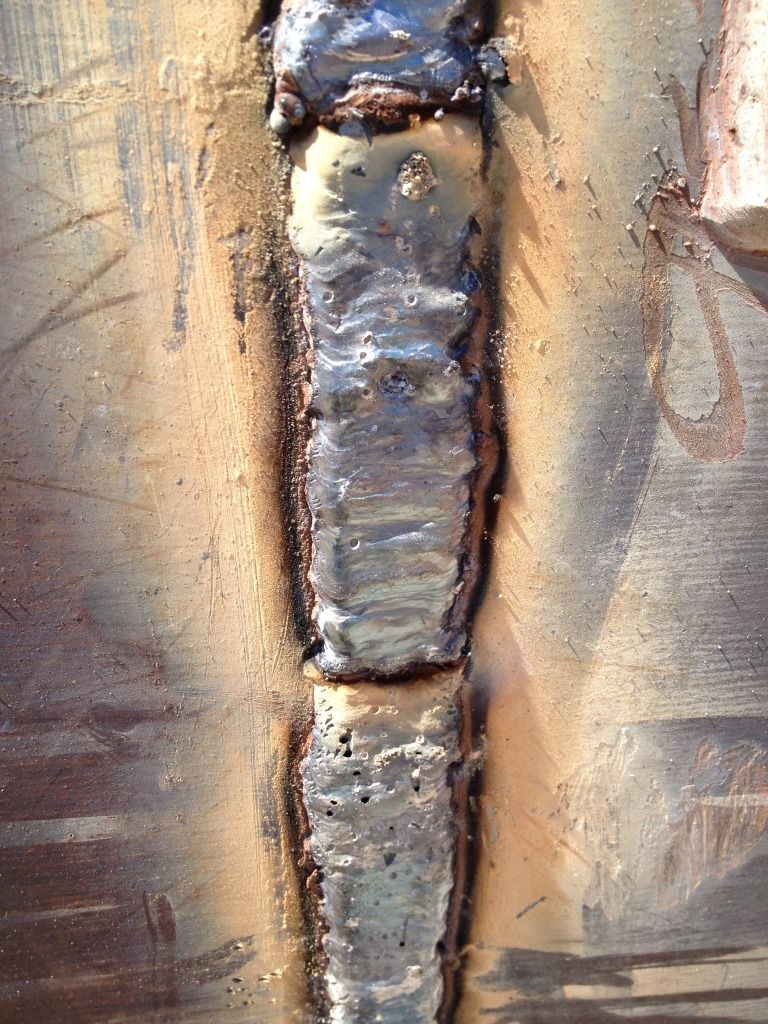
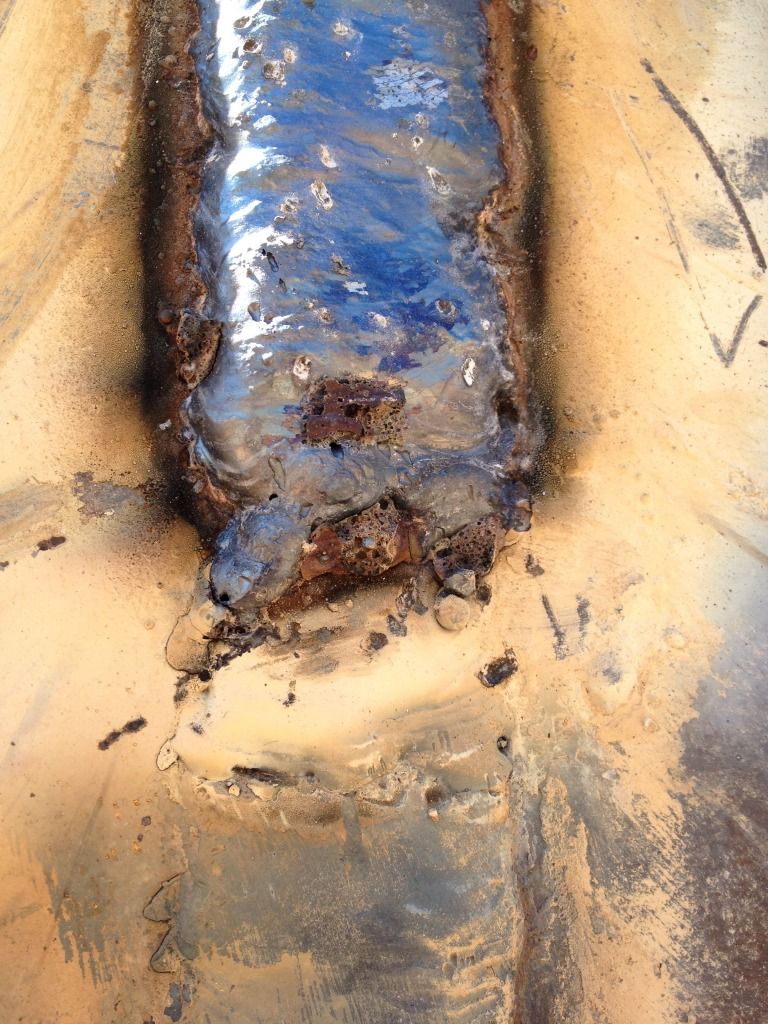
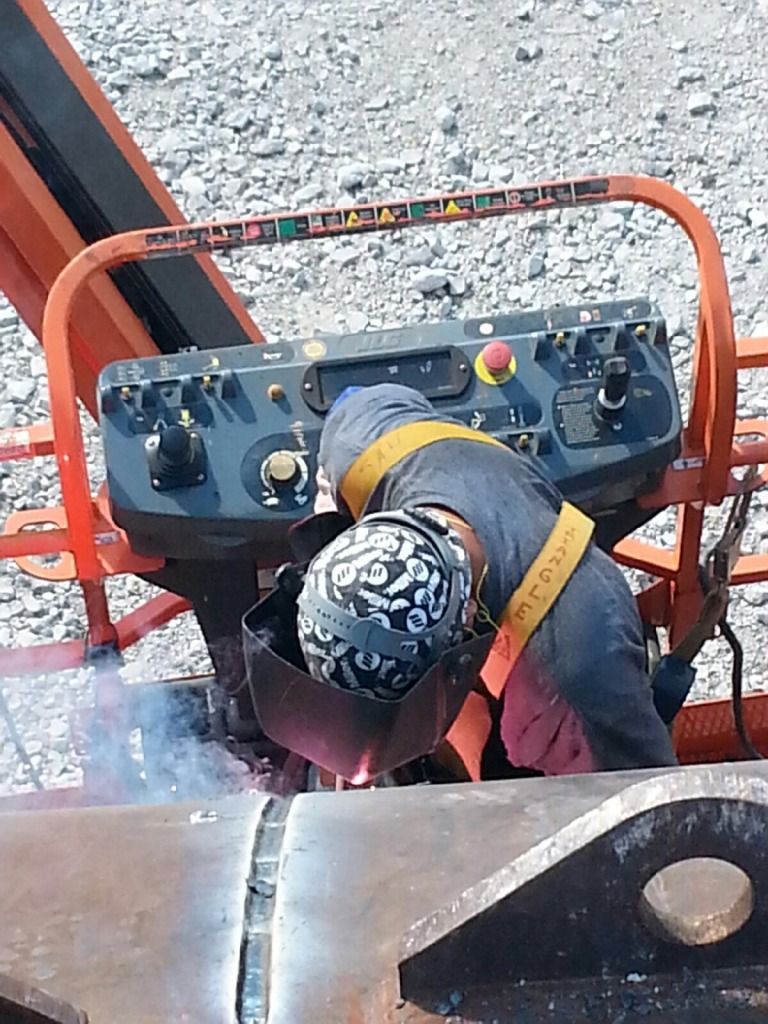
PS: I don't envy you having to fix the under-cut and the slag inclusion....
Trev
What's you see is the reminence of welds where we placed the "dogs" on the cans to push and pull the joints around to get them to align.Artie F. Emm wrote:Sure is a beautiful day in your neighborhood!
In photo #4, what is the purpose of the 2" (or so) welds that are perpendicular to the main weld joint?
What we use is a piece of 1" thick plate that is cut in the shape of an "L" with a 2" bolt that has the nut welded to the plate that is used for clamping and pushing force.weekendwelder70 wrote:I am thinking they are left behind from bar that was welded on for lining up the two pipes.In photo #4, what is the purpose of the 2" (or so) welds that are perpendicular to the main weld joint?
This one was with scarfing tip and a 8" grinder but I have had to use a air arc before.motox wrote:how are you planing on fixing those bad welds, girding?

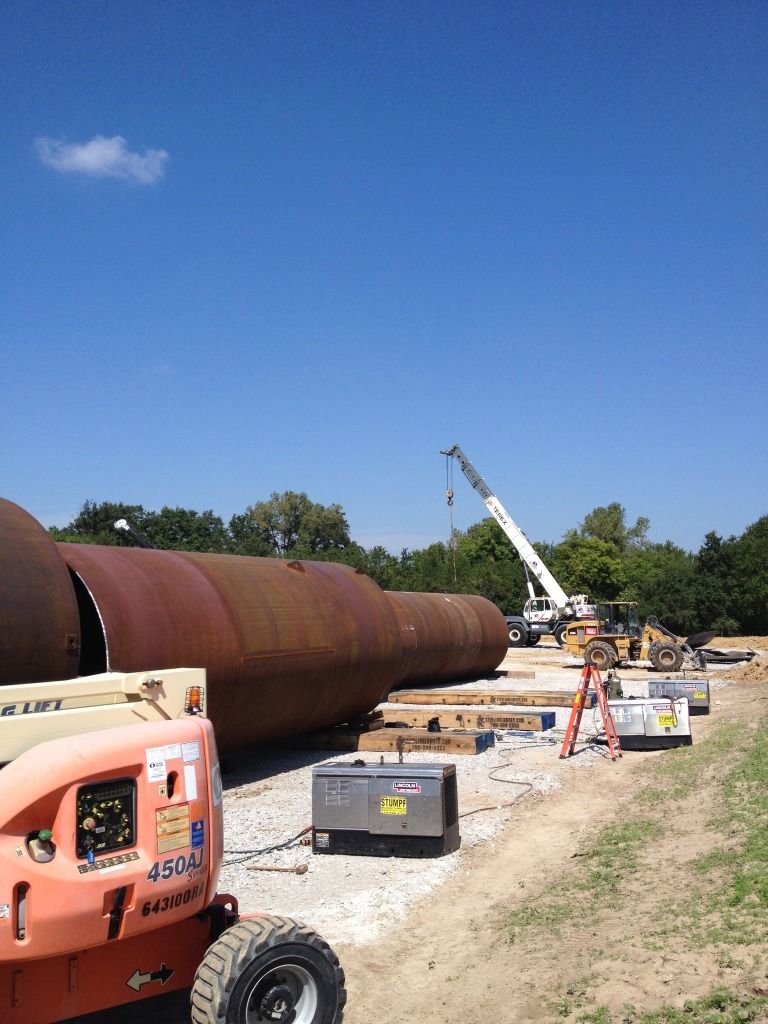
Coal mine air shaft that just had a fire in a old works. This is just the surface casing. Once it's set and concreted in the ground they will drill another hole through that string of cans to shaft depth. Once they pop through we will start running 8' dia in the ground to the mine.TRACKRANGER wrote:Shannon, what will the pipeline be used for?
Some serious capacity there...
Achim,CutKiller wrote:@ImLow
Which clamps did you use?
I always use chain clamps http://www.dwt-gmbh.de/en/pipe-chain-clamps.html but don't know if it's the best solution for that size
Greets from Germany, Achim

This is what we call a "dog". With this piece you can align your joint. The check marks on the outside of the cans that was asked about is where there was a dog welded on to get that joint aligned.CutKiller wrote:@shannon
that would be great, looking forward to it
greets achim
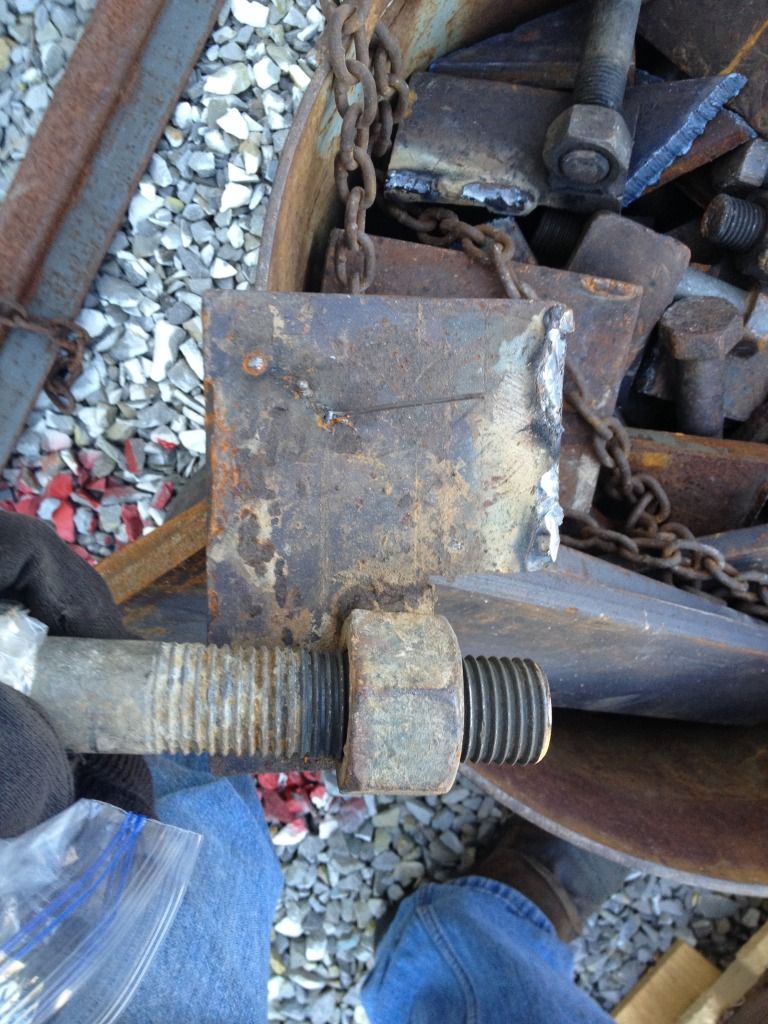
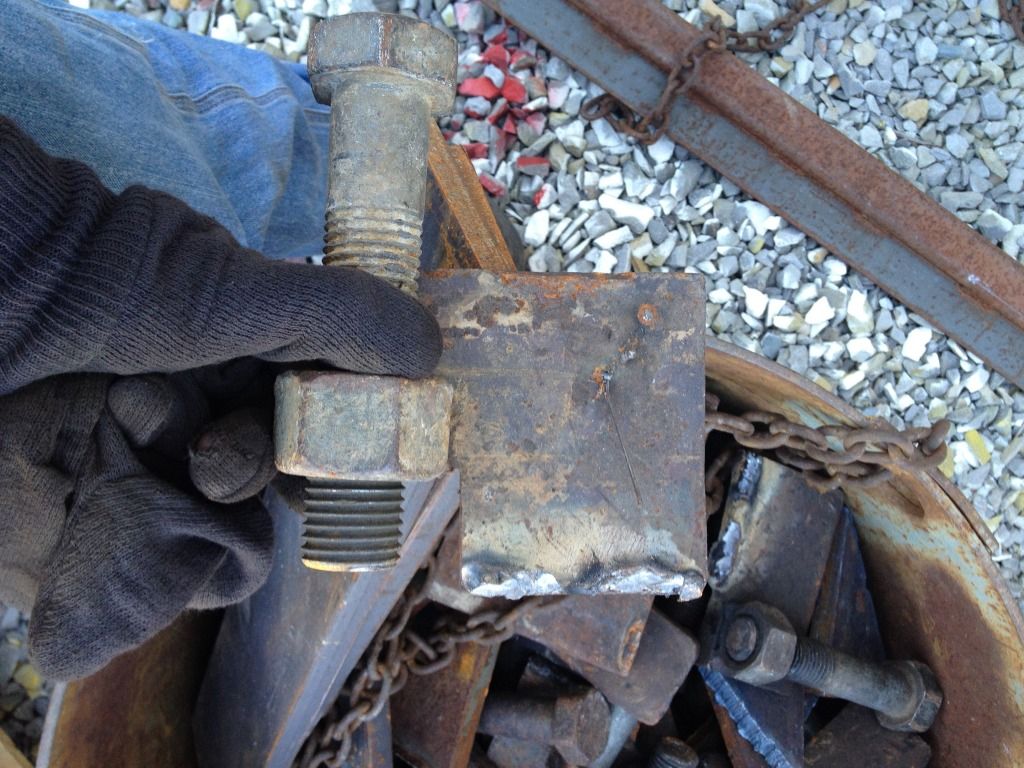
It's amazing the amount of pressure you can exert with that little bolt. But I've also had them pop off and bite me. Had three stacked tight and as soon as I felt the weld give on the one I was tightening I couldn't get away fast enought. Blew all three off and took one to the chest. Needless to say I don't crank on them to that point any longer. I just add more dogs to help distribute the work load over a larger area.Otto Nobedder wrote:That is what I call a "screw-dog". I also have "wedge-dogs", which are quite similar, only a wedge is driven where your threads and nut are. For plate work, I FAR prefer the wedge dog for speed and efficiency. For pipe work, the screw-dog can't be beat.
Steve S

Return to “Welding Projects - Welding project Ideas - Welding project plans”