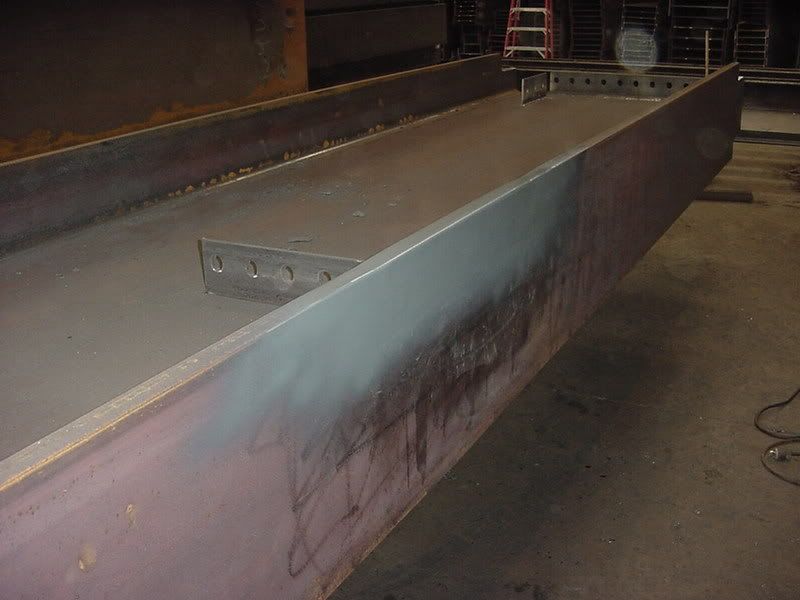
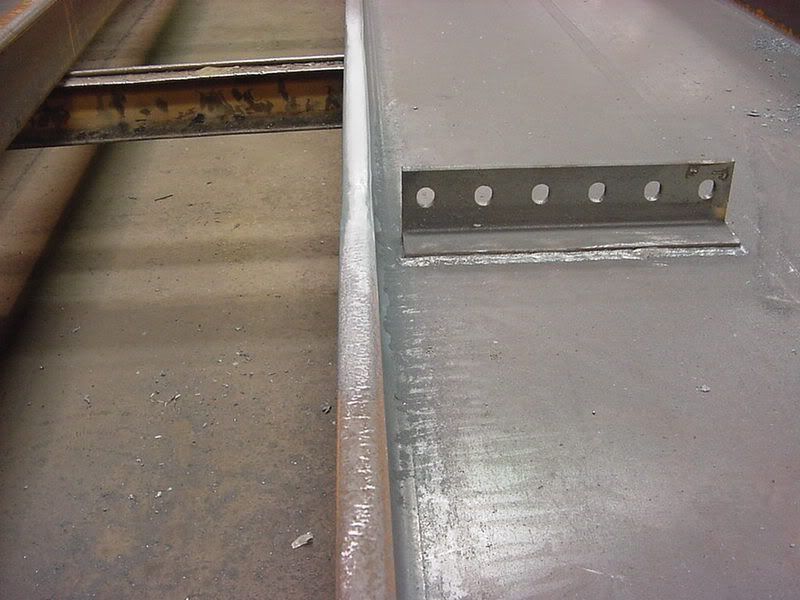
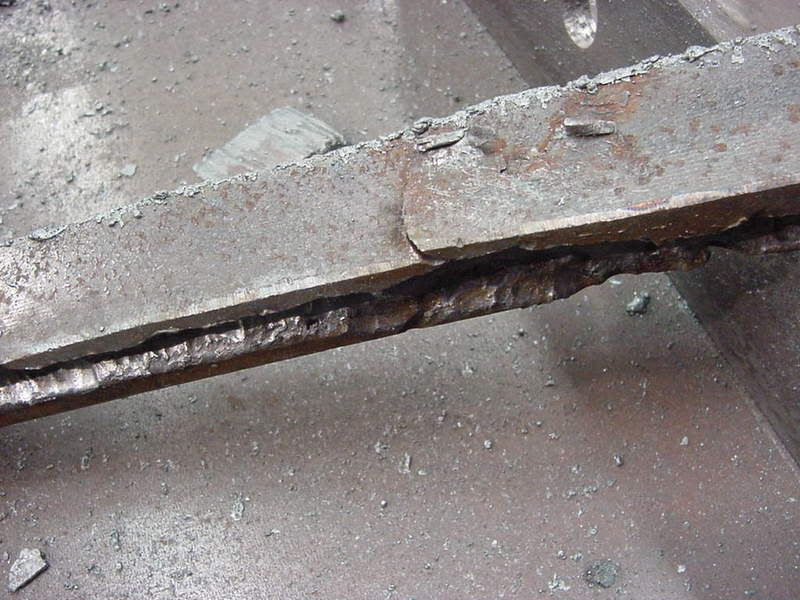
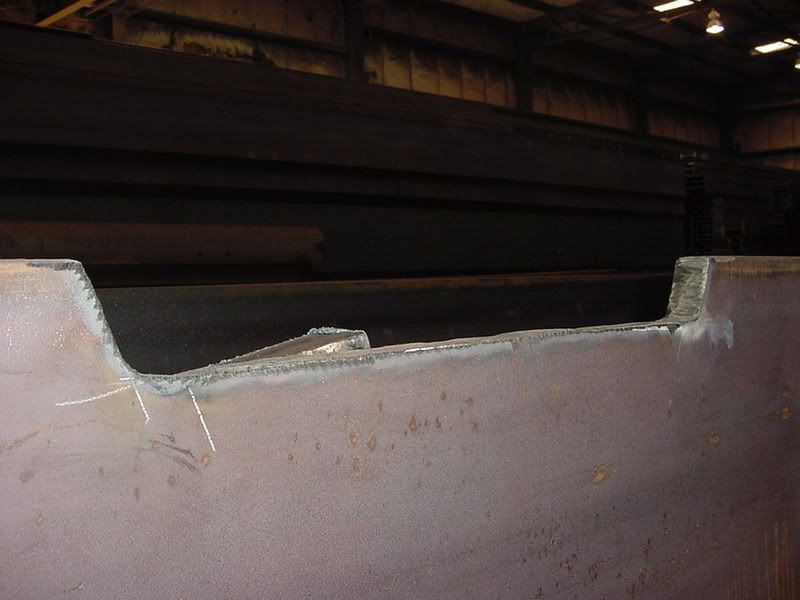
Cut out the damaged section of flange,
![Image](http://img.photobucket.com/albums/v345/jwright650/beam%20flange%20repair/laminationcutfromflange.jpg)
![Image](http://img.photobucket.com/albums/v345/jwright650/beam%20flange%20repair/Picofflangewithareaoflaminationremo.jpg)
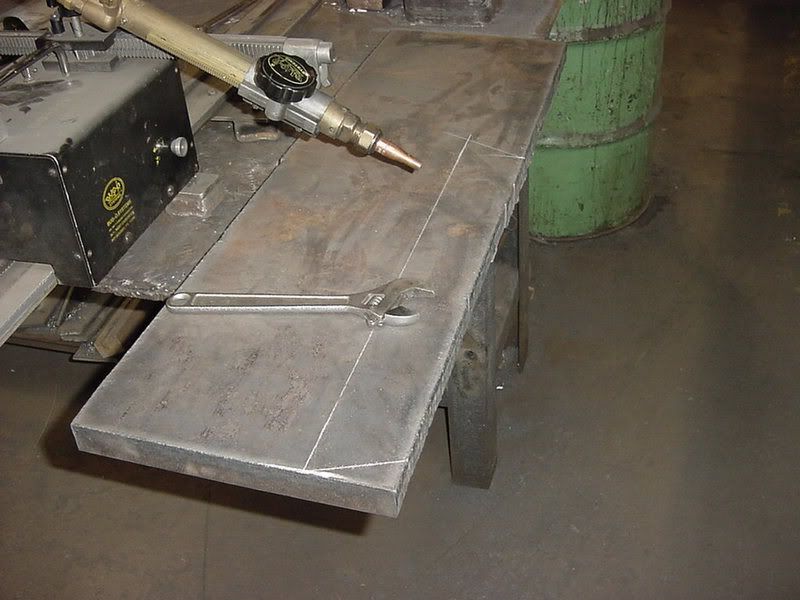
prepped a new piece of material to go back in,
![Image](http://img.photobucket.com/albums/v345/jwright650/beam%20flange%20repair/piecelaidouttorepairflange.jpg)
![Image](http://img.photobucket.com/albums/v345/jwright650/beam%20flange%20repair/preparingpieceforrepair.jpg)
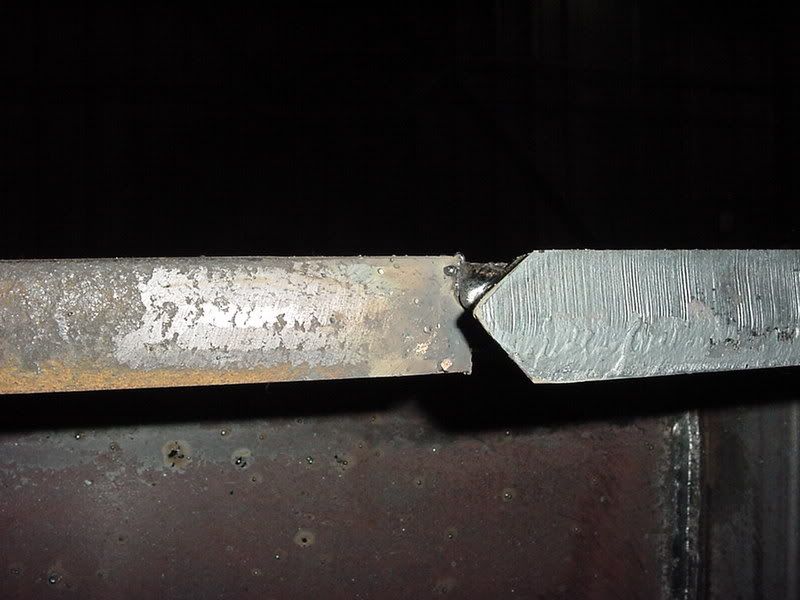
tacked the new material in place,
![Image](http://img.photobucket.com/albums/v345/jwright650/beam%20flange%20repair/endviewshowingjointpreparation.jpg)
![Image](http://img.photobucket.com/albums/v345/jwright650/beam%20flange%20repair/repairpiecepartiallyweldedinplace.jpg)
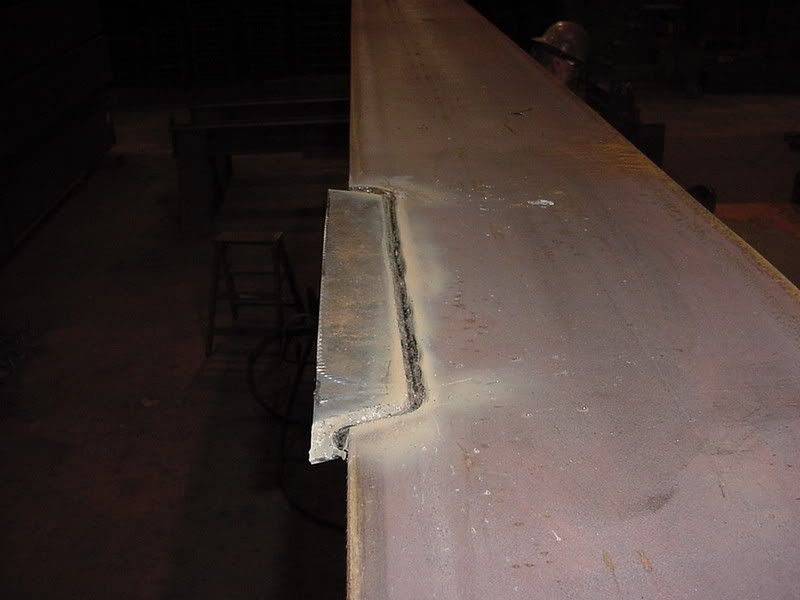
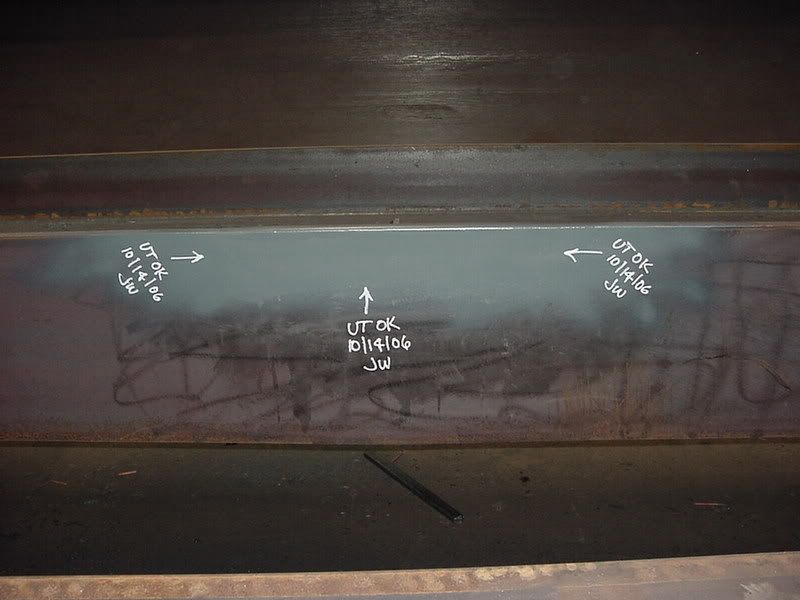
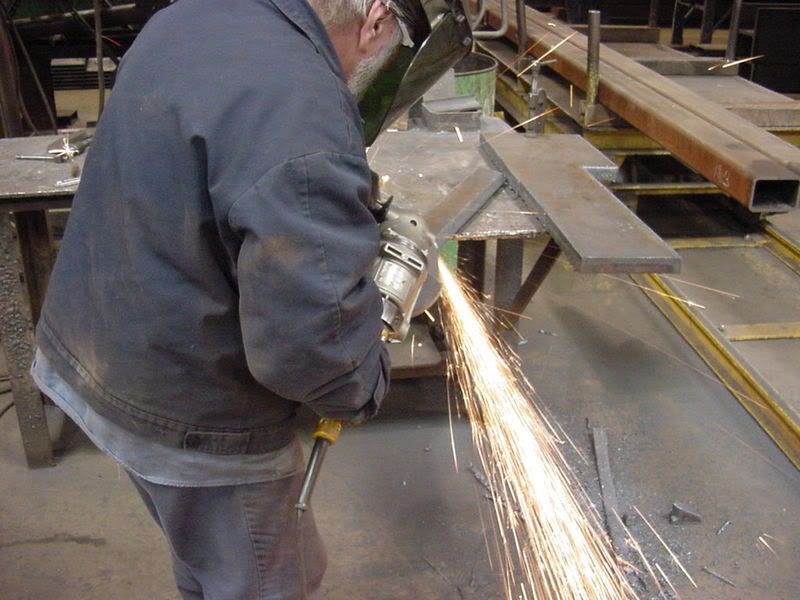
welded one side, back gouged to sound material from the other side and welded, ground the area to appear seamless, inspected the area with ultrasonics to ensure soundness, added a rust preventative coating over the freshly ground material.
![Image](http://img.photobucket.com/albums/v345/jwright650/beam%20flange%20repair/completedrepair.jpg)
![Image](http://img.photobucket.com/albums/v345/jwright650/beam%20flange%20repair/UTinspectionofareacompleted.jpg)
![Image](http://img.photobucket.com/albums/v345/jwright650/beam%20flange%20repair/completedrepair1.jpg)