What welding projects are you working on? Are you proud of something you built?
How about posting some pics so other welders can get some ideas?
LS Customs
  • Posts:
  • Joined:
    Tue Feb 23, 2016 11:56 pm

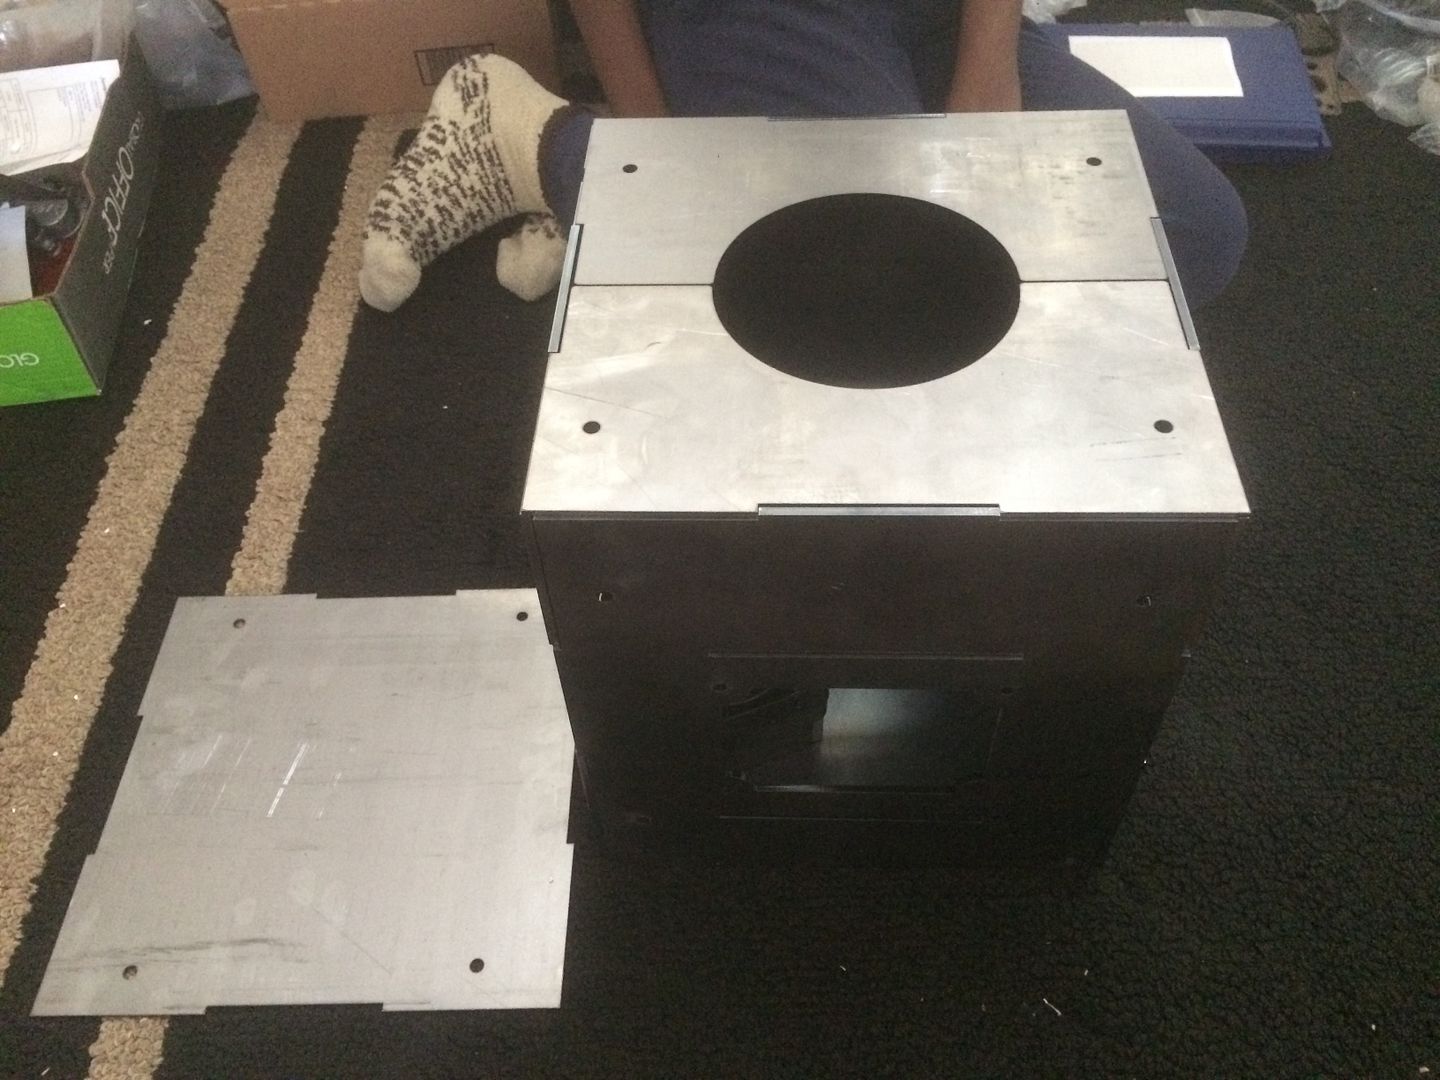
fits together nicely and as planned...
Image

the piece on the floor, is another cover, to cover the gears/chain or belt etc, that will be on the side of the enclosure that is on the floor...
LS Customs
  • Posts:
  • Joined:
    Tue Feb 23, 2016 11:56 pm

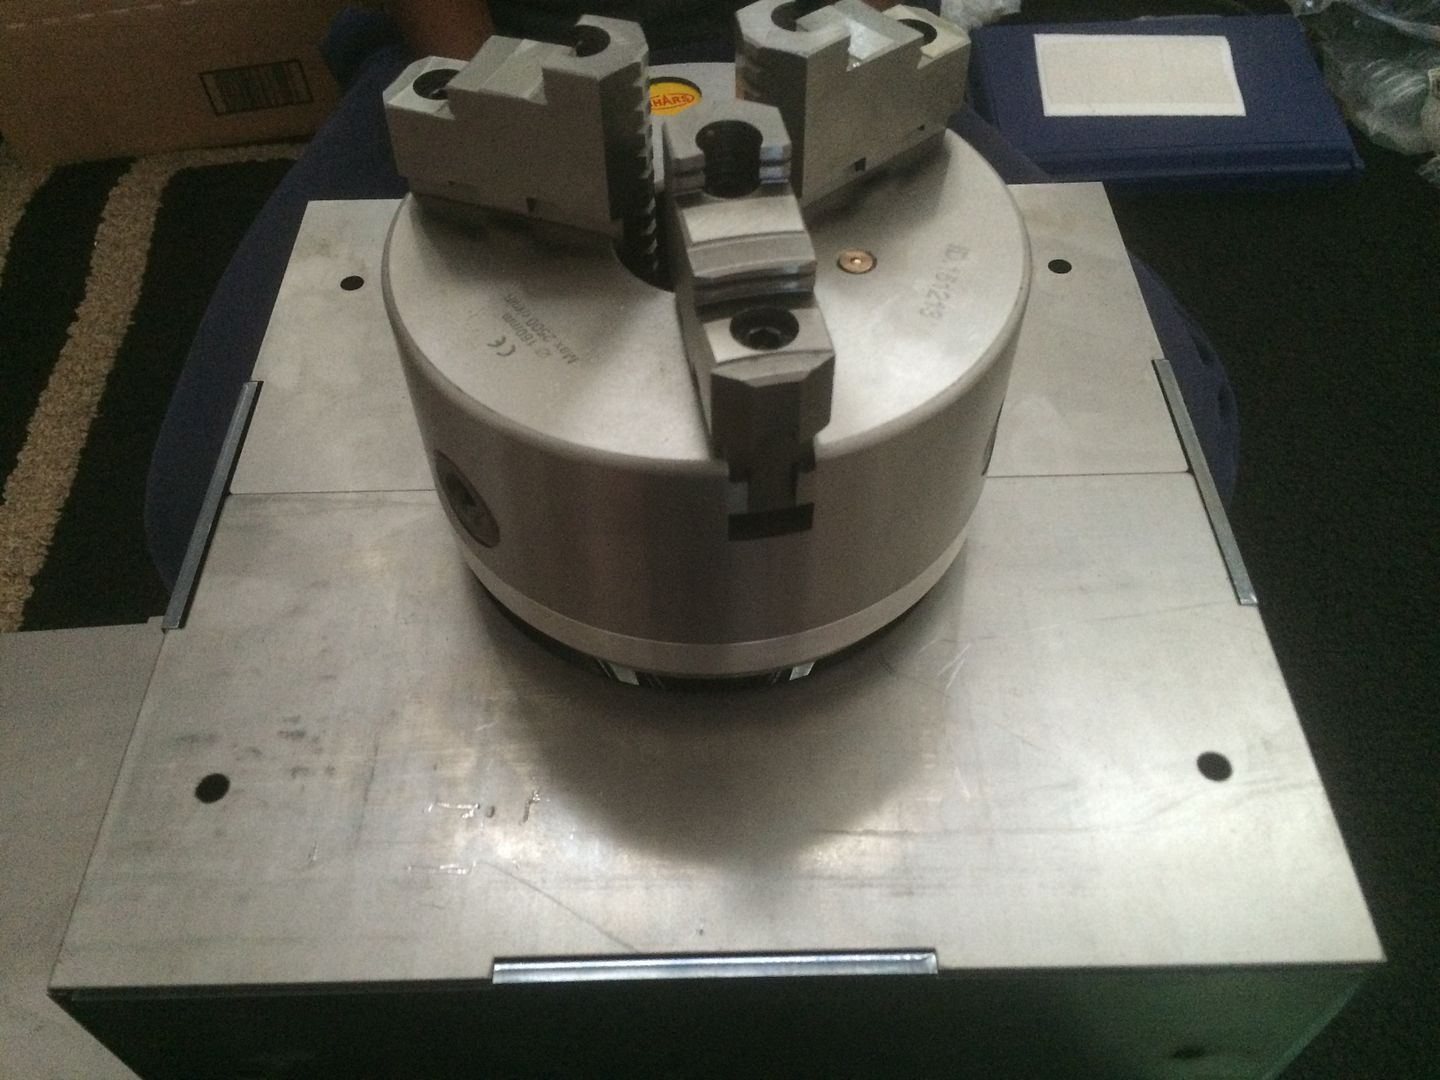
just threw a bearing in there to slide the chuck etc on to make sure that will work as planned... i recessed it all because i did not want the grounding setup, etc to show or stick out a silly amount... as the look would probably bother me... and i wanted to protect any of the moving parts... anyway... i just wanted the chuck to stick out... i wish i would have found a narrower chuck, but this was an affordable option... and i didnt pay attention to how thick it was when i bought it...

Image

Image
LS Customs
  • Posts:
  • Joined:
    Tue Feb 23, 2016 11:56 pm

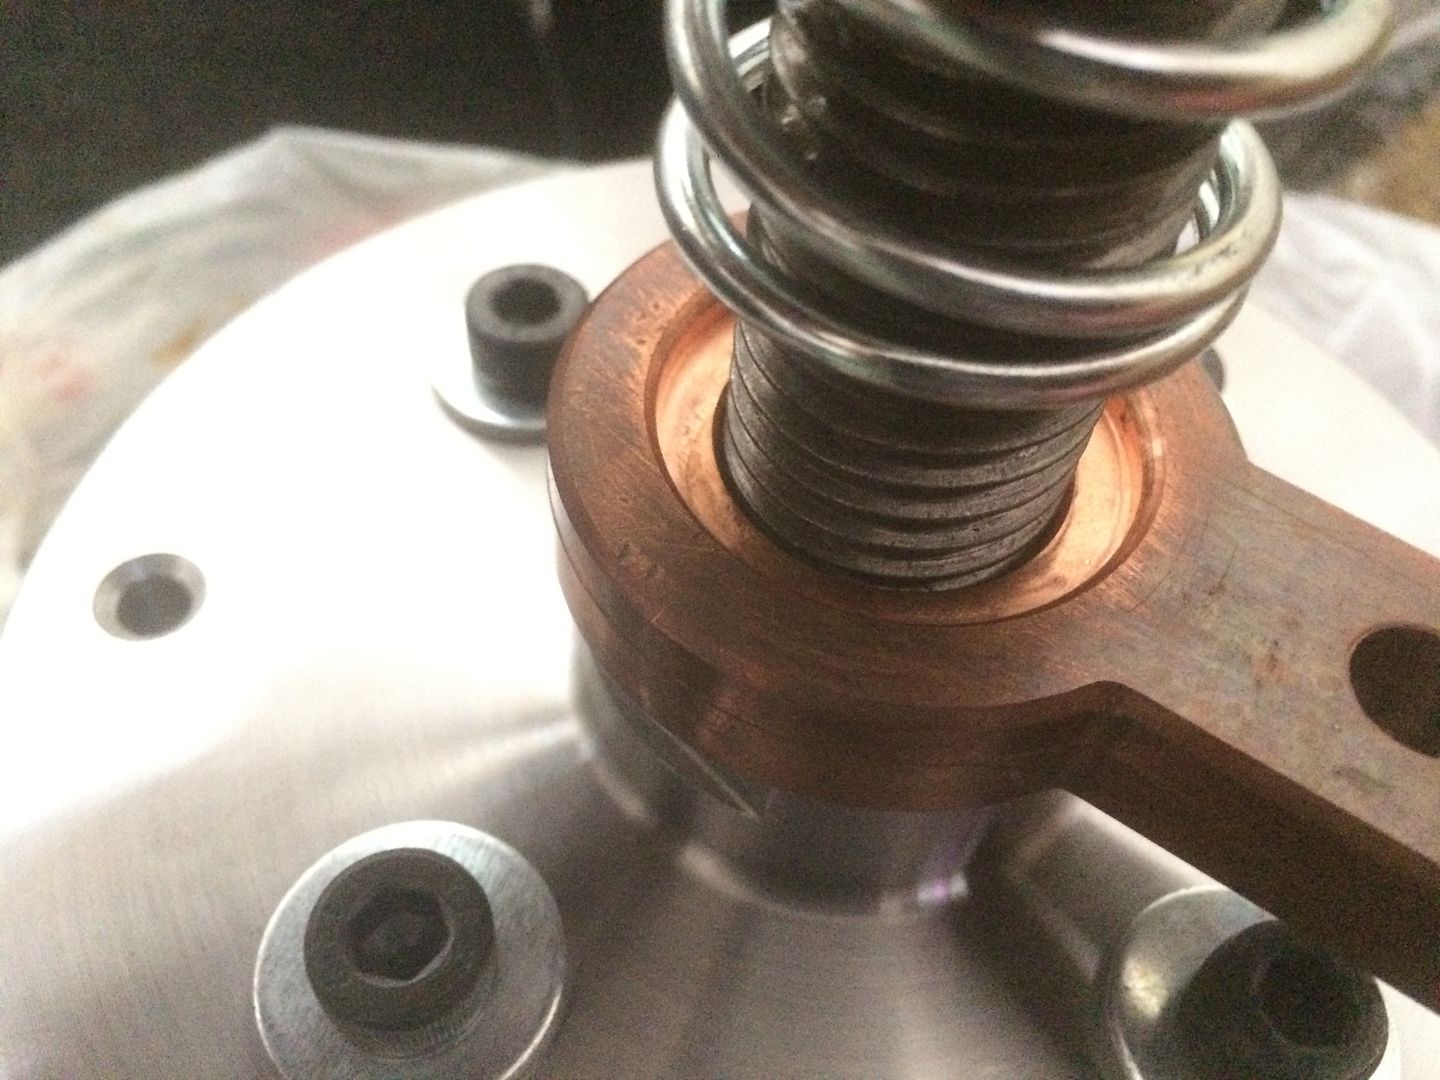
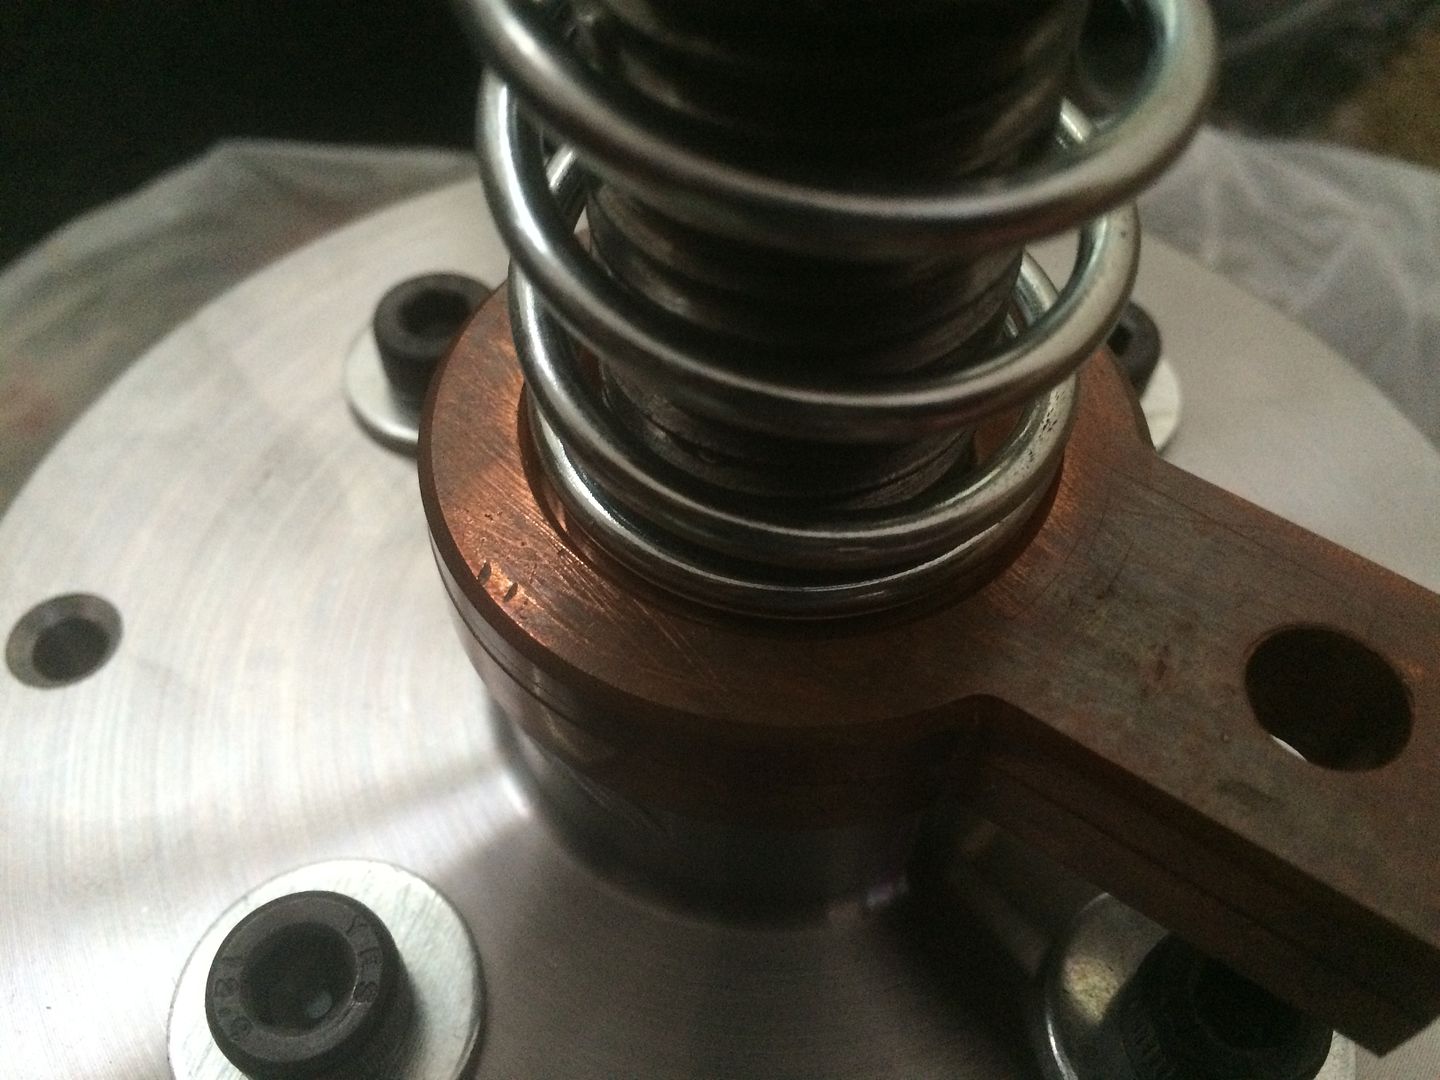
just waiting on the the last copper piece... still... but i think it would work great even without it... but as soon as i get it, i will put everything together... i need to find a decent (budget friendly) pedal (that will allow me to vary the speed with it too (along with the controller) and going to order a gear for the one inch shaft and use #35 chain... could use a belt setup... but i have the gear for the motor and plenty of chain already and it would work fine...

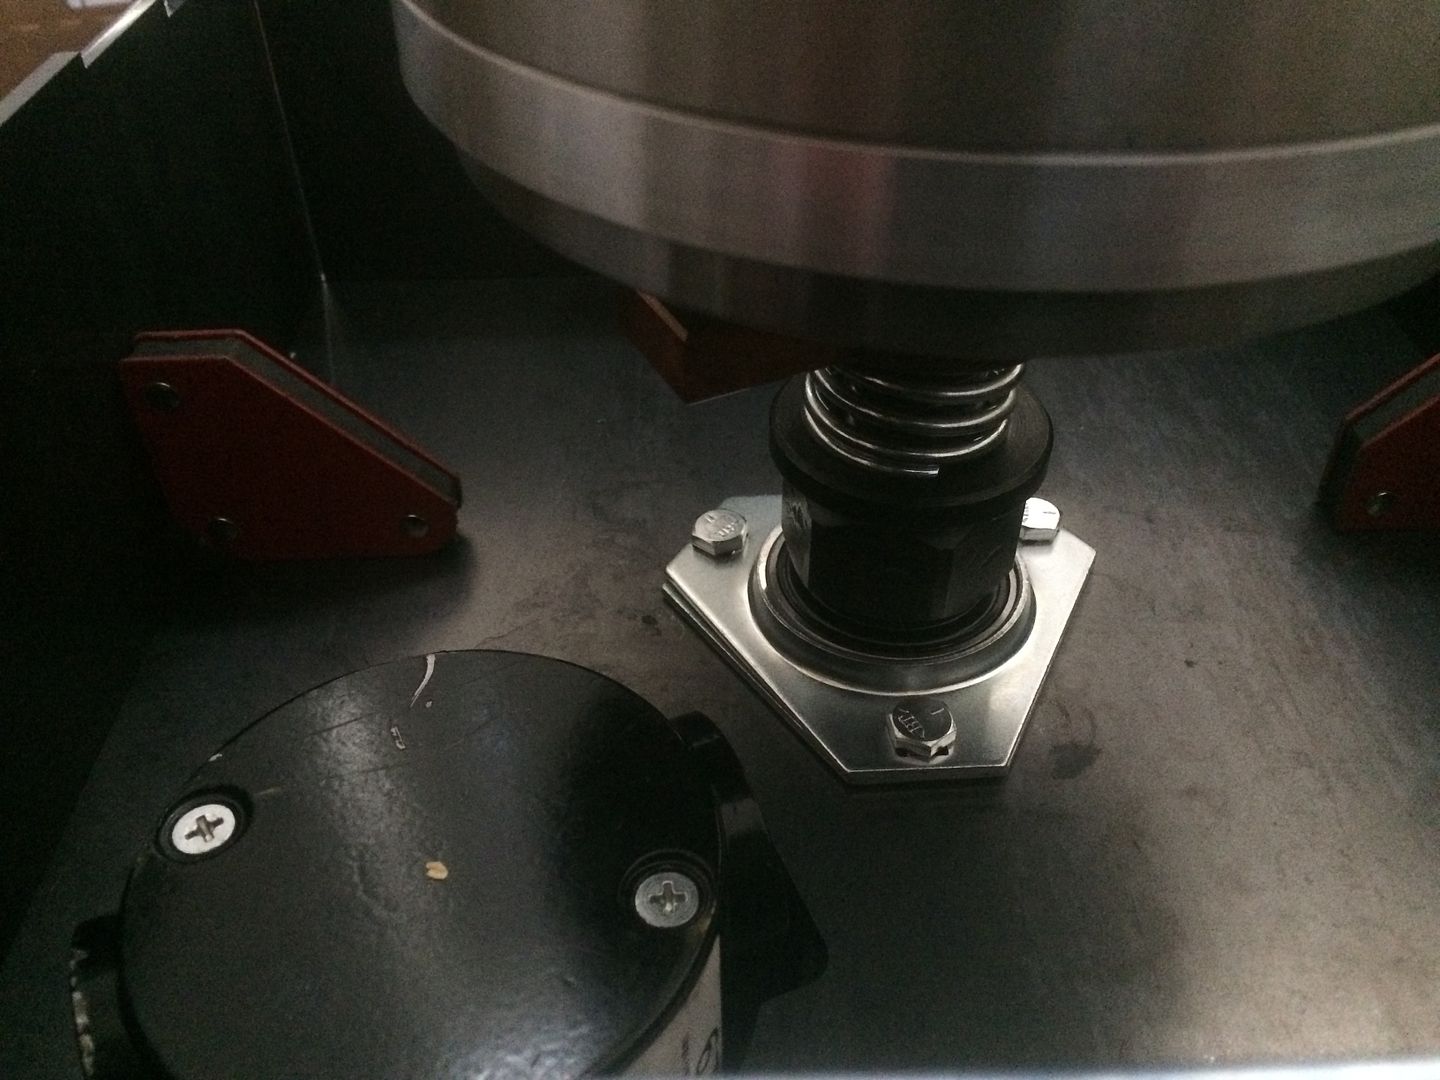
the spring sits in a pocket... and the copper lug spins nicely.... tension is adjusted but tightening or loosening the nut against the spring...
Image

Image
Rick_H
  • Posts:
  • Joined:
    Sat Feb 08, 2014 1:50 pm
  • Location:
    PA/MD

Looking awesome....
I weld stainless, stainless and more stainless...Food Industry, sanitary process piping, vessels, whatever is needed, I like to make stuff.
ASME IX, AWS 17.1, D1.1
Instagram #RNHFAB
plain ol Bill
  • Posts:
  • Joined:
    Wed Apr 08, 2015 6:46 pm
  • Location:
    Tenino, WA

That is looking awesome! Please keep us posted on your progress and a "how to".
Tired old welder
CNC plasma cutter
Colorful shop w/
Red, blue, yellow, purple, and Hypertherm silver equip.
LS Customs
  • Posts:
  • Joined:
    Tue Feb 23, 2016 11:56 pm

thanks! almost where i can get on this consistently... have n outpatient surgery tomorrow, hopefully the last thing to do for a while.. waiting on cat scan result. blood test results, blah blah blah..

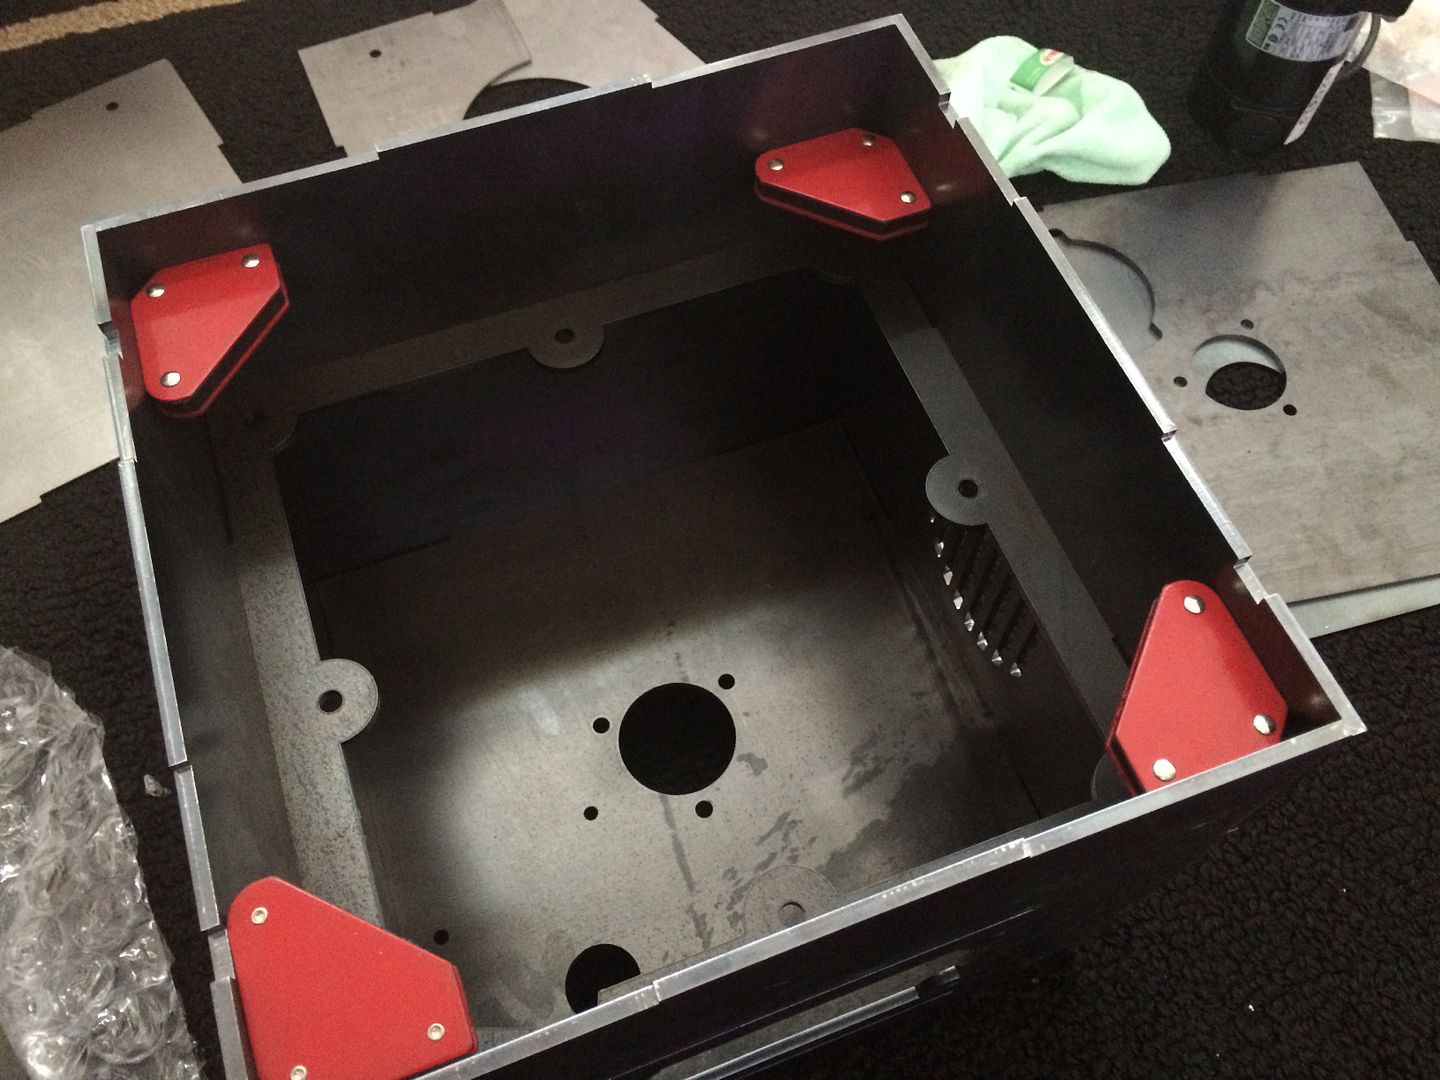
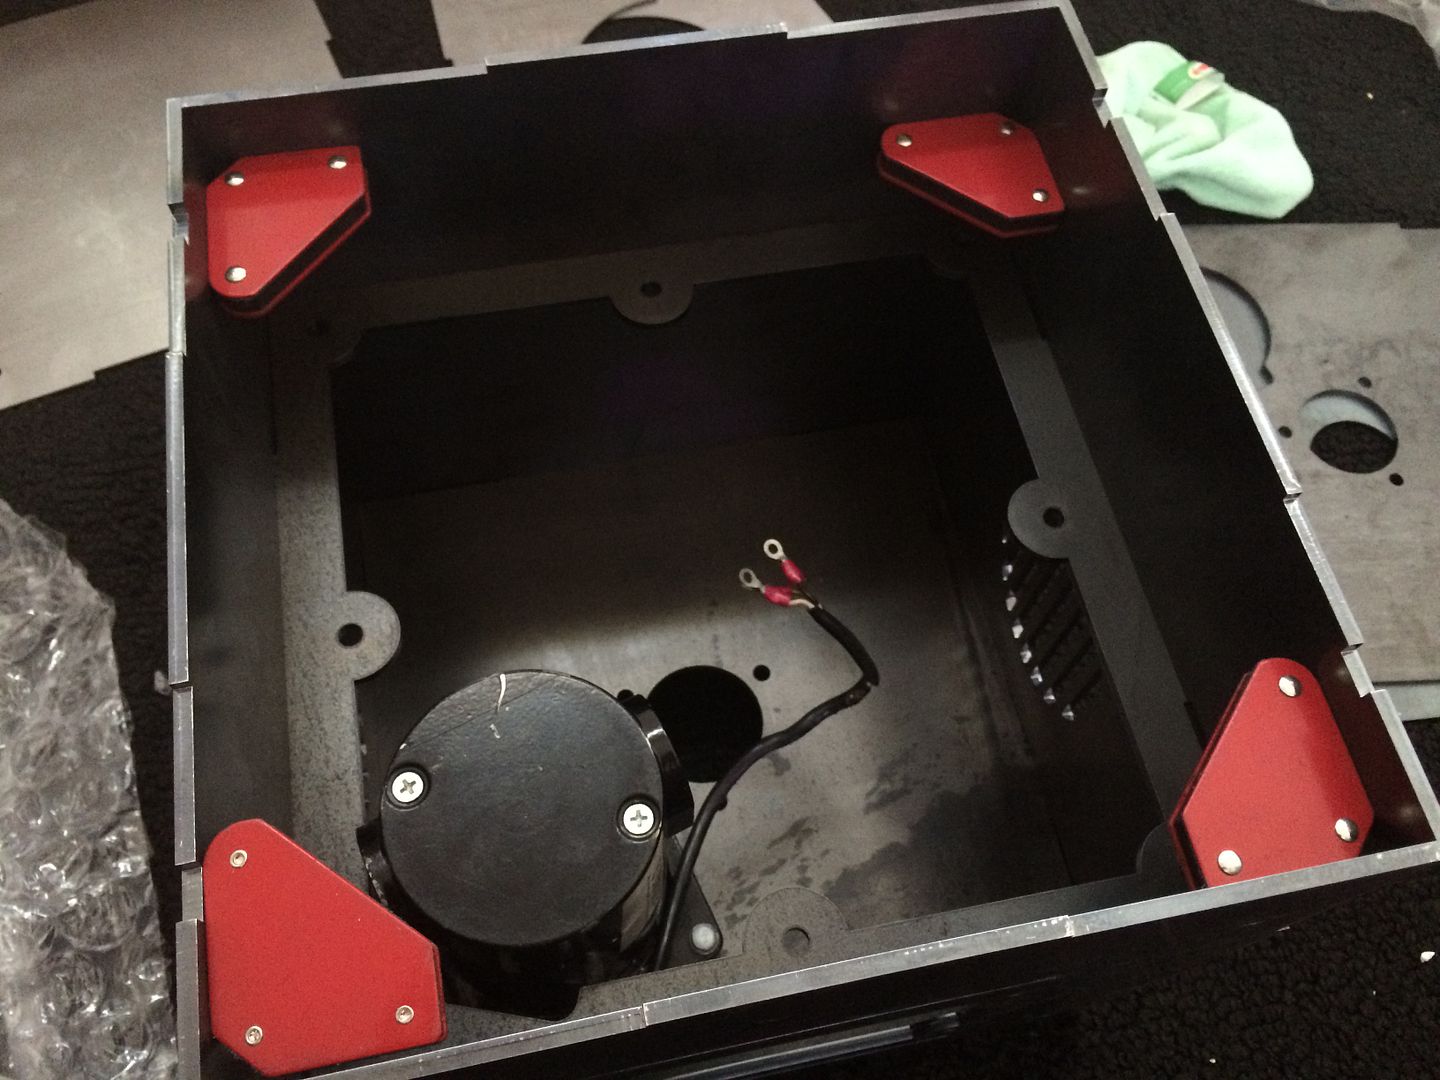
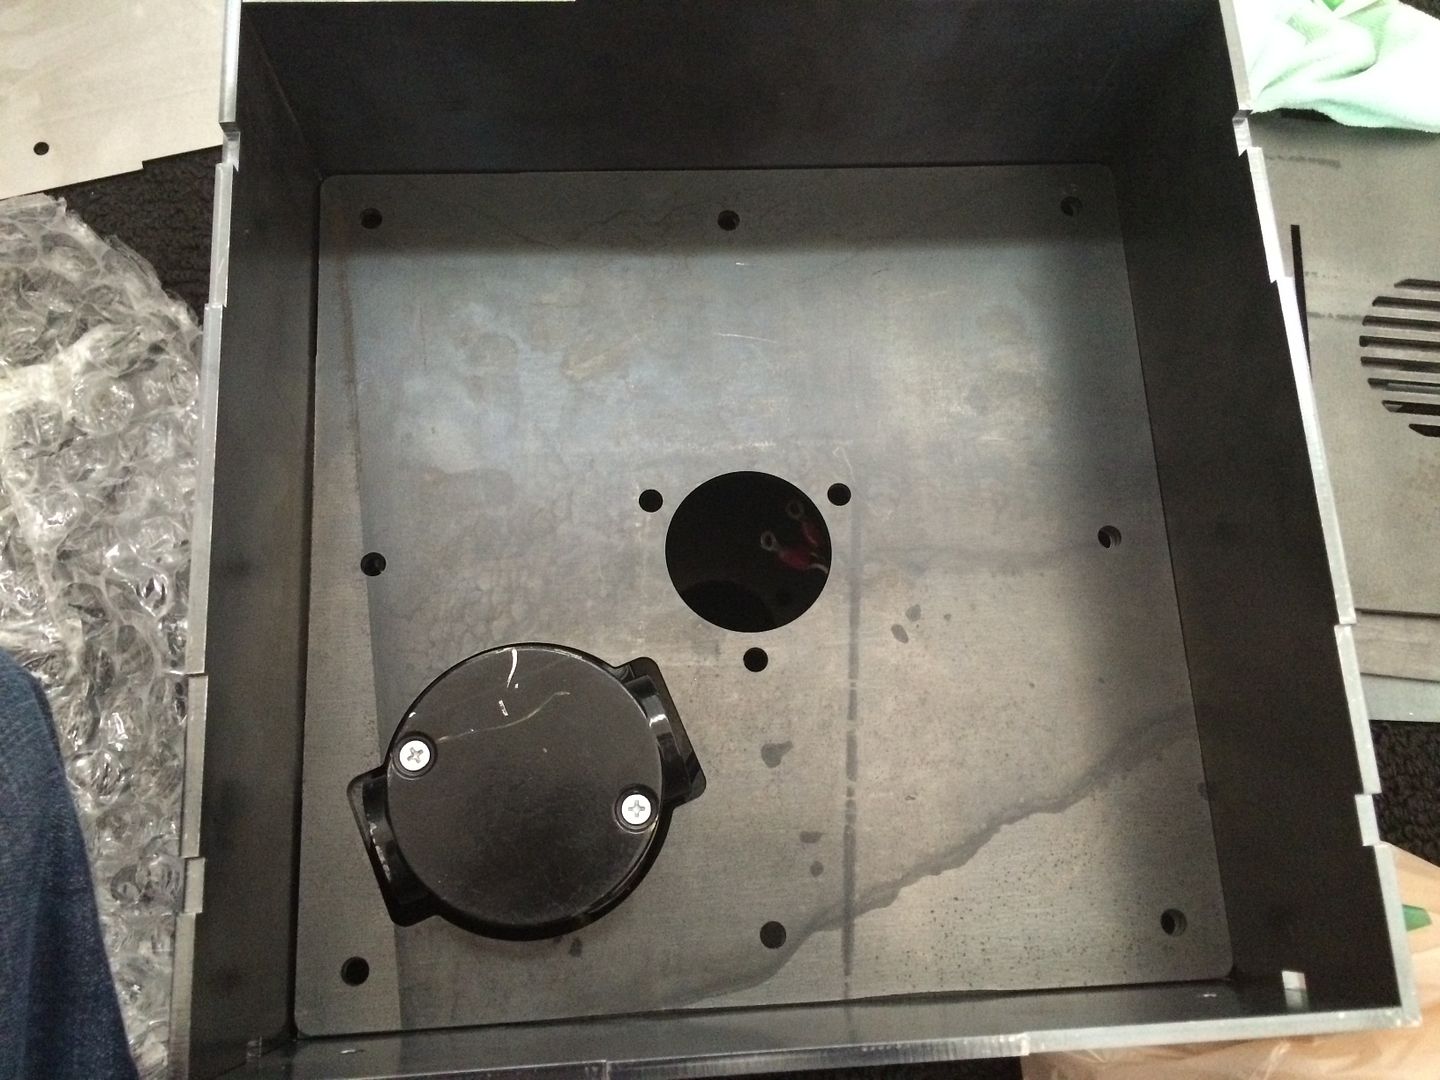
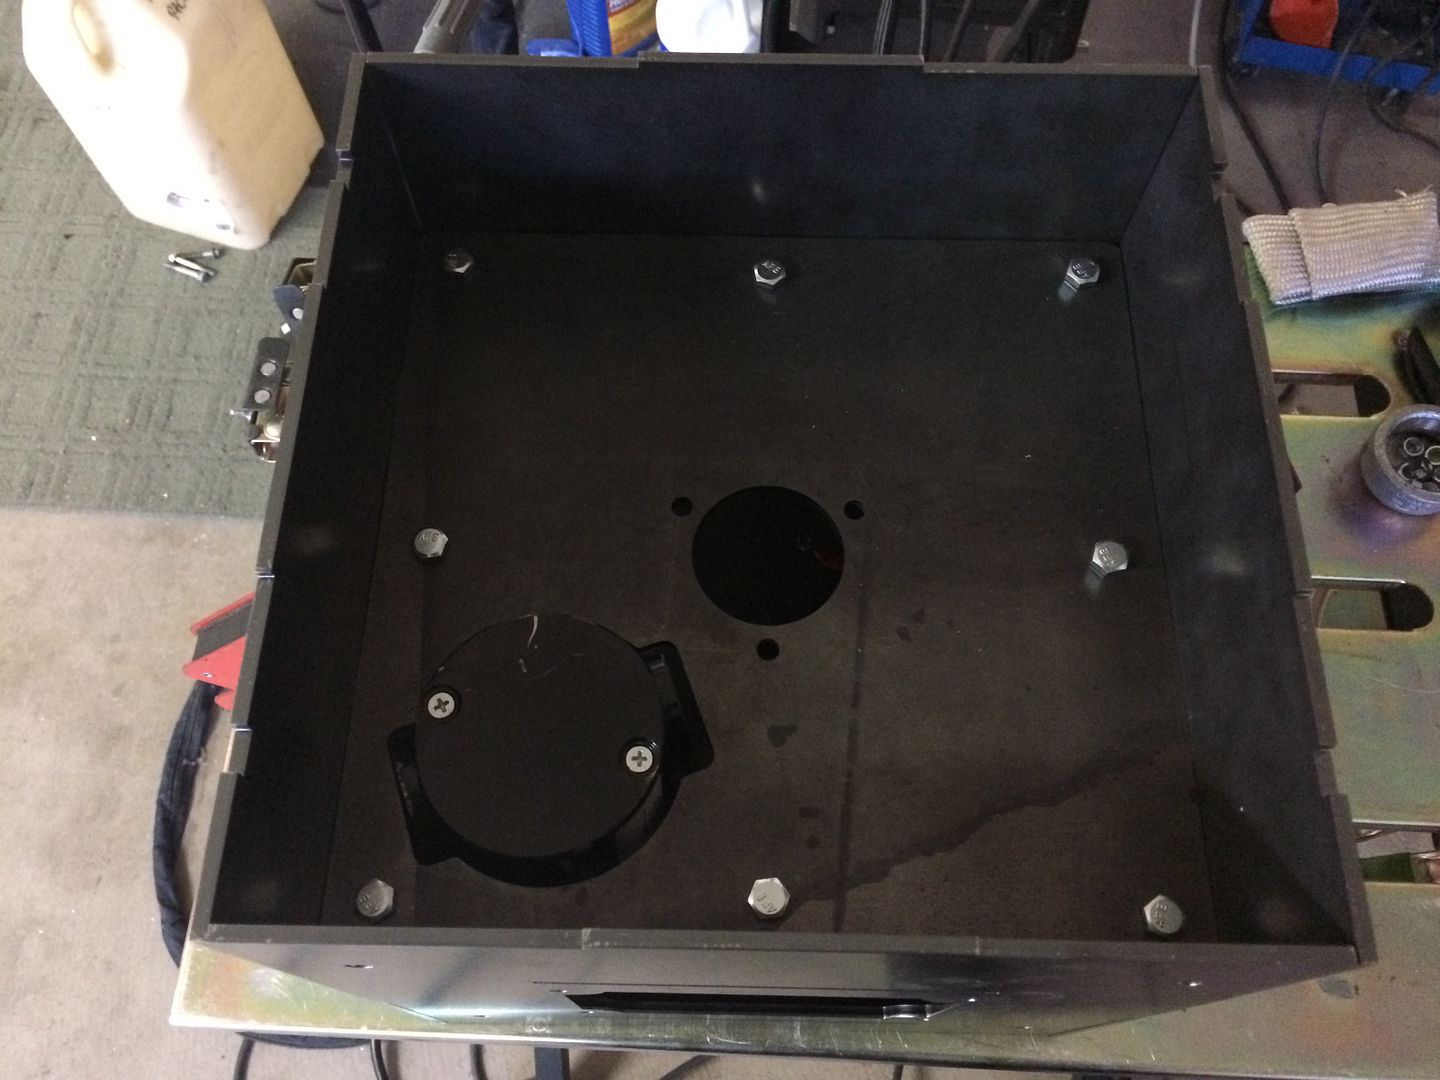
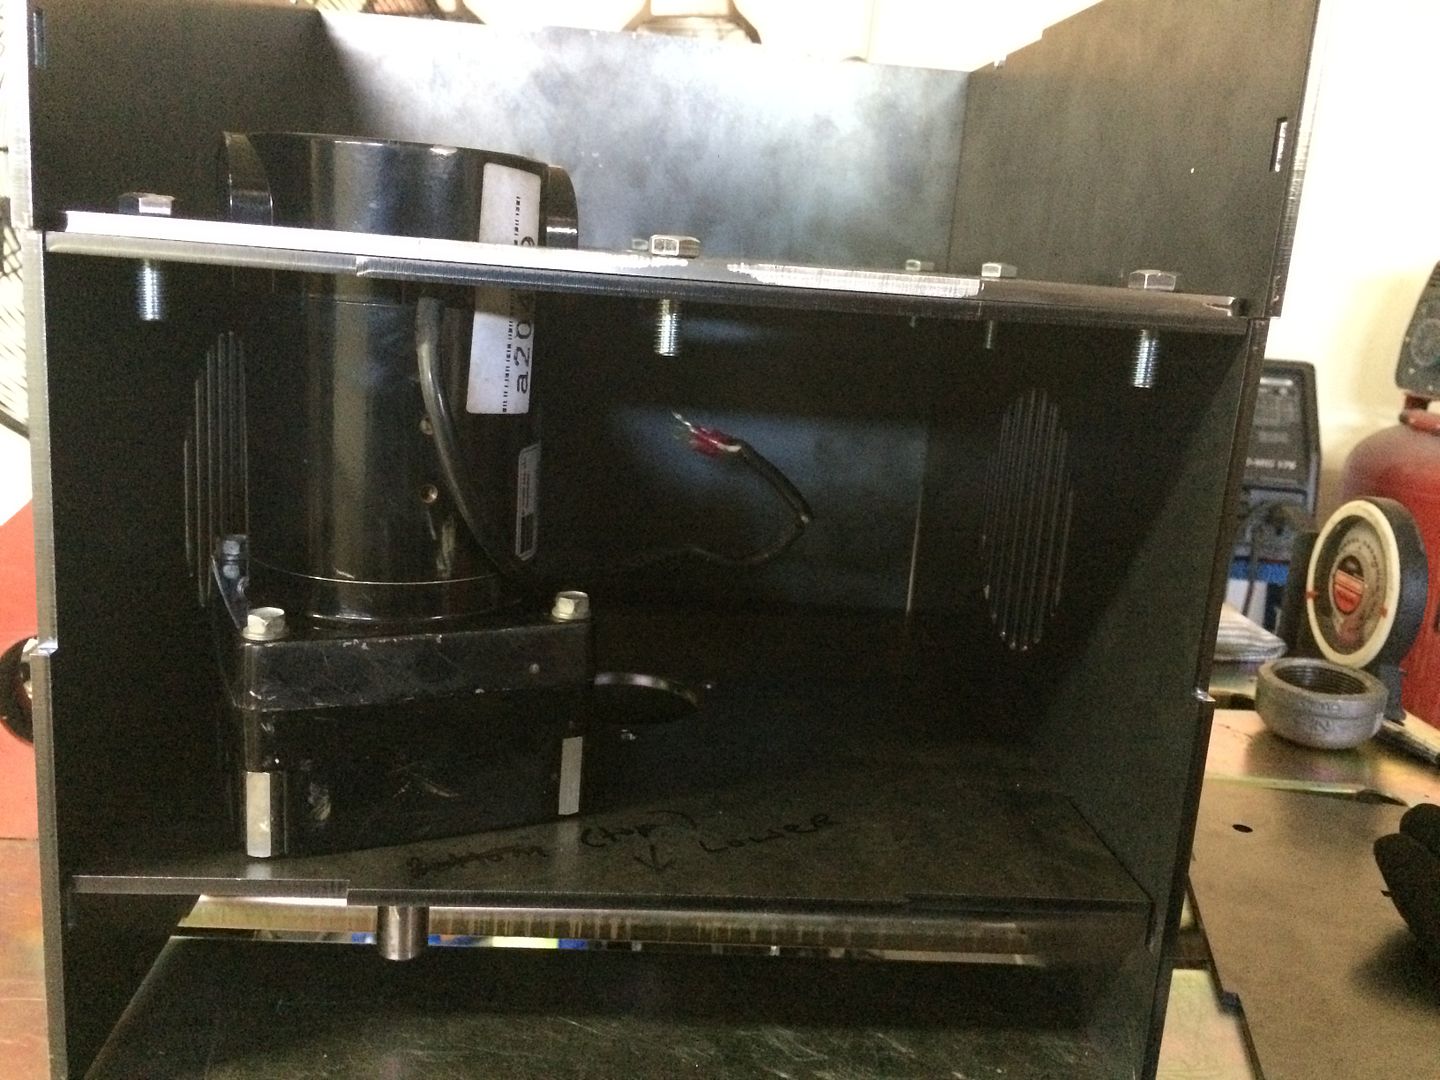
in the mean time i had to change up one part of my design, in order to make it possible or much easier to get the pump out and in should i need to change it or service it... should be good to go now...

Image

Image

not sitting in there all the way right, but this is the idea
Image
LS Customs
  • Posts:
  • Joined:
    Tue Feb 23, 2016 11:56 pm

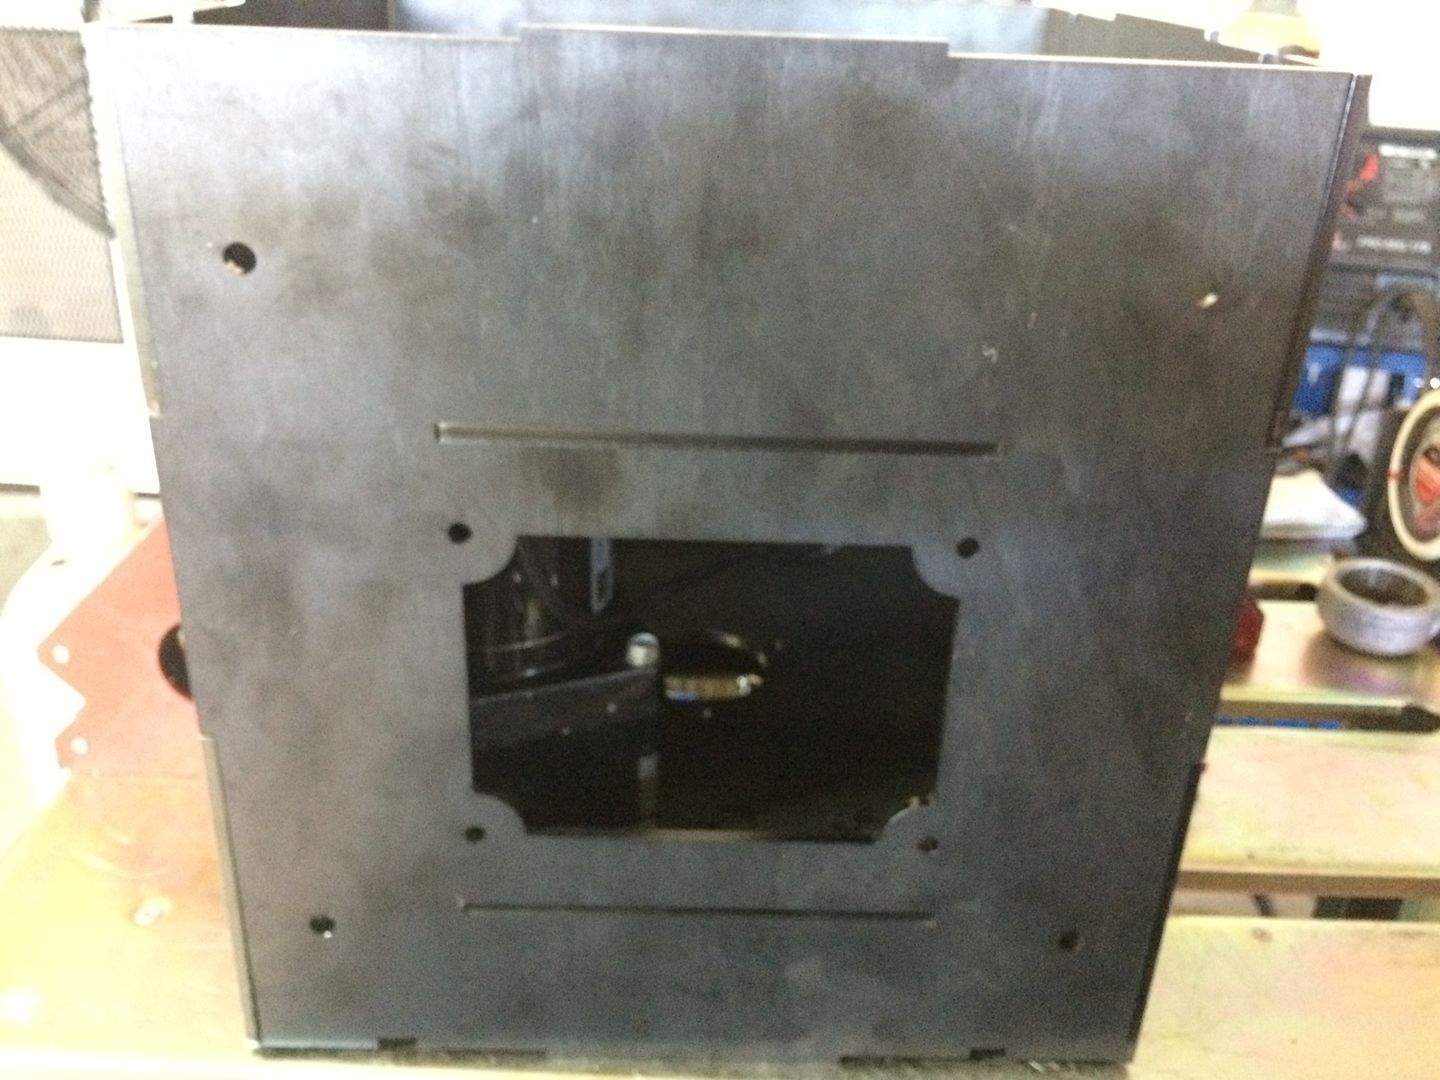
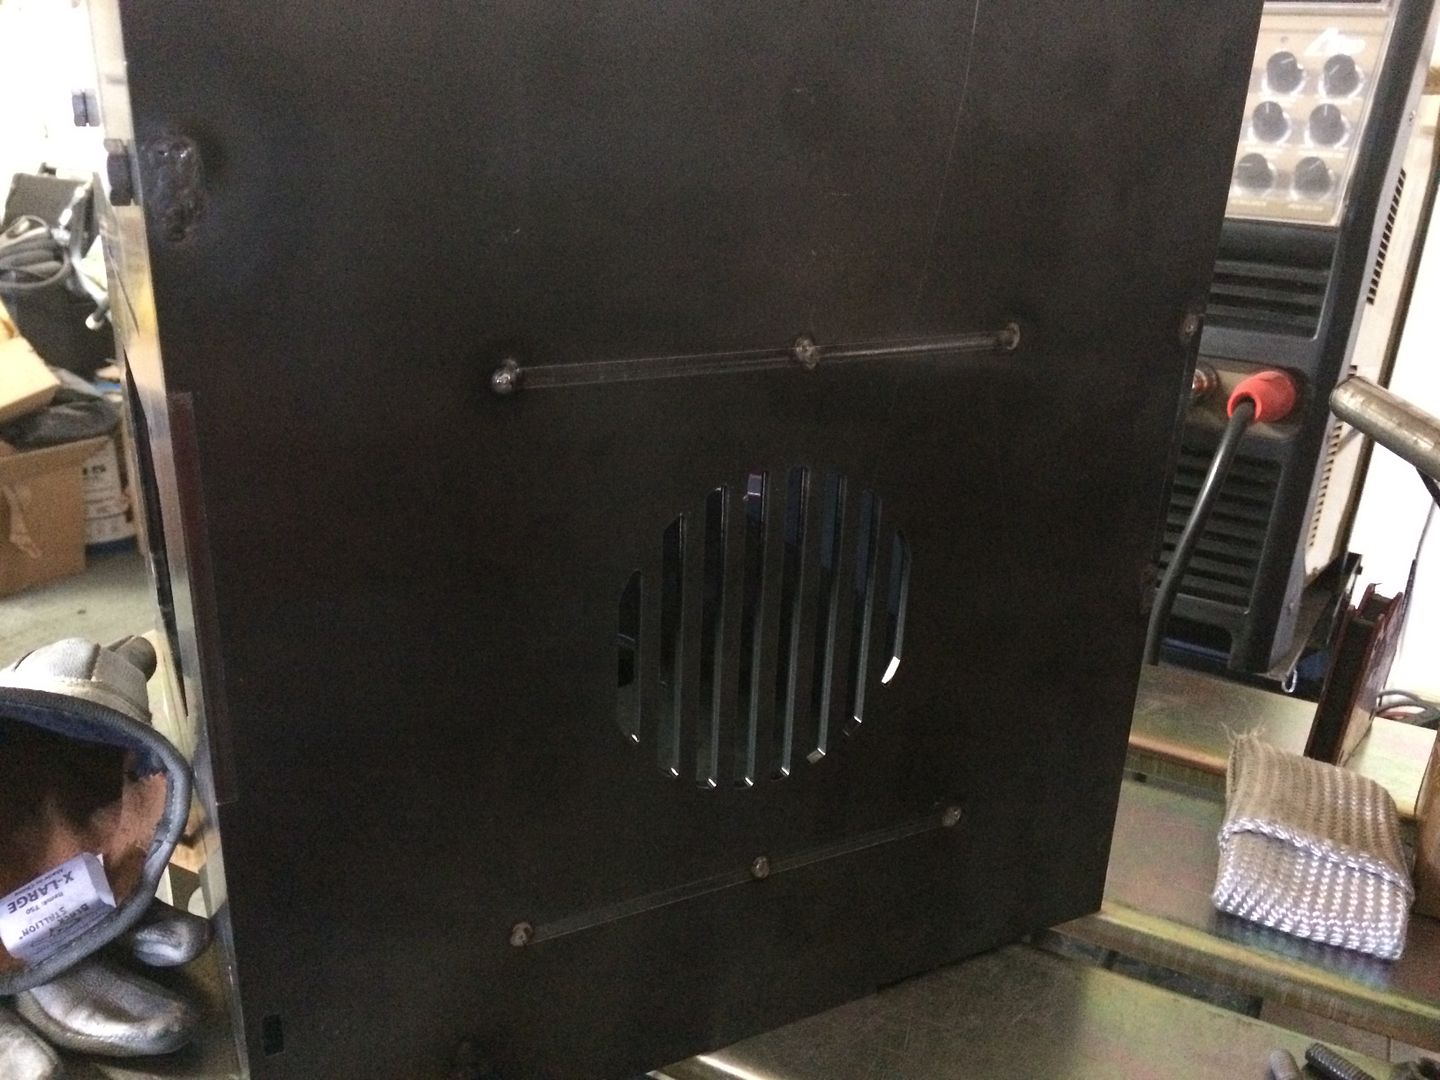
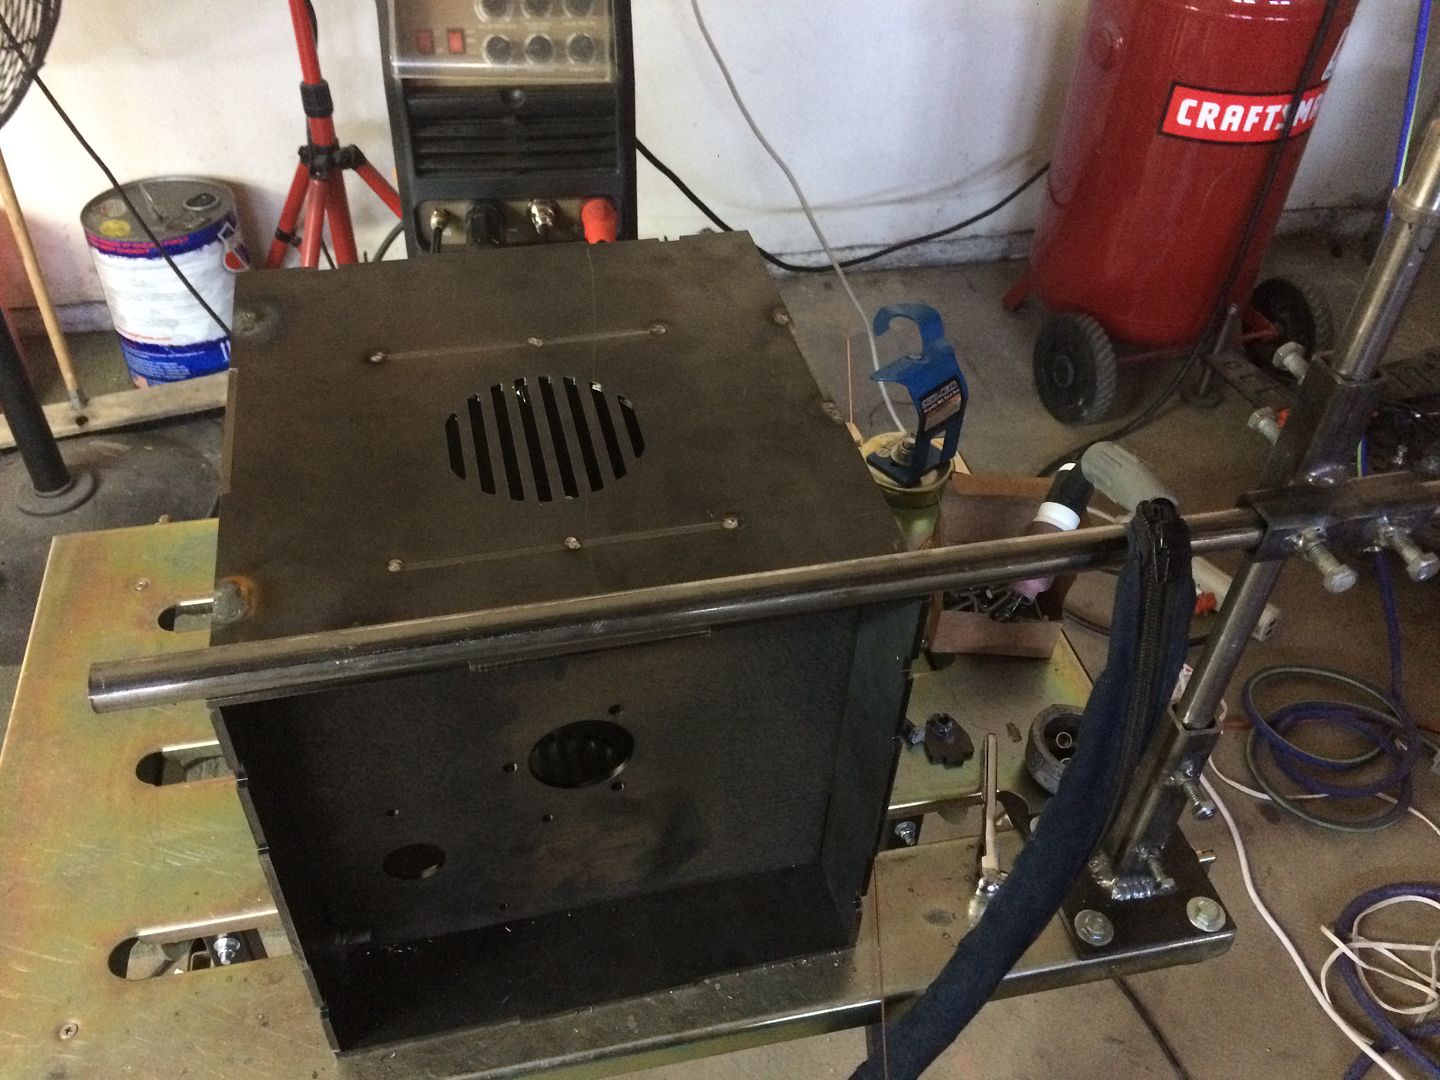
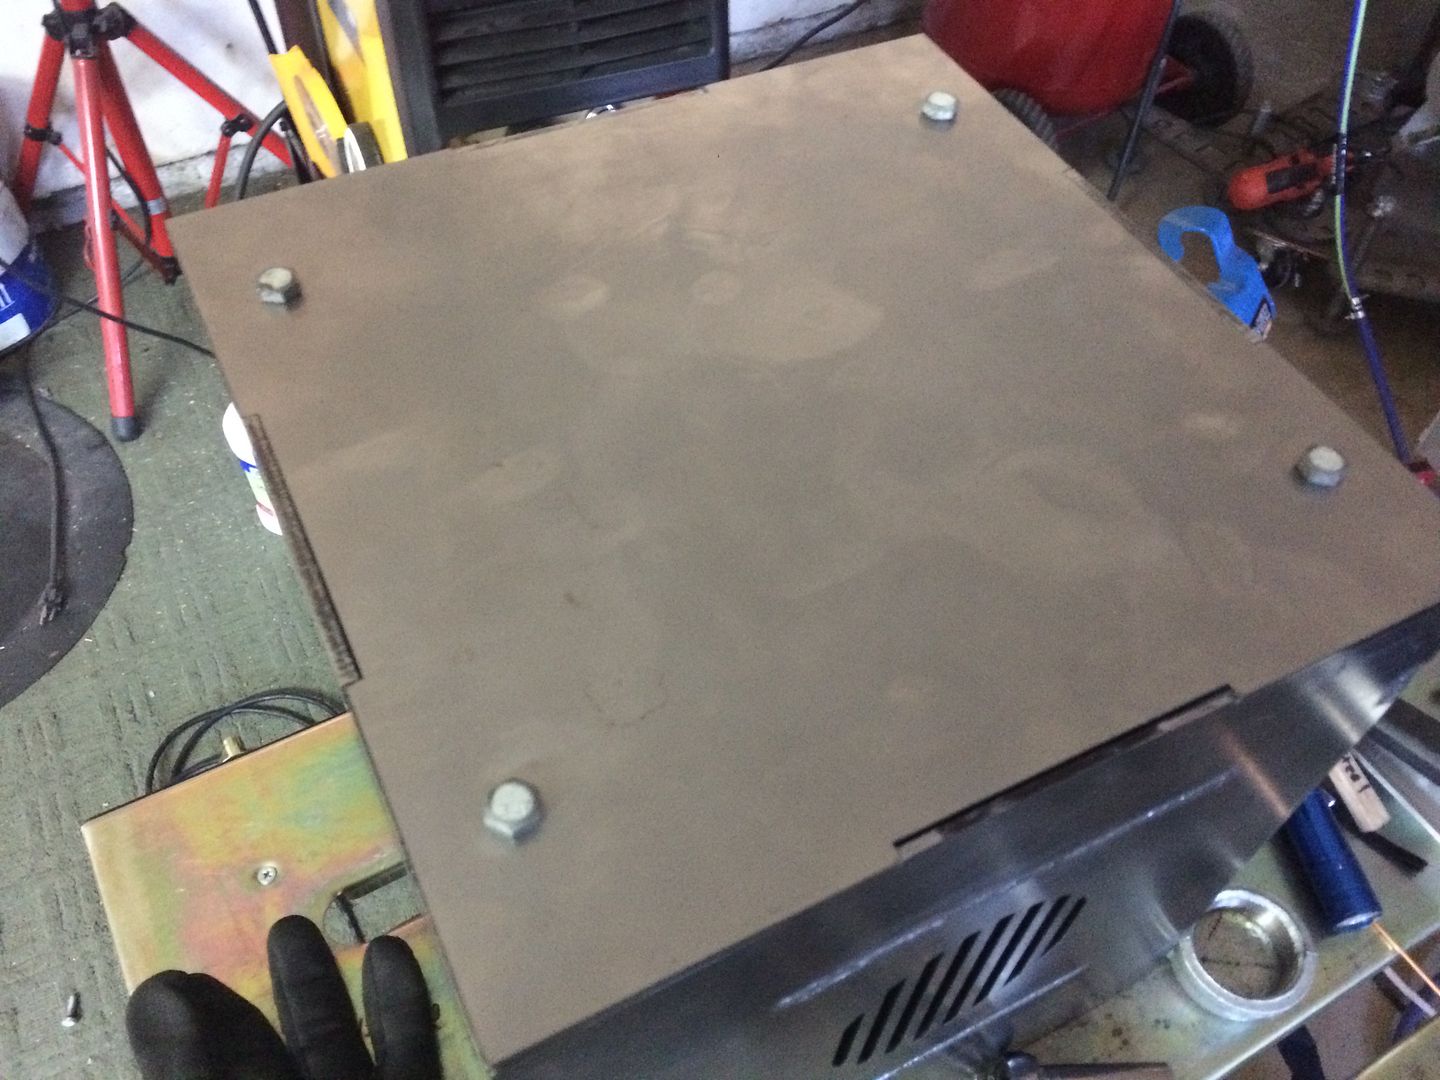
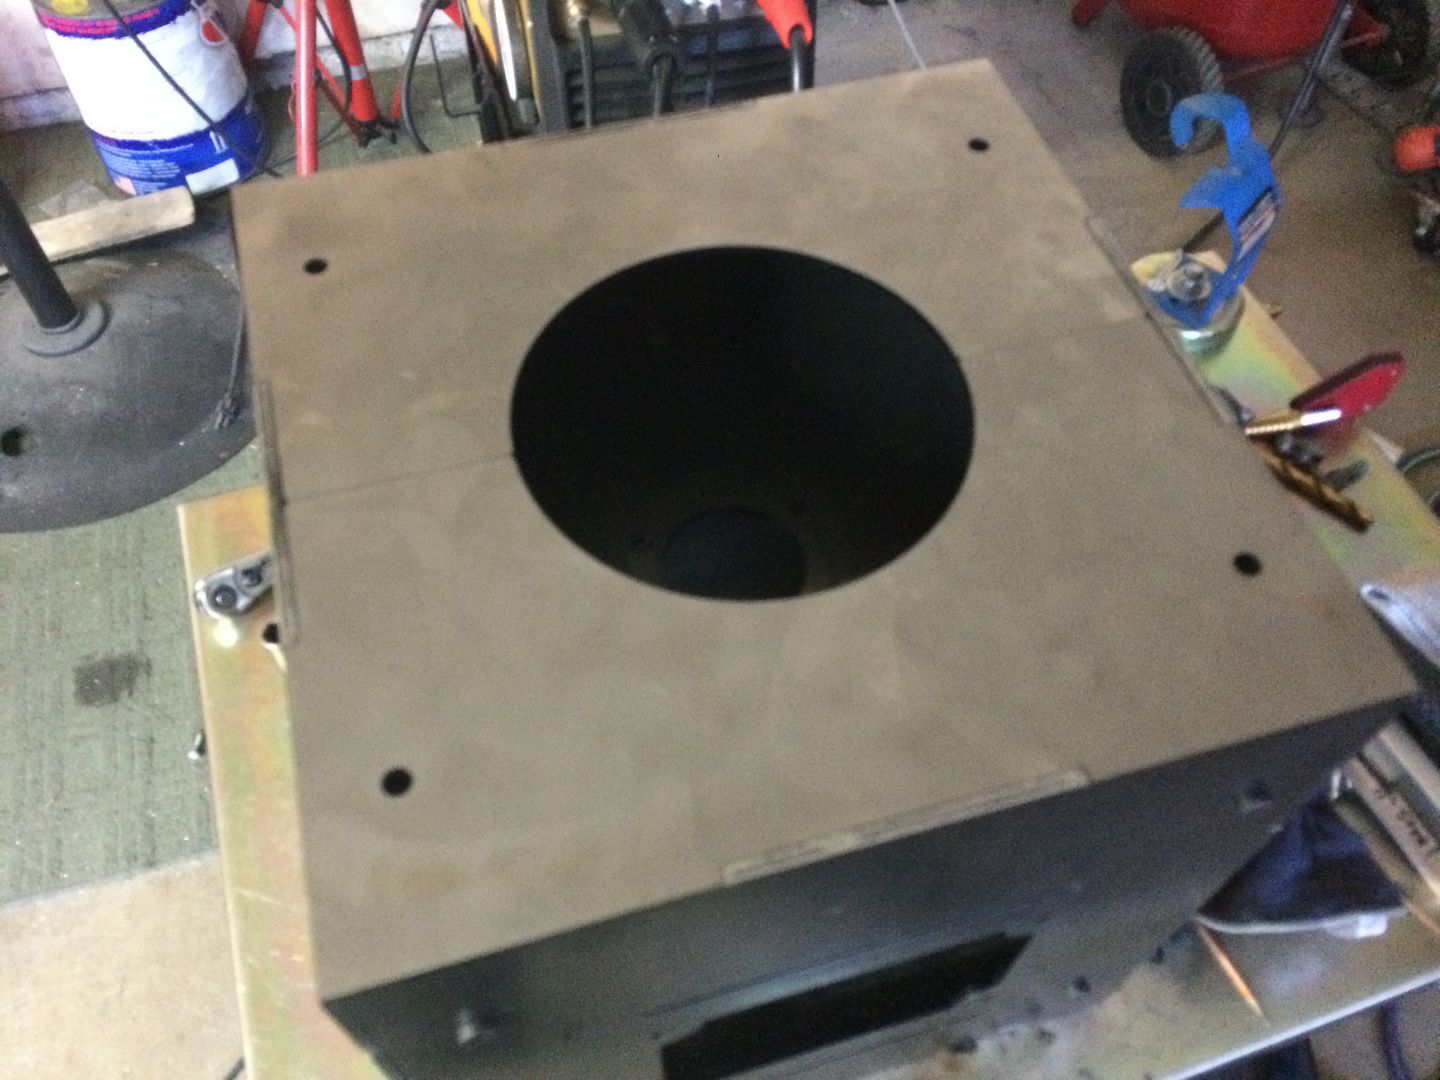
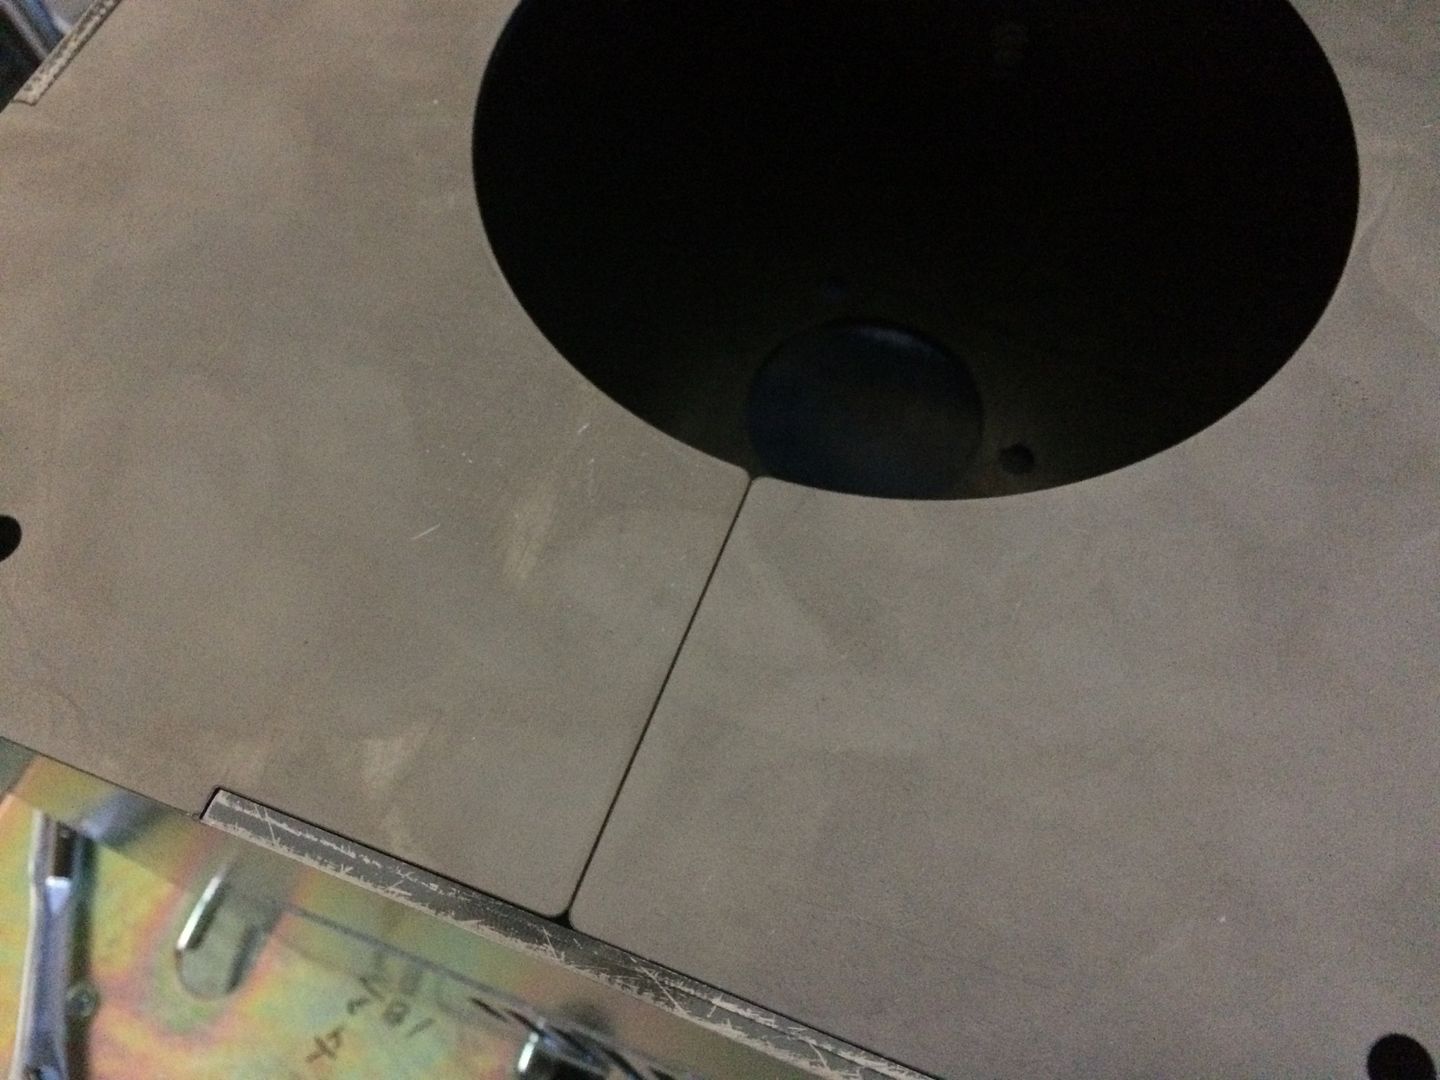
here is a few better pics of the enclosure as it goes together... the "bottom" of the enclosure where the belt or chain setup will be has nice clearance and a cover also... had to modify the tabs, so once they are cut, will weld this up and test it..

Image

Image

Image
LS Customs
  • Posts:
  • Joined:
    Tue Feb 23, 2016 11:56 pm

Image

Image
Rick_H
  • Posts:
  • Joined:
    Sat Feb 08, 2014 1:50 pm
  • Location:
    PA/MD

Looks awesome buddy, I finally picked up a chuck so you have given me a lot of inspiration on building a table. Wish I had access to a waterjet or CNC plasma thought, love to whip up a design in AutoCAD and knock it out.

Im planning my design now, been thinking of making is so I could quickly pull the chuck off and mount it to the side as well more like a roll out type wheel since I do a lot of pipe..still figuring things out.

Good luck with your surgery!
I weld stainless, stainless and more stainless...Food Industry, sanitary process piping, vessels, whatever is needed, I like to make stuff.
ASME IX, AWS 17.1, D1.1
Instagram #RNHFAB
LS Customs
  • Posts:
  • Joined:
    Tue Feb 23, 2016 11:56 pm

Rick_H wrote:Looks awesome buddy, I finally picked up a chuck so you have given me a lot of inspiration on building a table. Wish I had access to a waterjet or CNC plasma thought, love to whip up a design in AutoCAD and knock it out.

Im planning my design now, been thinking of making is so I could quickly pull the chuck off and mount it to the side as well more like a roll out type wheel since I do a lot of pipe..still figuring things out.

Good luck with your surgery!
thank you, stitches are irritating the heck outta me, but all went well with last surgery... now doing best i can to try to move in a positive direction and keep doing so... body took a beating through all of the treatment etc and lots of pain etc, left over... but cancer free at this point, so no complaints... life is for the living and i intend to do the best i can at not taking any life left for granted...

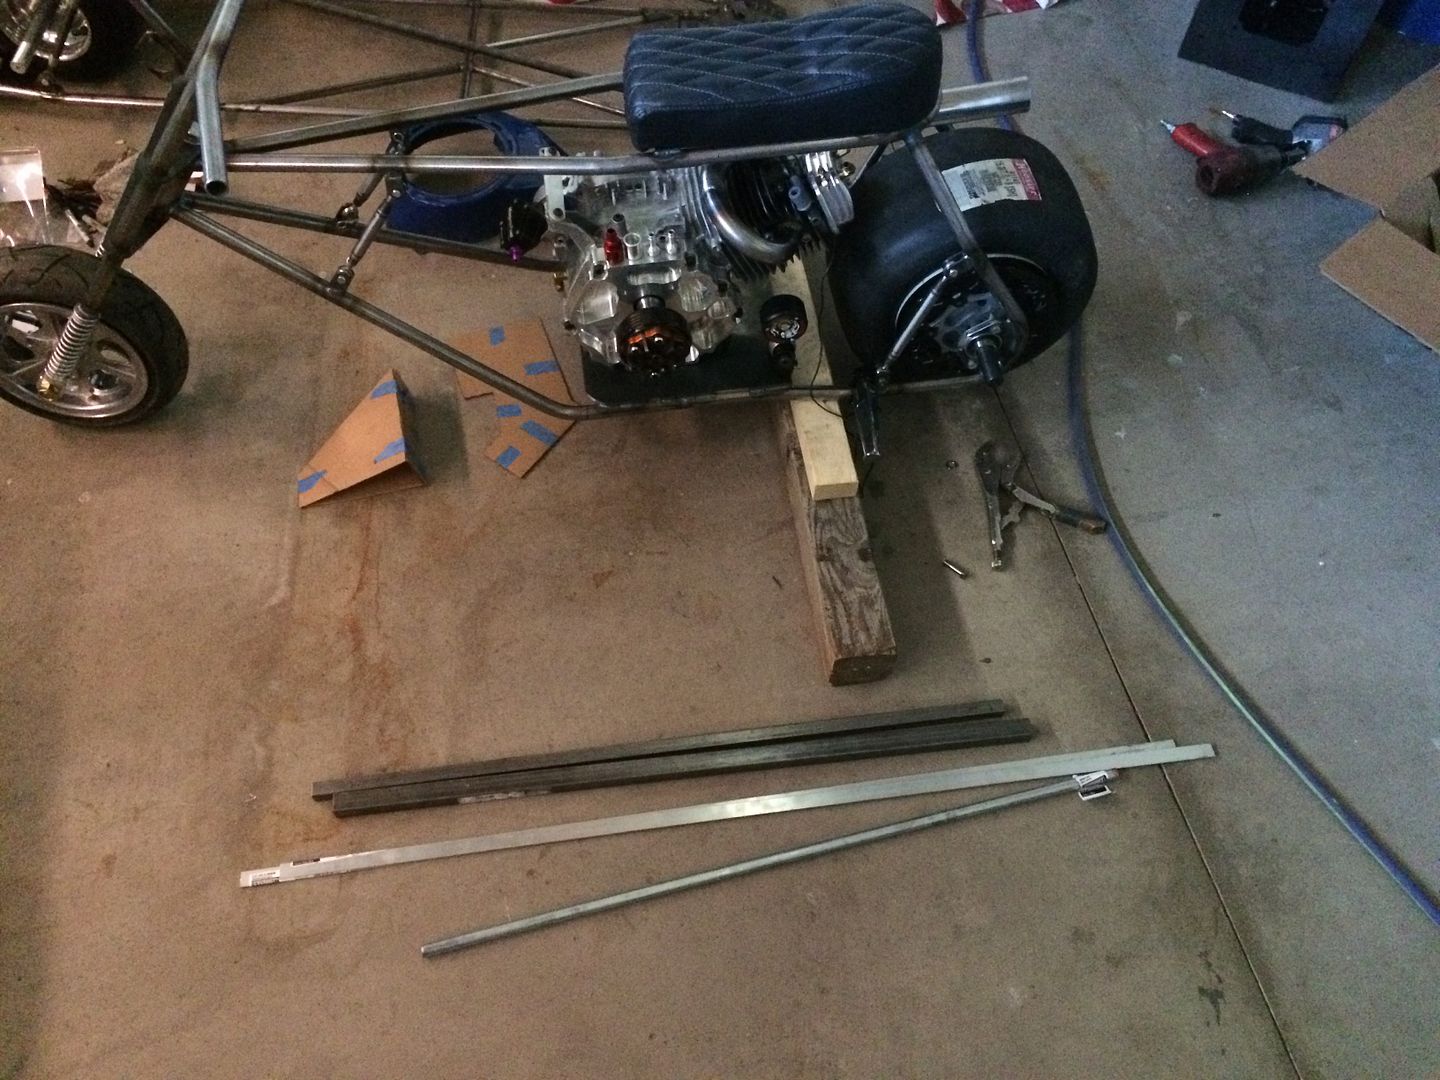
i should have the tabs i redesigned today... then will put this together... so far it fits together really well and i can pick it up and move it around, with no tacks, welding, etc... i did get some interest in this setup... once all said and done, if people are interested, i may have more cut, or maybe even send the file to a few... if you end up needing help with cad for what you are doing or laser cut parts, let me know... i am not a business, but i do so much and have done so much through the years, i always have something going on, or access to machines, etc...
LS Customs
  • Posts:
  • Joined:
    Tue Feb 23, 2016 11:56 pm

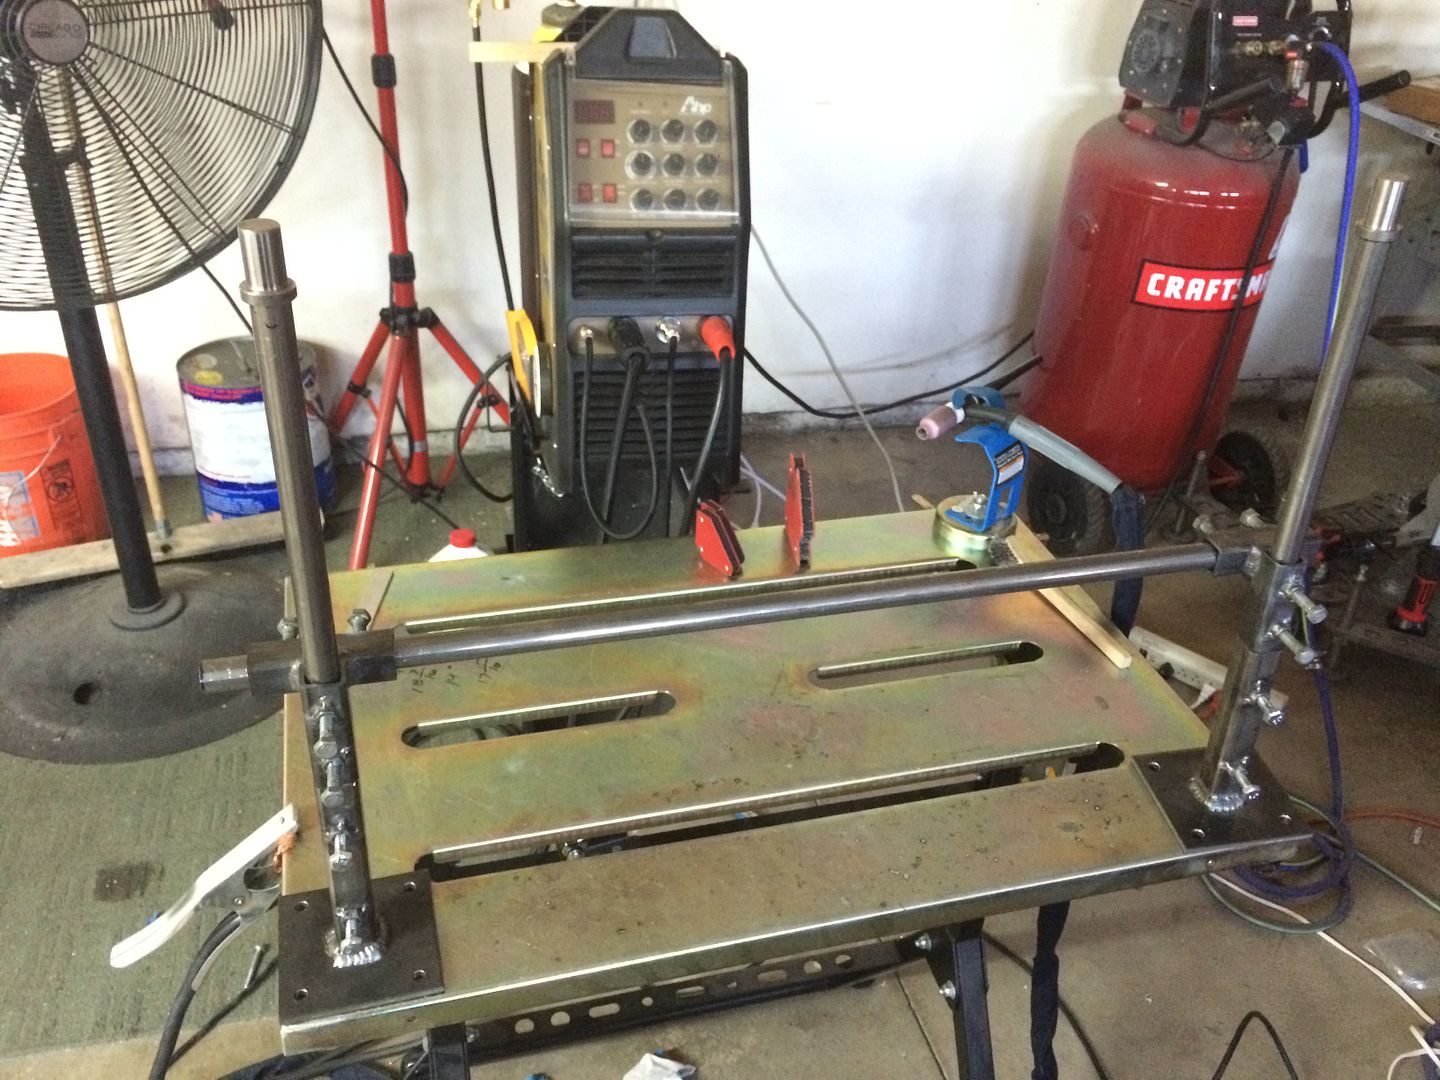
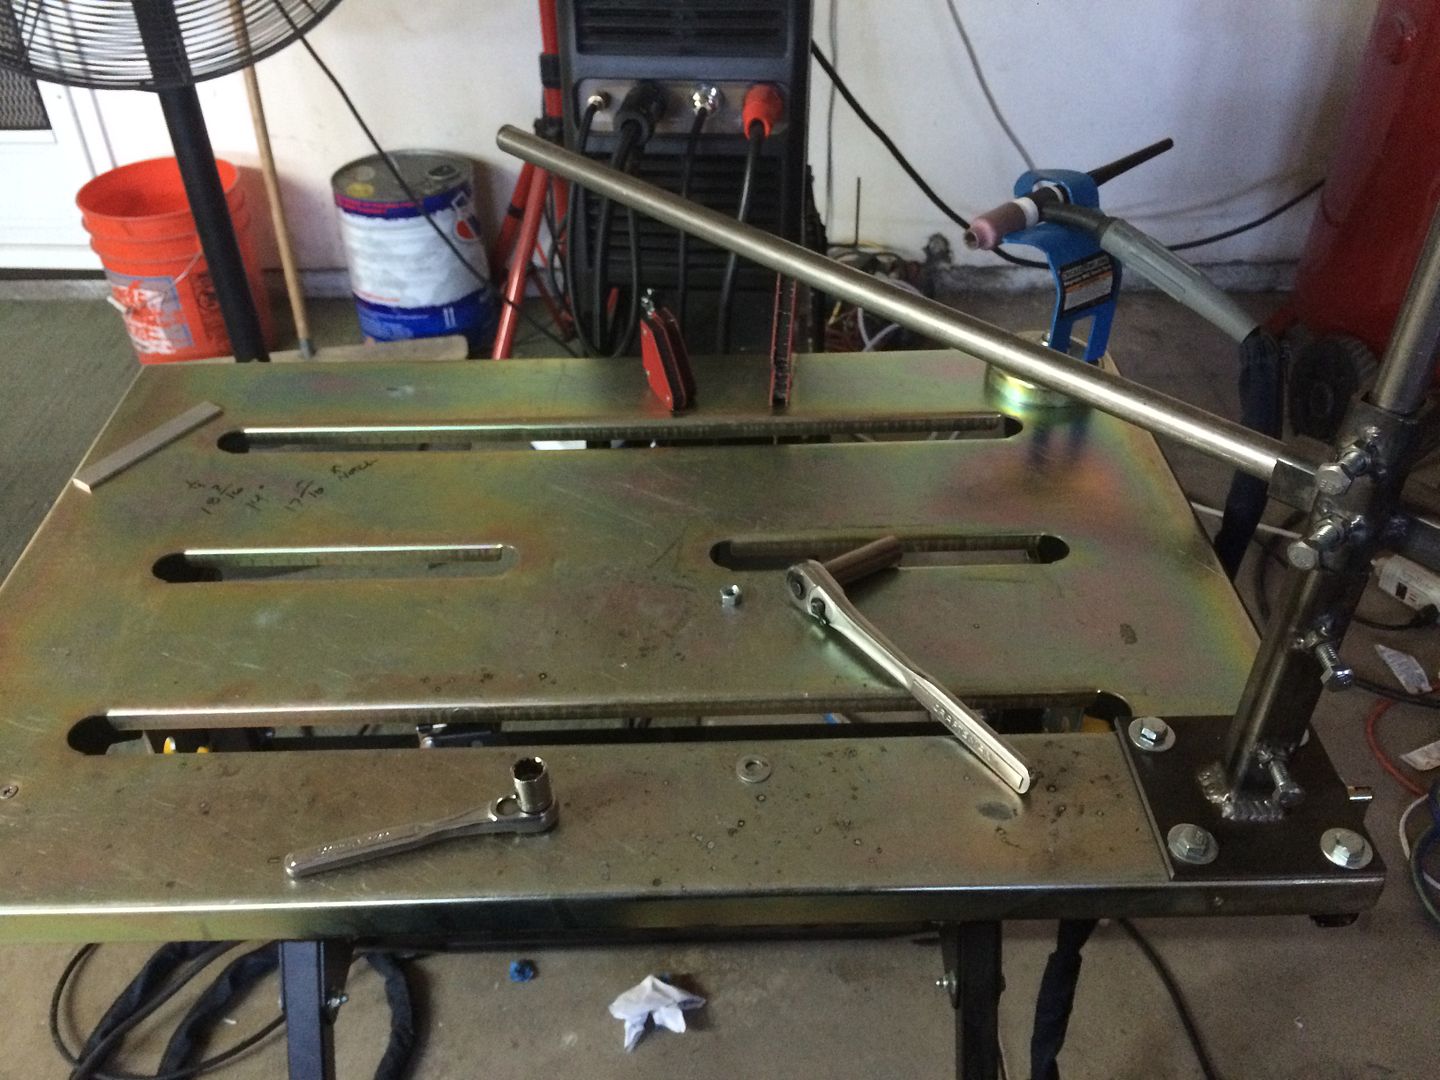
also grabbed a little bit of material to make an adjustable steady rest... and a holder for the tig torch to set up on the positioner... going to try to adapt a dial indicator magnet mount to hold the torch...

Image
LS Customs
  • Posts:
  • Joined:
    Tue Feb 23, 2016 11:56 pm

got the steady rest made and it really helped out... also picked up a better pedal for the ahp im using at the moment, also made a huge difference for me... no more accidental starts, as far as pressure the pedal, while trying to hover over it, etc... was able to rest foot comfortably on the pedal and control it precisely... i did not complain when using the stock pedal, however, glad i used it first and made the choice to buy the better one.. .night and day difference for me and worth the investment... can focus on practice and getting better...

made two of them, bolted on to this little table and can swing it out the way, or 360 degrees...
Image

Image
LS Customs
  • Posts:
  • Joined:
    Tue Feb 23, 2016 11:56 pm

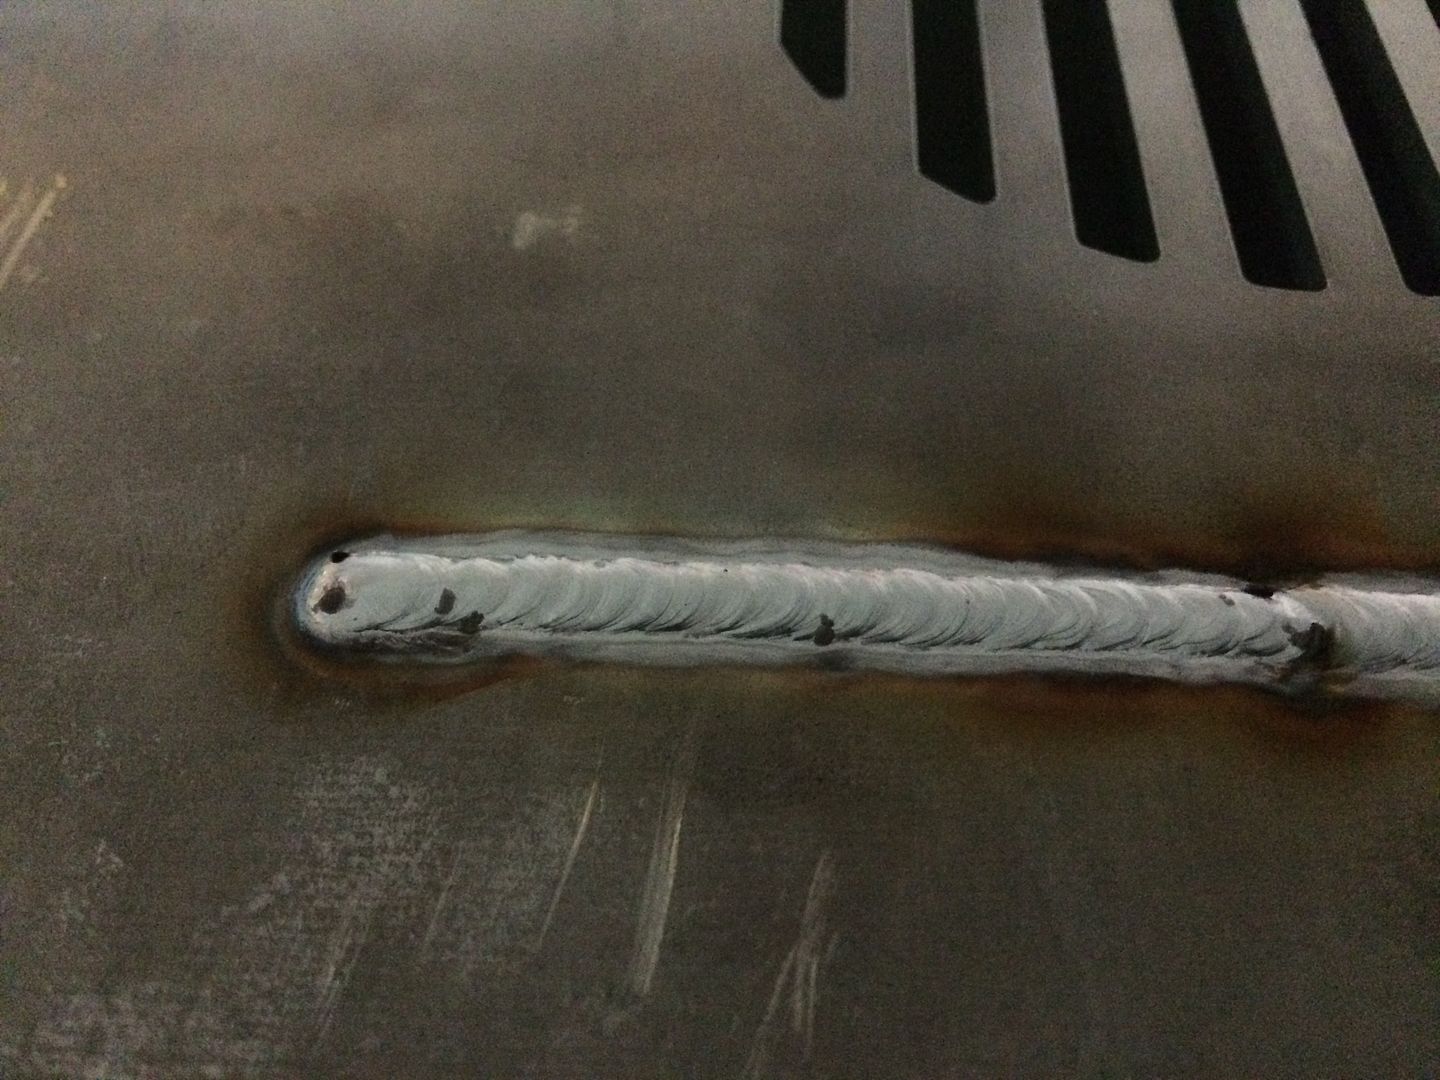
got the positioner tacked up at first... more comfy with the mig, but since this is about practicing with the tig, i decided to do everything with that... i did not prep the metal, and i do know better... this was about getting this together as fast as i can.. as im not always feeling up to working in the garage... as it is mild steel, i just tack it all up and got to welding...

Image

Image

Image
LS Customs
  • Posts:
  • Joined:
    Tue Feb 23, 2016 11:56 pm

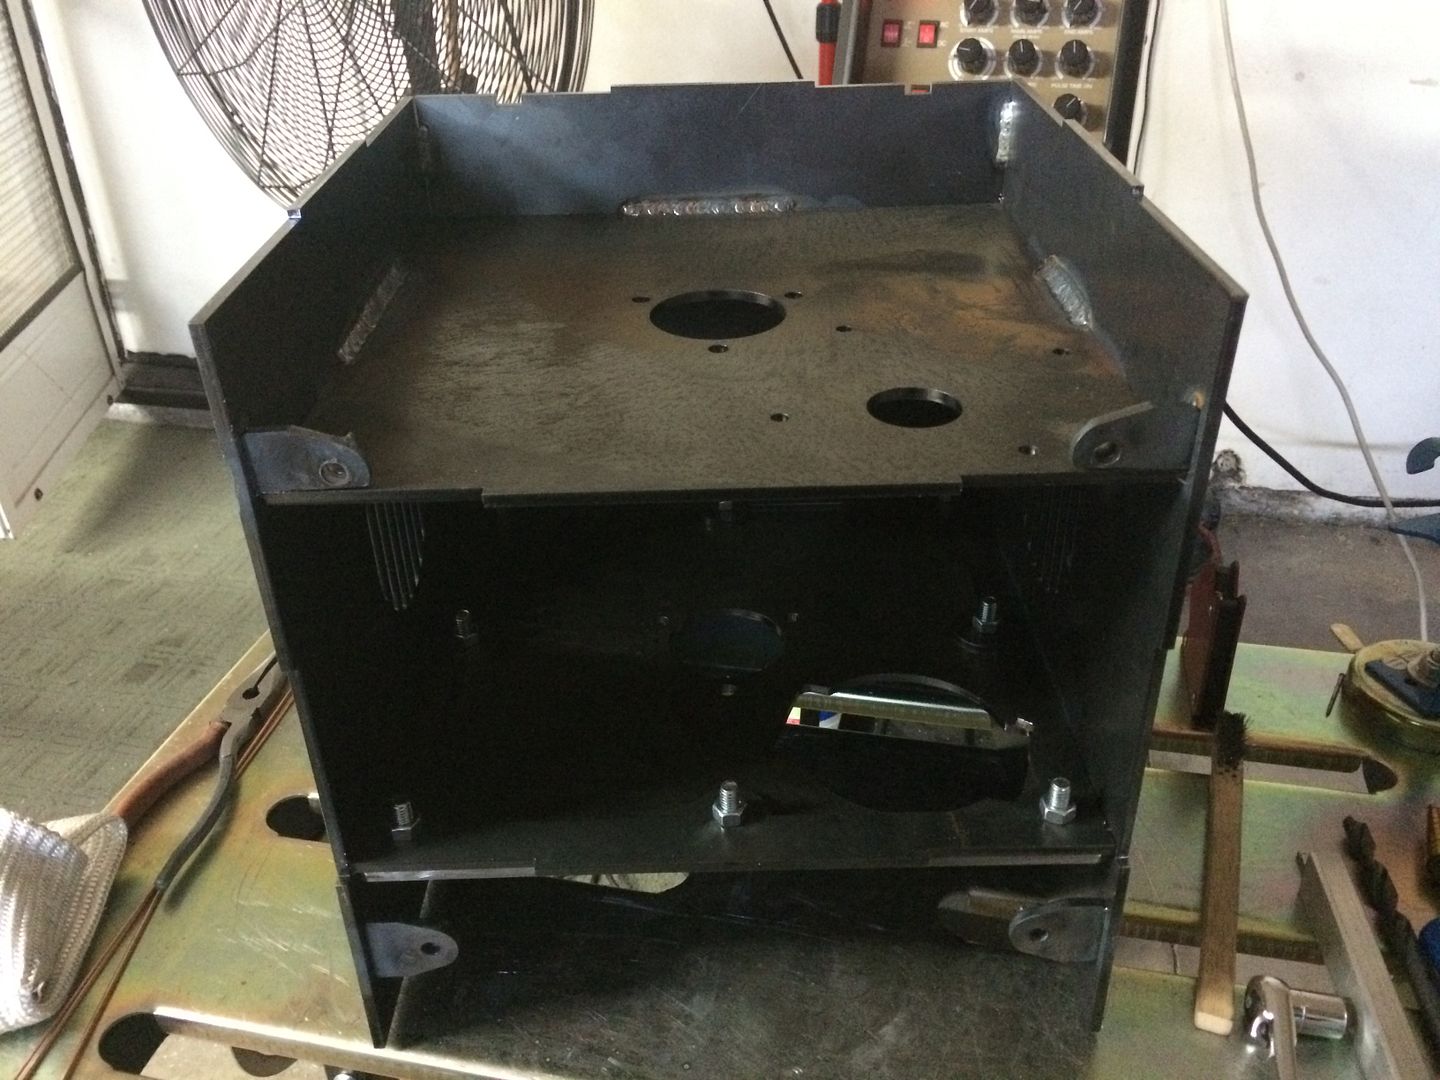
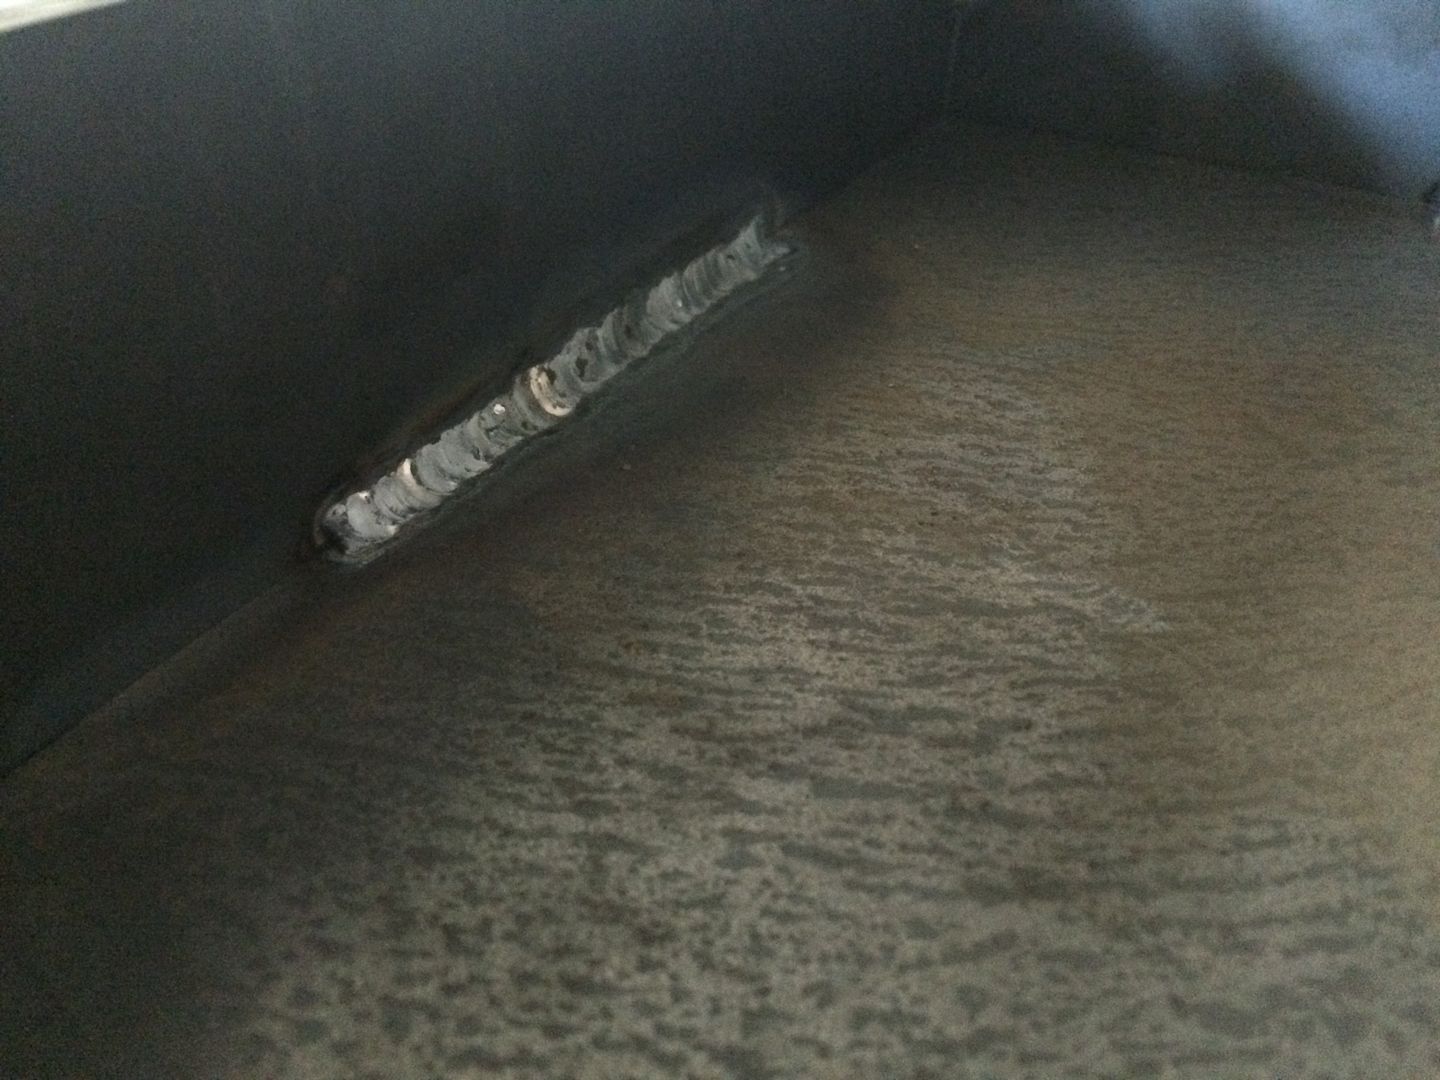
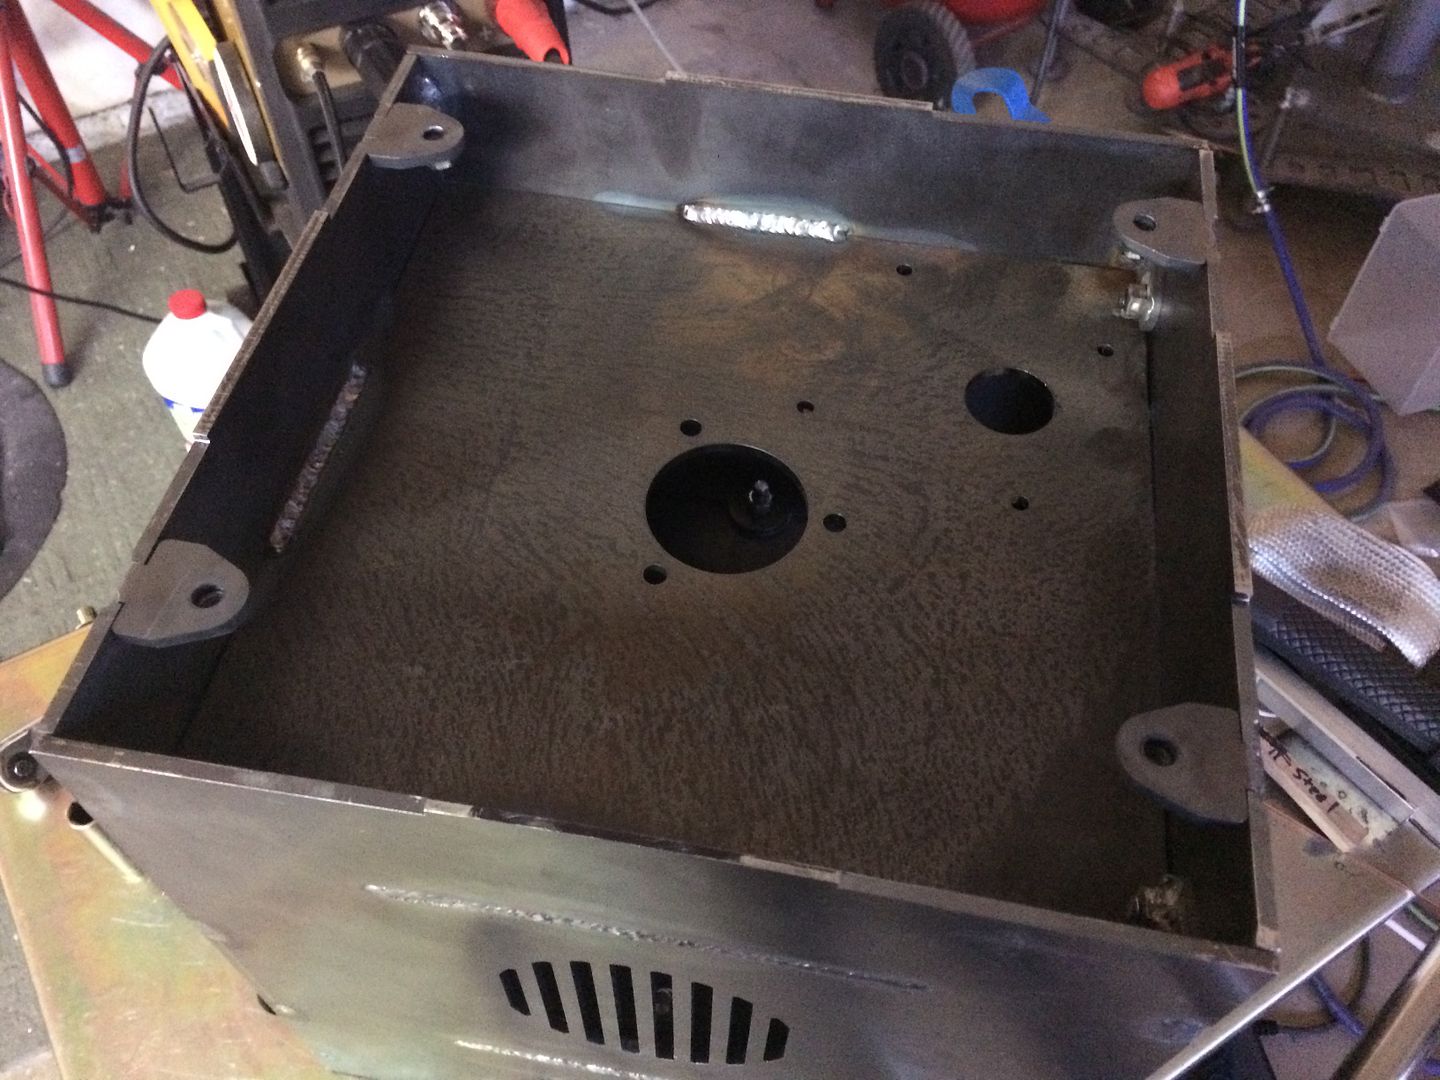
got it all welded up... need to weld the tabs on the top and bottom for the covers to bolt on, then can wire up and install the controller and install and test the motor and ground set up...

its flipped upside down in this pic, where the shaft for the motor and gear side of the main shaft end up..
Image

just welded a little at a time and moved around a bit, i didnt know if things would shift around much... figured it wouldnt, but the whole thing for me was about practice...
Image
LS Customs
  • Posts:
  • Joined:
    Tue Feb 23, 2016 11:56 pm

hopefully i will have everything wired up tomorrow... and hopefully this works well...
motox
  • Posts:
  • Joined:
    Thu Nov 28, 2013 12:49 pm
  • Location:
    Delaware

very cool project!
craig
htp invertig 221
syncrowave 250
miller 140 mig
hypertherm plasma
morse 14 metal devil
stan3leyD
  • Posts:
  • Joined:
    Sat Dec 13, 2014 9:59 pm
  • Location:
    Michigan

Hi, I wish you the best on your recovery. I myself have been through to many surgeries, but you sound like you are on the right path now.
What a great design, and fabrication job you are doing; kinda thinking I better start looking around for pieces parts for my own. I didn't pay attention to your time line while reading this, got to page 5 anticipating the end of the story and...
Well I can't wait to see it finished.
It is tough for me to sit in front of a computer due to my failed back fusions, so I stream you tube into my room to watch on the TV. Your quality work and winning attitude inspired me to write.
Thanks for your contribution.


Stan
LS Customs
  • Posts:
  • Joined:
    Tue Feb 23, 2016 11:56 pm

motox wrote:very cool project!
craig
thank you...

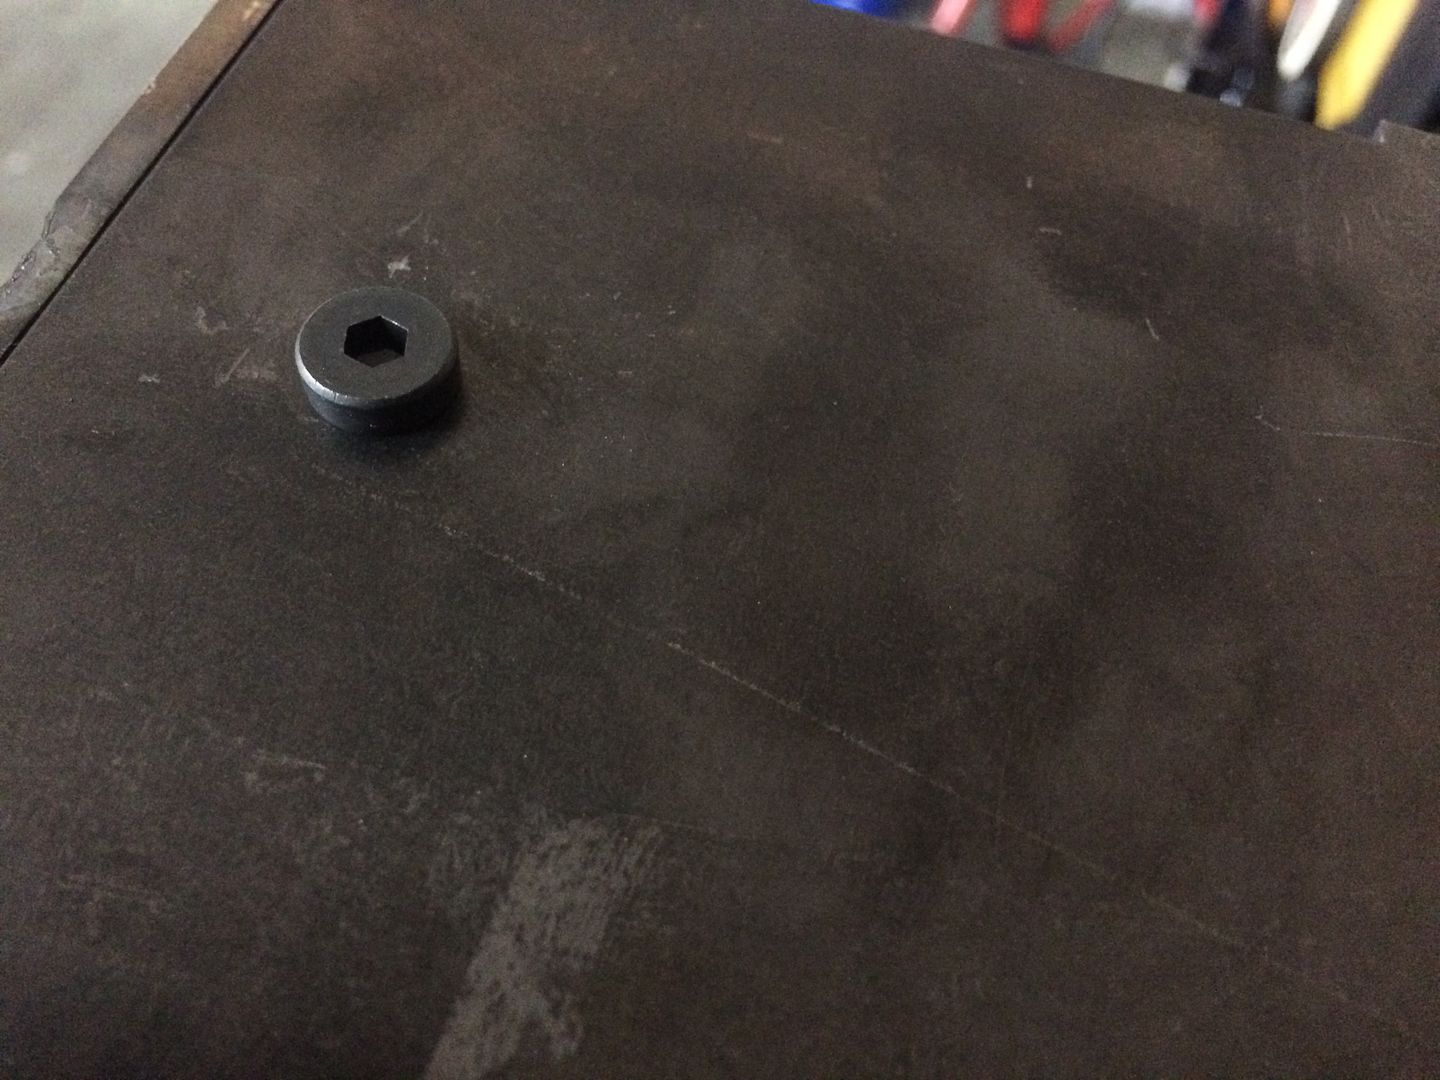
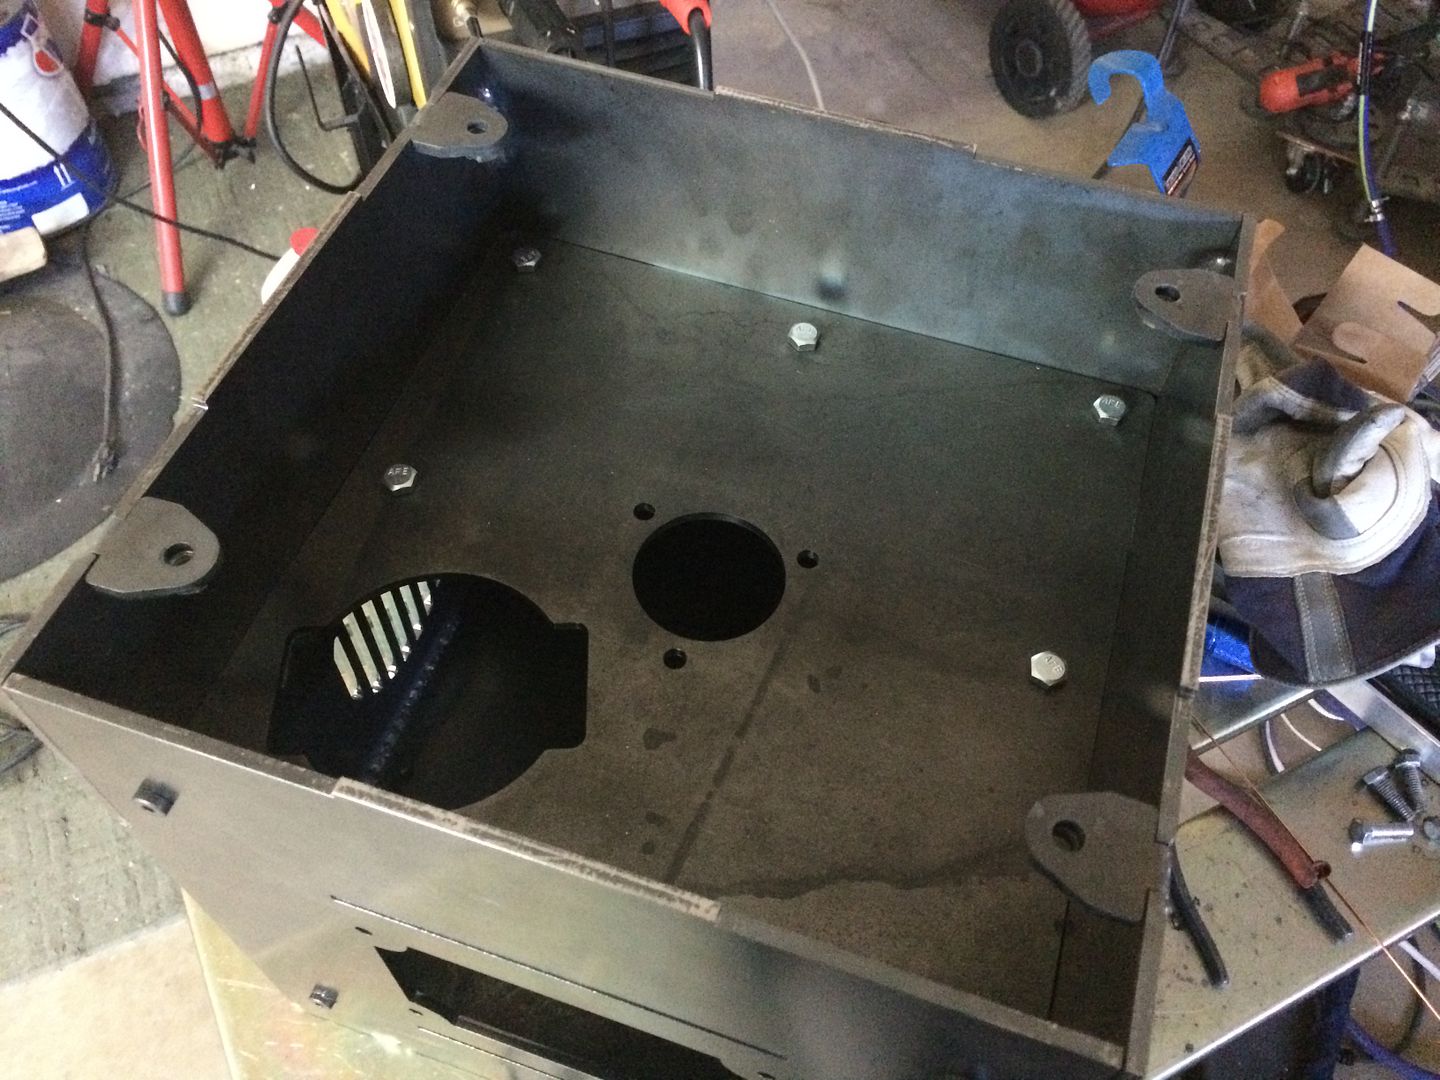
i added the tabs for the top and bottom, remove-able covers, and got them mounted... also have nicer low profile Allen bolts for all hardware... looks nicer to me...

Image

Image

Image
LS Customs
  • Posts:
  • Joined:
    Tue Feb 23, 2016 11:56 pm

this covers the gear setup...
Image

this covers the chuck side of the positioner, where only the very bottom of the chuck up will be visible... while providing a little safety and/or protection ...
Image

Image
motox
  • Posts:
  • Joined:
    Thu Nov 28, 2013 12:49 pm
  • Location:
    Delaware

your detail on fit up is exceptional.
I'm sure your everyday custom work
is as well.
I'm really enjoying they build.
craig
htp invertig 221
syncrowave 250
miller 140 mig
hypertherm plasma
morse 14 metal devil
LS Customs
  • Posts:
  • Joined:
    Tue Feb 23, 2016 11:56 pm

stan3leyD wrote:Hi, I wish you the best on your recovery. I myself have been through to many surgeries, but you sound like you are on the right path now.
What a great design, and fabrication job you are doing; kinda thinking I better start looking around for pieces parts for my own. I didn't pay attention to your time line while reading this, got to page 5 anticipating the end of the story and...
Well I can't wait to see it finished.
It is tough for me to sit in front of a computer due to my failed back fusions, so I stream you tube into my room to watch on the TV. Your quality work and winning attitude inspired me to write.
Thanks for your contribution.


Stan
thank you! waiting on some bolts to show up today for the odd 1/4-28 the motor uses to mount... then ill get to trying to wire this up... thank you so much for taking the time to write, also.. understand dealing with back pain and issues with that as well.. wish you the best... and glad i could be of some inspiration, thats the idea for me... i am not confident at times in what i do... and the encouragement does help...
LS Customs
  • Posts:
  • Joined:
    Tue Feb 23, 2016 11:56 pm

motox wrote:your detail on fit up is exceptional.
I'm sure your everyday custom work
is as well.
I'm really enjoying they build.
craig
thank you... i am not a shop or anything like that... i more or less just give things my best shot... and people typically like it or often ask me to help with their project... most of what i do, is motivated more in that i could not afford to be into or try so many different things, if i dont work hard or do what i can do, myself, to facilitate it... I had been watching Jody's videos for years and am so glad I started tig welding... cant wait to get this thing up and running, so, i can get a ton or practice in.... i have a bunch of crazy ideas... it rarely stops... lol...
  • Posts:
  • Joined:
    Tue Jul 19, 2016 6:52 am

Very nice work. Looking forward to seeing the finished project.
-Jon

I learned how to weld at night, but not last night. (despite how my weld looks)

Lincoln Viking 3350 K3034-2&3
Dynasty 210DX w/cps and coolmate3
Lincoln Power Mig 180c
hermit.shed on instagram
LS Customs
  • Posts:
  • Joined:
    Tue Feb 23, 2016 11:56 pm

maker of things wrote:Very nice work. Looking forward to seeing the finished project.
thank you... will be testing this out, hopefully this week... along with my water cooler setup...


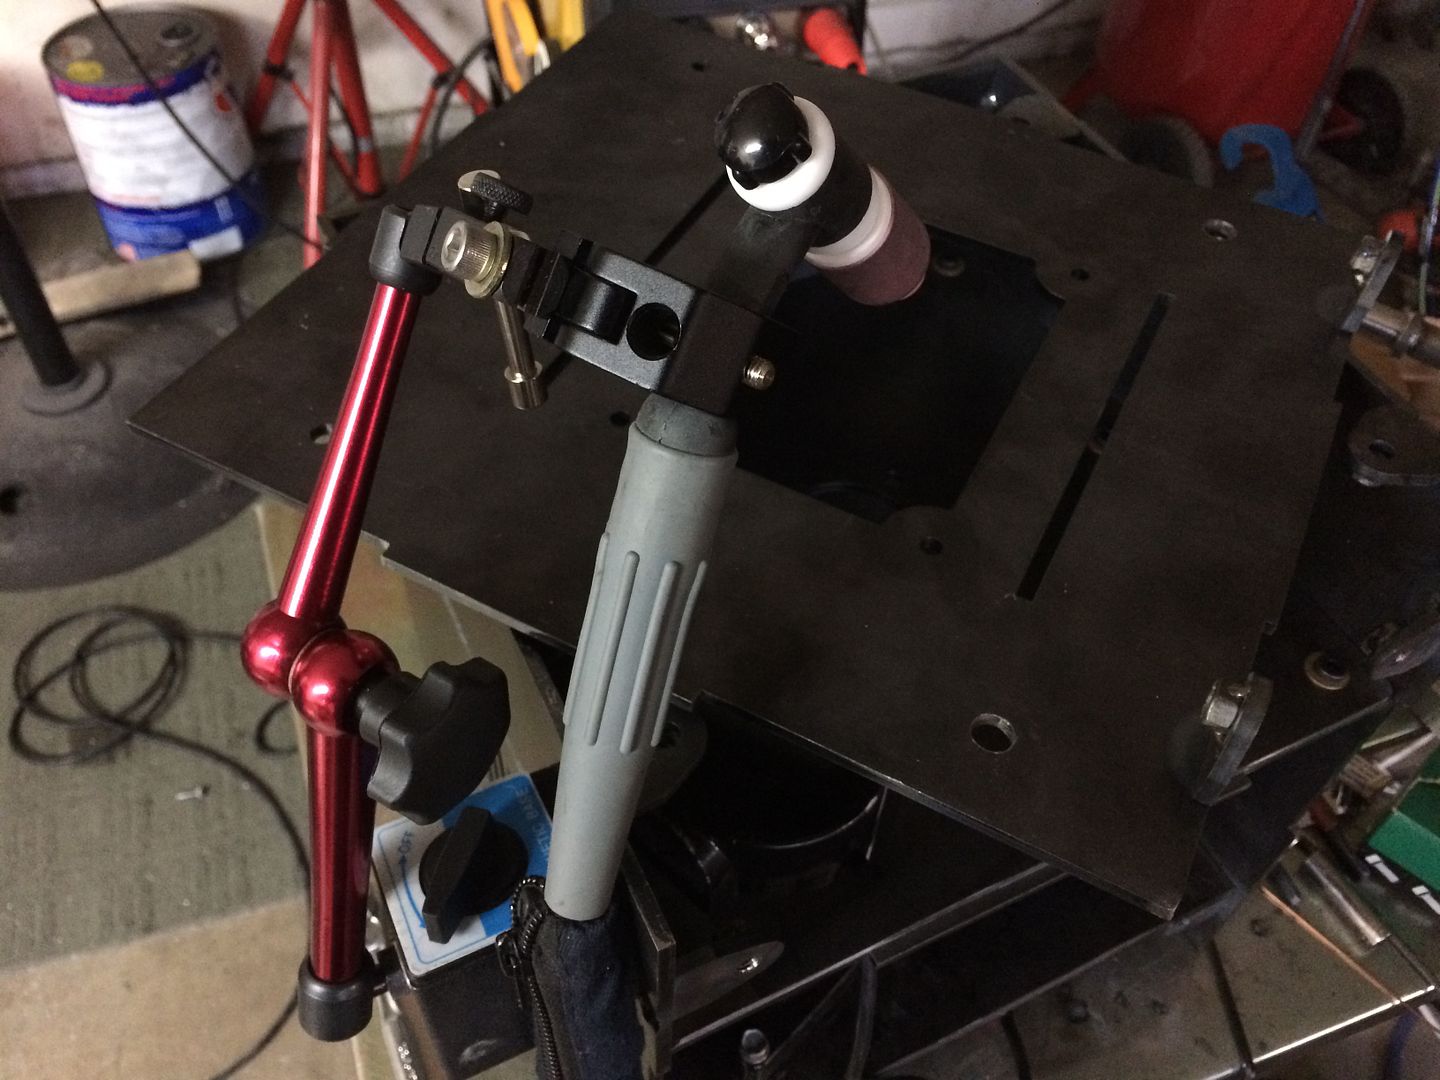
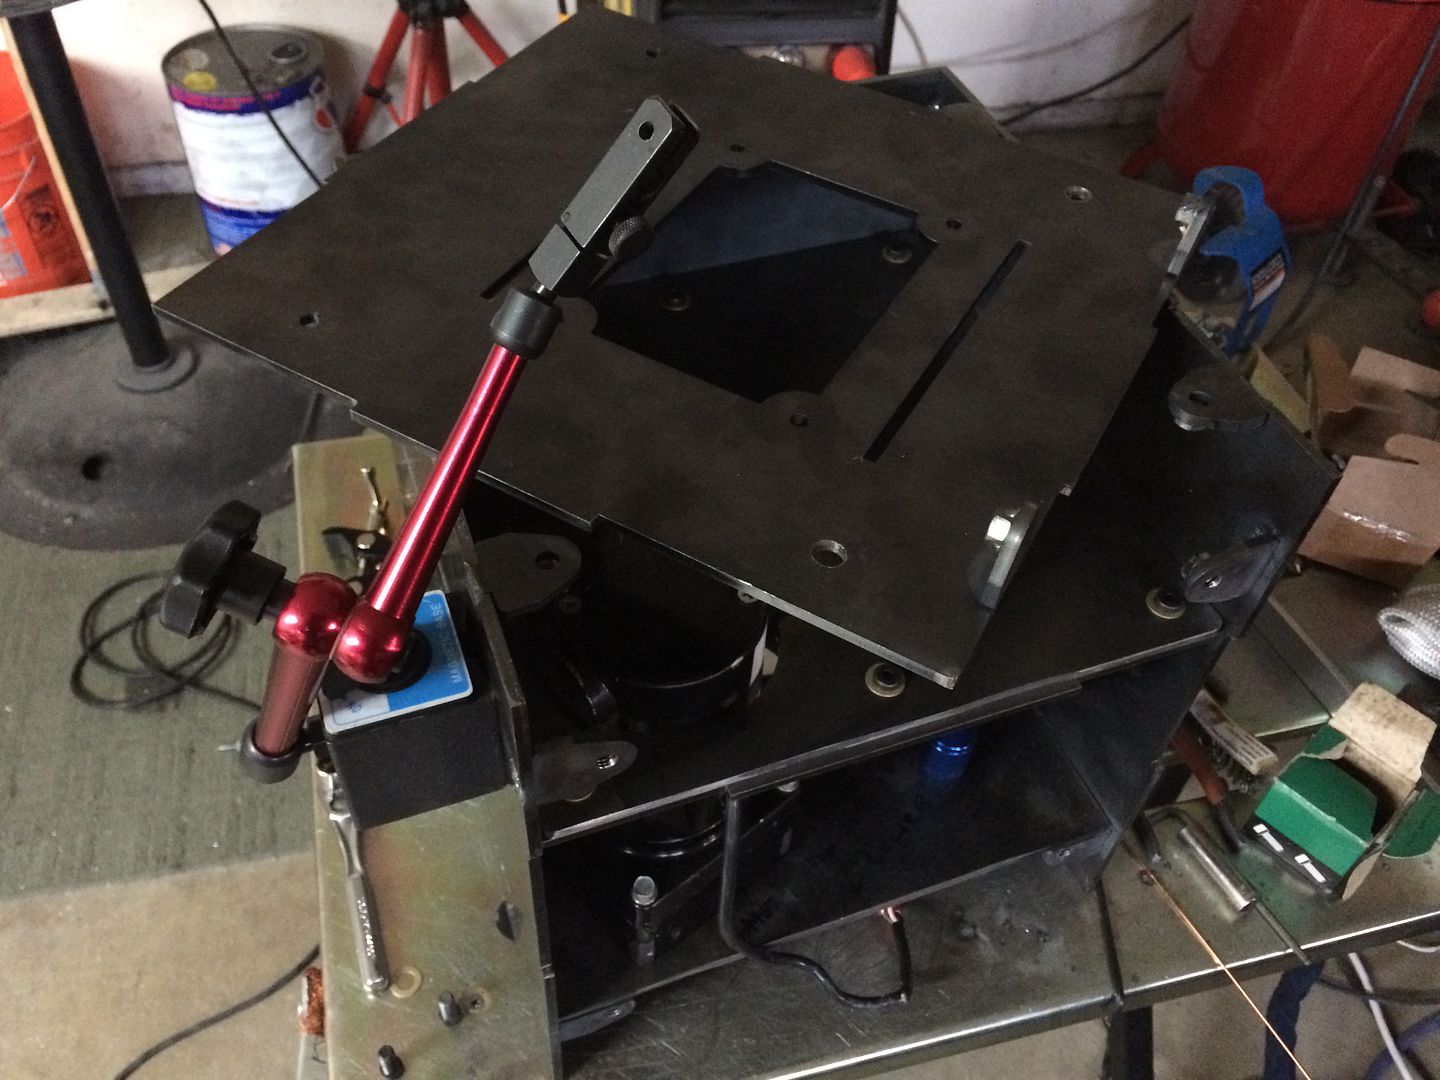
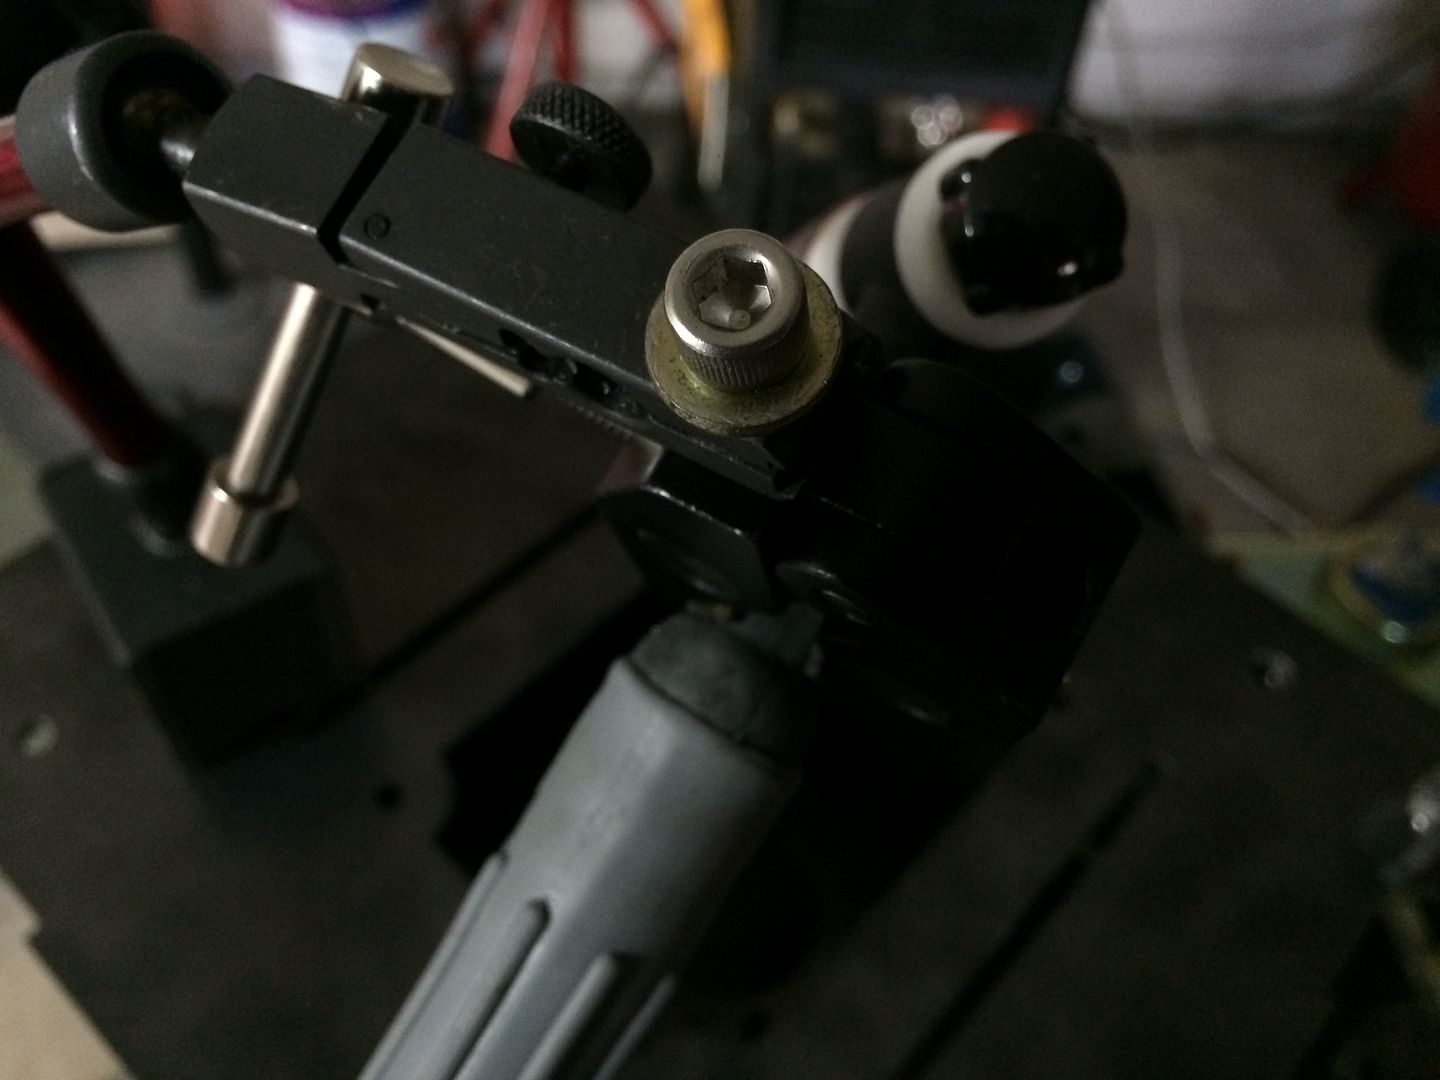
i modified a cheap magnetic dial indicator base... and an inexpensive clamp, to work as a tig torch holder... works very well and can position it where ever needed... drilled an existing hole on the dial indicator base larger...
Image

and found a screw that worked with one of the two holes in the clamp... i will be using a watercooled 20 once the cooler is running.. but this holds the 17 very nicely... so will work great for the 20 also...
Image

Image
LS Customs
  • Posts:
  • Joined:
    Tue Feb 23, 2016 11:56 pm

Image
Post Reply