beam flange repair
Posted: Wed Dec 24, 2014 11:50 am
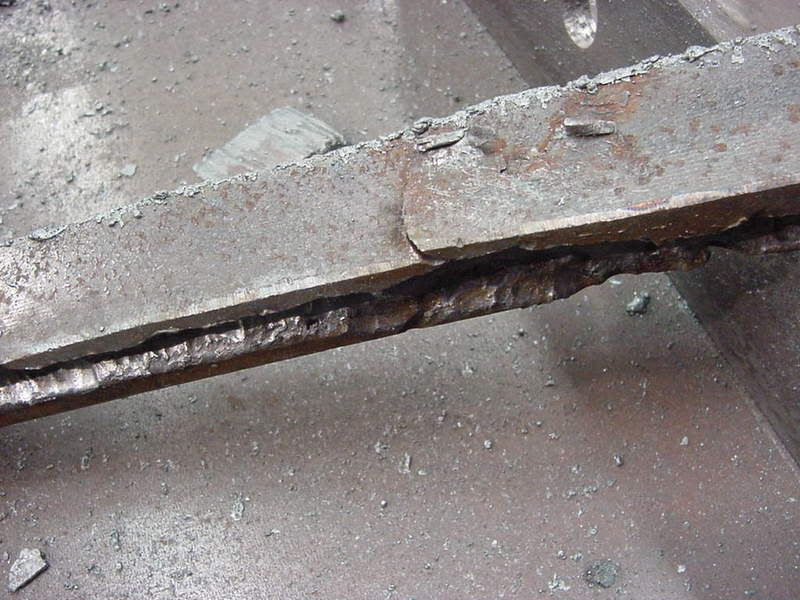
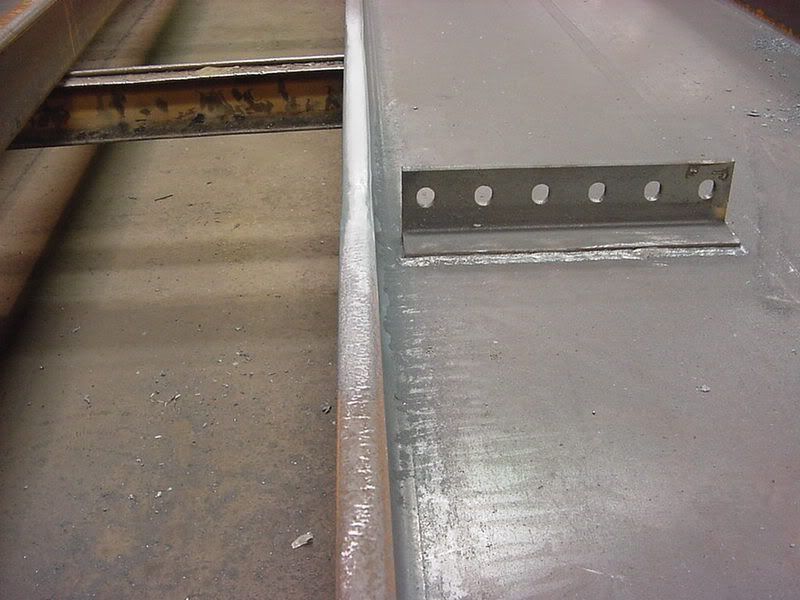
Several years ago we had a project with some W44x335 beams on it. This section was not produced in the US at the time and we had these shipped in from Germany. As with many large sections like this, during receiving inspection we noticed that one of the flanges on a beam had a severe lamination. Due to the shipping schedule and whatnot we didn't have the luxury of sending the beam back for a replacement and had to repair this in-house. Here are a couple pics of how this repair was done.
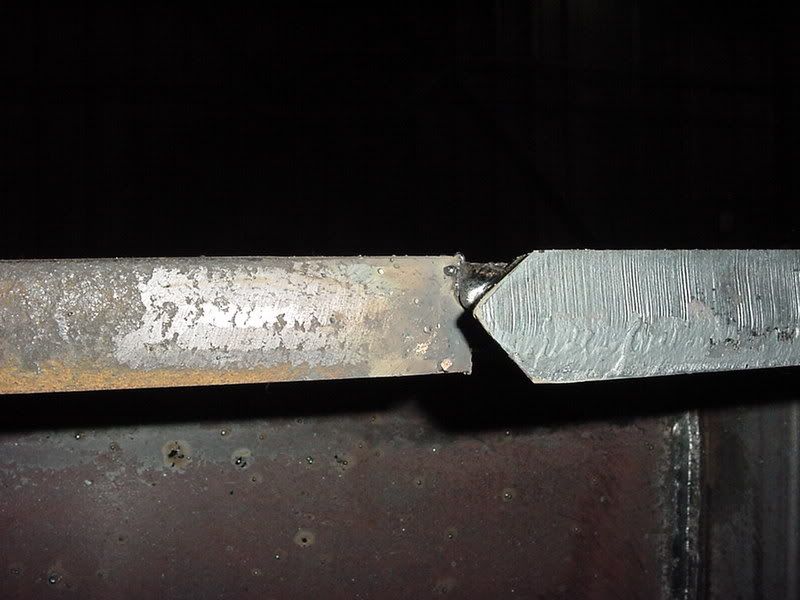
Cut out the damaged section of flange,
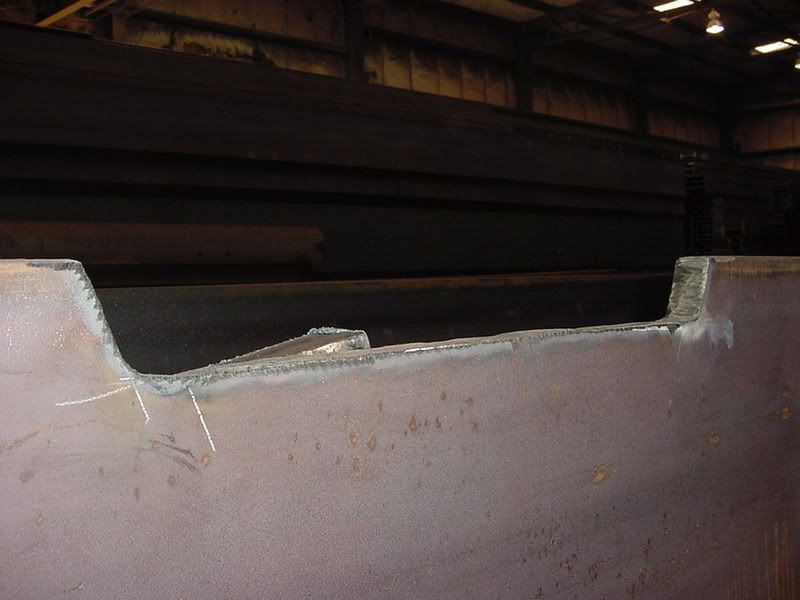
prepped a new piece of material to go back in,
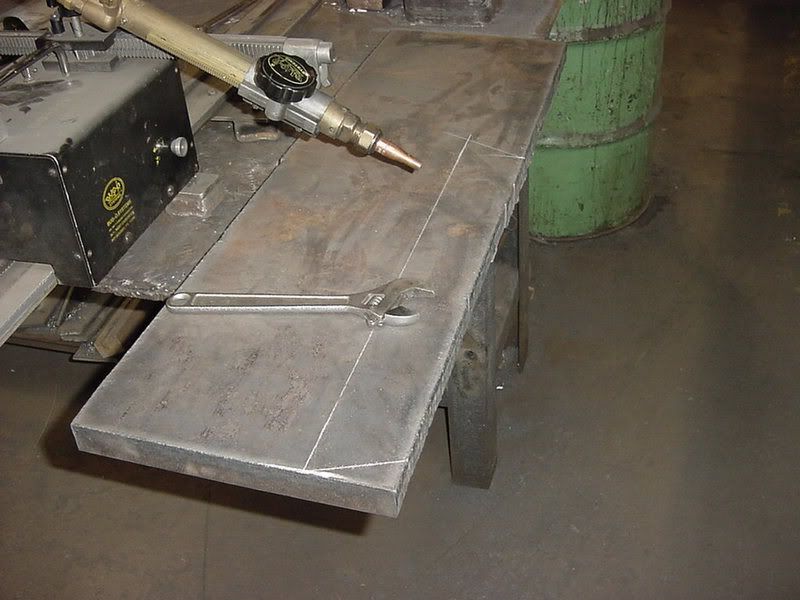
tacked the new material in place,
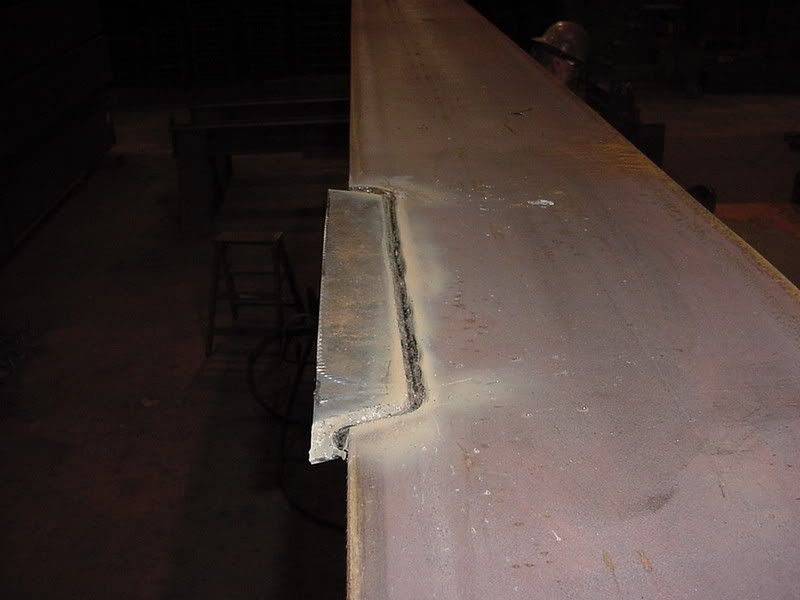
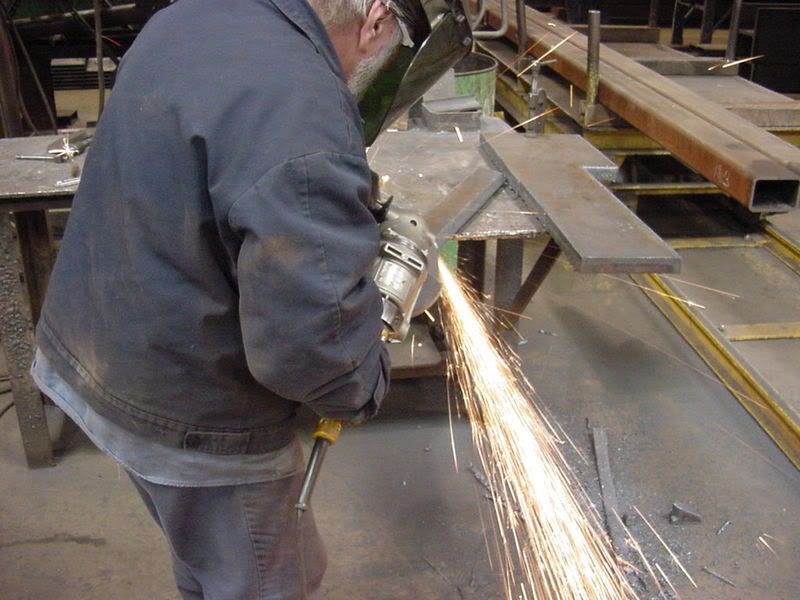
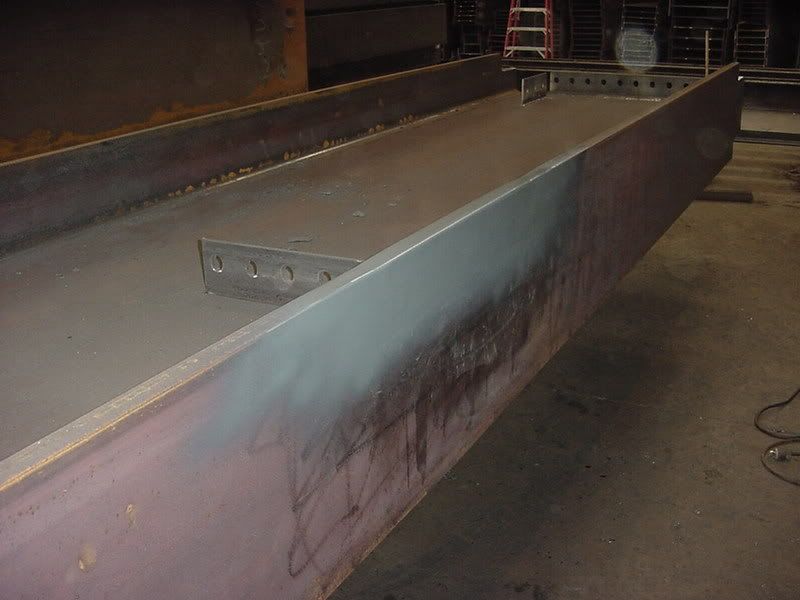
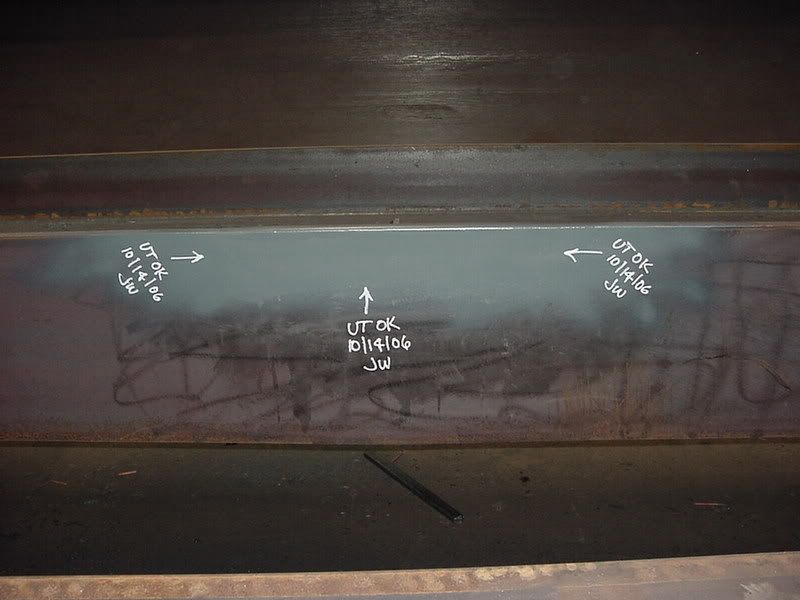
welded one side, back gouged to sound material from the other side and welded, ground the area to appear seamless, inspected the area with ultrasonics to ensure soundness, added a rust preventative coating over the freshly ground material.
Cut out the damaged section of flange,
prepped a new piece of material to go back in,
tacked the new material in place,
welded one side, back gouged to sound material from the other side and welded, ground the area to appear seamless, inspected the area with ultrasonics to ensure soundness, added a rust preventative coating over the freshly ground material.