What welding projects are you working on? Are you proud of something you built?
How about posting some pics so other welders can get some ideas?
Post Reply
Jorgesalazar417
  • Posts:
  • Joined:
    Thu Jan 24, 2013 11:04 am
  • Location:
    Branchburg NJ

WTT (Welding Tips & Tricks) has been a great inspiration and learning tool for me so when the web site popped up I was all for it. Forums are great ways to share information and get feedback on things you do and things you want to do and it closes the distance gap on all levels. So after 15 years of cutting wood and making stuff as a home improvement contractor I realized that I needed to learn to weld (especially since my local neighborhood weld shop moved out to Pa) I took a class to be sure to know how much I did not know and at least my wife was happy that I was not going to self teach myself again!

I wanted to share a few things I have been making over the past five years. I caught the welding bug in a big way and like all my hobbies they become engrossing so if its worth doing - do it well! I like to say " go big or go home"

Feel free to make comments and suggestions -

Here is my primary welding rig - Craig's list deal from a farmer out in Pa
Image
Covered in chicken poop I was happy to get it and move into the big leagues

Once home I knew it needed a portable structure and since my "shop" doubles as a place for my wife to keep her car in the cold NJ winters I have to be able to move everything around here is the final draft ( the final version will be painted )

Image

( working out picture posting techniques )

More to follow
Jorgesalazar417
  • Posts:
  • Joined:
    Thu Jan 24, 2013 11:04 am
  • Location:
    Branchburg NJ

My second move into the big boy club was this beauty...
Image
Not a great picture but you get the idea
User avatar
  • Posts:
  • Joined:
    Fri Apr 01, 2011 10:59 pm
  • Location:
    Australia; Victoria

Hey,

Welcome to the forum, Glad to have you. Looks like you have some good gear there. Keep the pictures coming.

Mick
Jorgesalazar417
  • Posts:
  • Joined:
    Thu Jan 24, 2013 11:04 am
  • Location:
    Branchburg NJ

Not pictured are the other machines I have owned or partnered in ... I was half owner on a large Mig miller rig that has been sold ( hence my 211 MVP ) and my Gianttech 3in 1 that I use as a plasma cutter exclusively. I have a craftsman buzz box in the back shed as a paperweight and that pretty much covers the welders.

Welding carts on the other hand are works in progress... Sadly for my savings account a HF moved into the area so it's very tempting to walk around see how crappy the stuff is but then become inspired and think I can make it better and what do i have to lose? 35 bucks for a welding cart - shiiiiooooootttt ill make it work.

I cut the back off and modded it up first phase
Image

Since then I made up holders and organizers...this holds my small tubes
Image


This holds the welding rod tubes
Image

Here is another shot ... It's been reworked a bit since then (always looking for process improvements)

Image

All in all a Master Jody videos have inspired me, scrap in the yard my neighbors hate have supplied me, and team Miller comes through... Life is good :D
User avatar
  • Posts:
  • Joined:
    Fri Apr 01, 2011 10:59 pm
  • Location:
    Australia; Victoria

Hey,

You are clearly a man that doesnt muck around. I like it.

Mick
Ultralow787
  • Posts:
  • Joined:
    Fri Apr 29, 2011 11:30 pm
  • Location:
    Ontario, Canada

Now there is a good use for the HF welding cart! That is a nice set up and some pretty sweet toys you have there!
Thanks for posting!
Perfection is impossible, but if you strive for perfection, excellence is obtainable!

1983 Canox "Sparkler" 225 AC Stick Welder
Hobart 210 MVP MIG Welder
Harris "Spitfire" Oxy-Acetylene Set
delraydella
  • Posts:
  • Joined:
    Mon Apr 25, 2011 7:35 pm
  • Location:
    Detroit, MI

Nice work! I like the swivel out racks in the 1st picture, thats a good idea if you have a lack of space. It's a good idea even if you don't lack for space. The HF cart adapted nicely, too.


Other Steve
WeldingSyncrowave 250,Millermatic 252,30a Spoolgun Cutting12" Hi-speed Cutoff Saw, 9x 12 Horizontal Bandsaw MillingGorton 8d Vertical Mill TurningMonarch EE Precision Lathe GrindingBrown & Sharpe #5 Surface Grinder
User avatar
  • Posts:
  • Joined:
    Thu Jan 06, 2011 11:40 pm
  • Location:
    Near New Orleans

I'm still impressed with the original buy... A synchrowave from a farmer in PA?
Jorgesalazar417
  • Posts:
  • Joined:
    Thu Jan 24, 2013 11:04 am
  • Location:
    Branchburg NJ

Ok gents thanks for reading along. I'd like to share today's evening project - yes it's a Saturday afternoon and of all the things I could be doing I felt like closing out a little job called " mount the fire extinguisher in the FJ" not a real big deal but the extinguisher was a good deal and its been flopping around in the bag of the FJ for months now

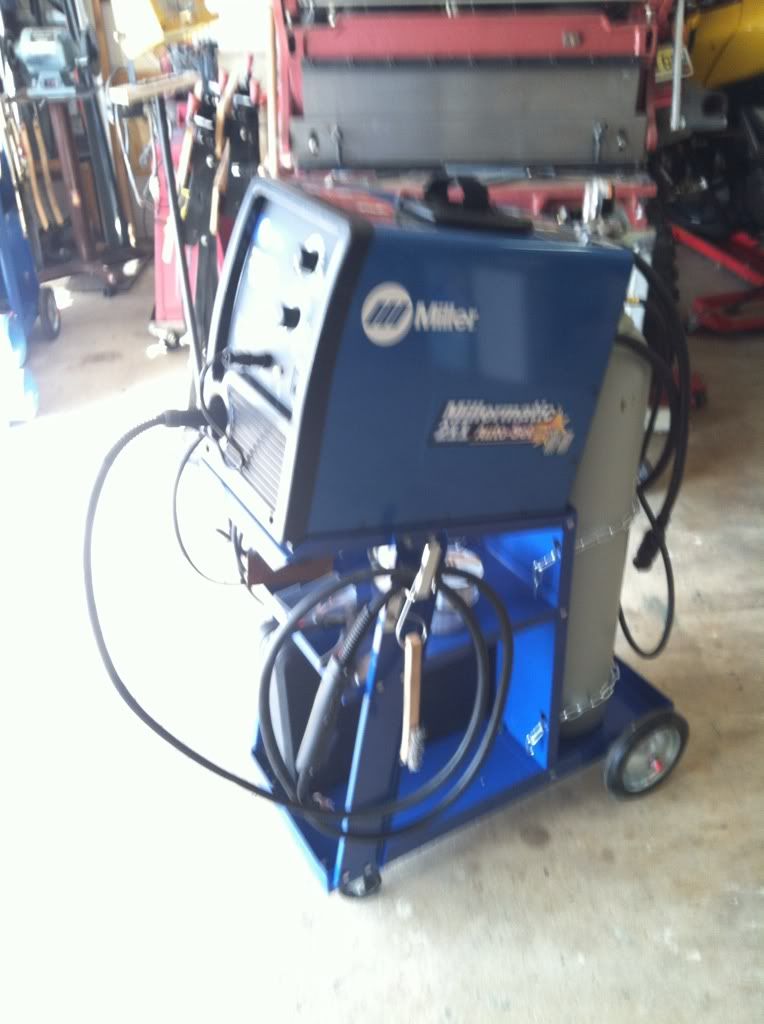
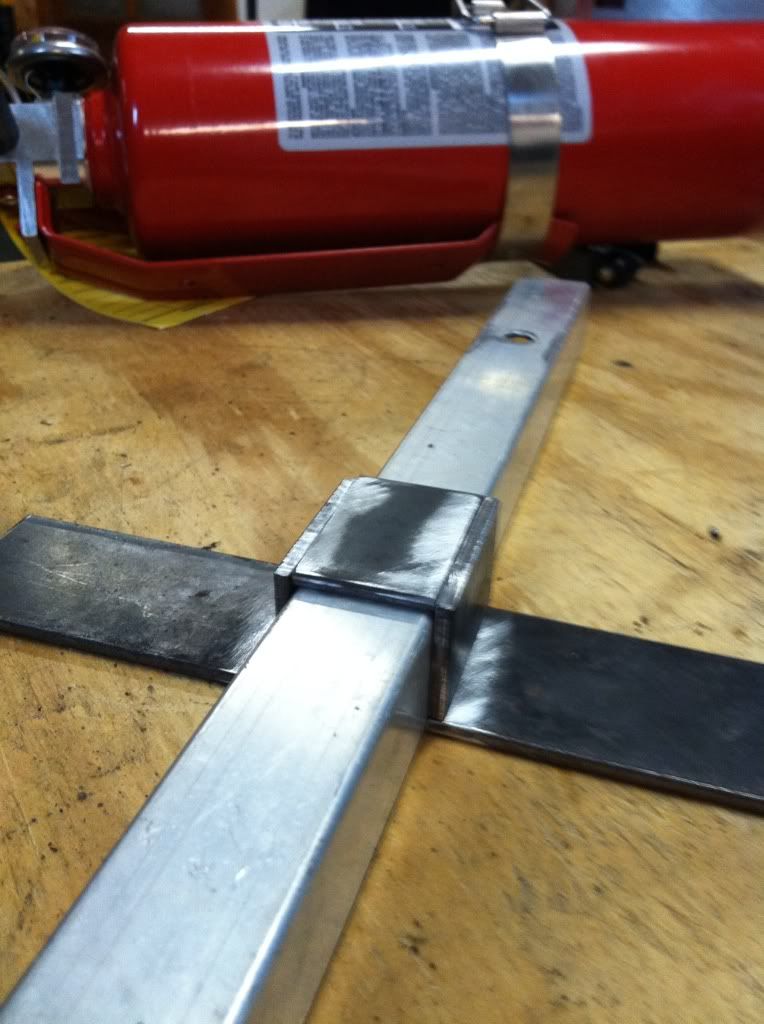
Hit the scrap pile and decided to call on the 211 MVP for the project. The goal was quick and easy, while I was cutting pieces of flat stock I converted the 211 back to steel. Here are my pieces dry on the aluminum tube that is mounted in the FJ

Image

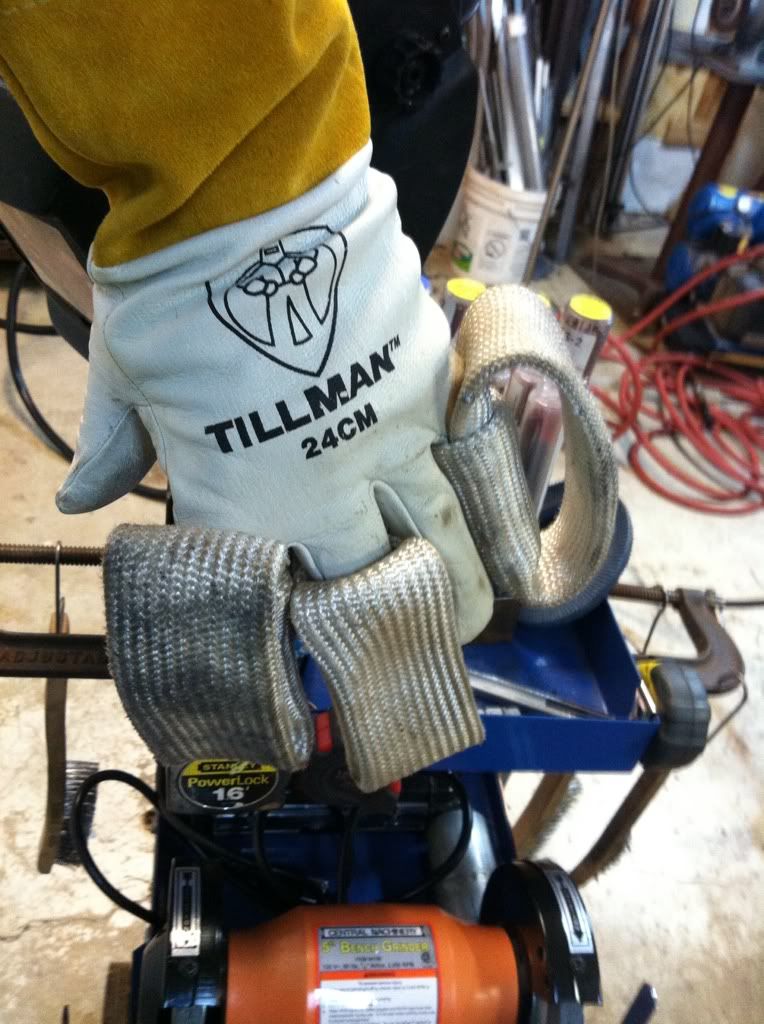
A plug for team leader Jody's tig fingers... Yes I'm gonna mig this up but the fingers are like Super Bowl rings - the problem is they last forever 8-) I just wanted to show them off

Image

Cleaned the edges and tacked it up used the brainless settings - took no time at all -

Image

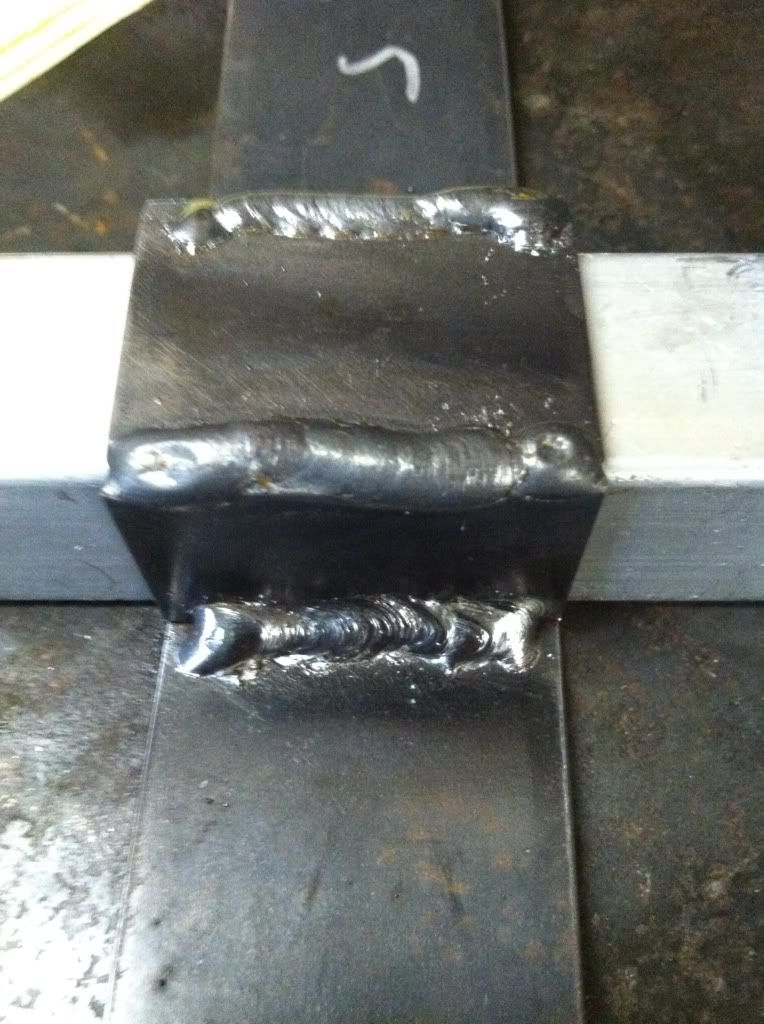
Sure it's ugly, but I was having trouble seeing... The eyes need glasses these days and I put a 1.5 lens in the helmet but it was too hard to focus so I use my reading glasses and well my starts are rough. This is a small piece so the run was over before I had time to focus .

Image

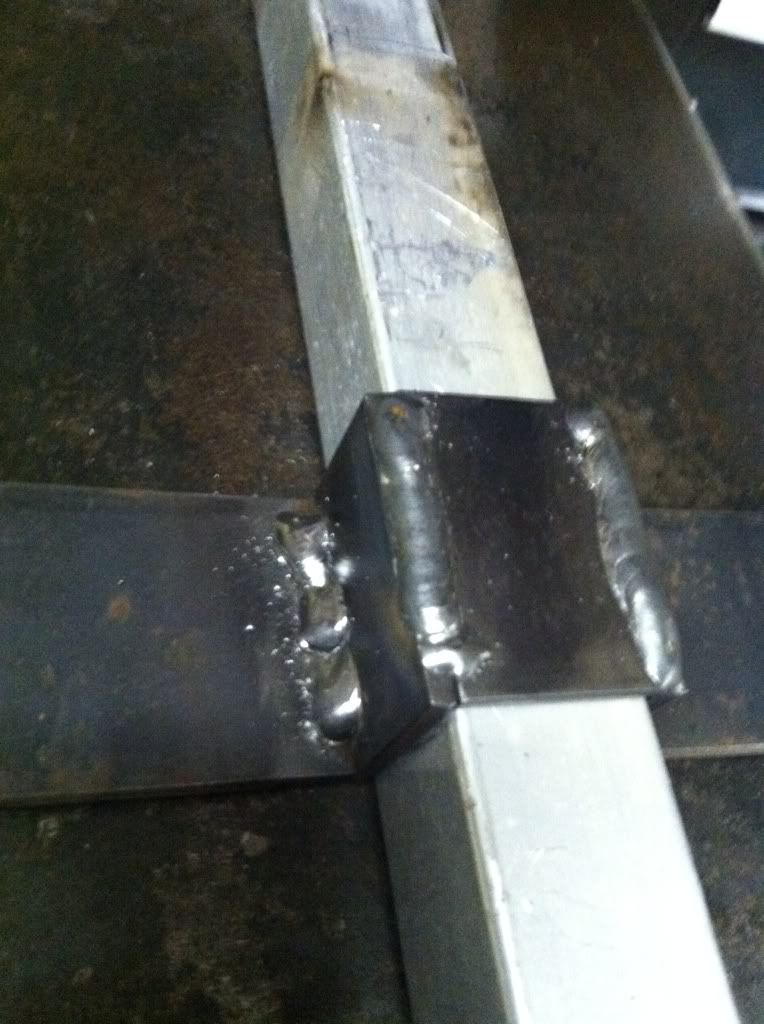
I needed one inch square on the inside so there was no real reason to get too nuts making cuts so long as they would strap around the square tube in the rig. I did tack it on the ends and then filled it in but it twisted crazy eh?

Image

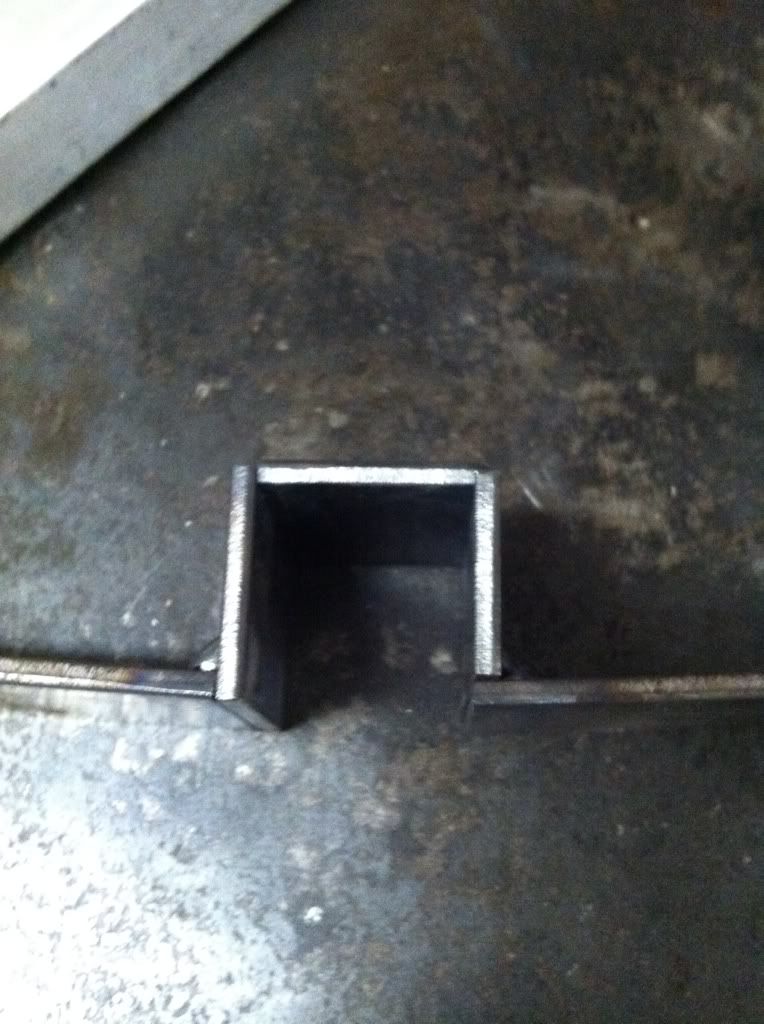
Here is fit up post welding, looks good enough, drill some holes, find some hardware and you see how I'm getting close

Image

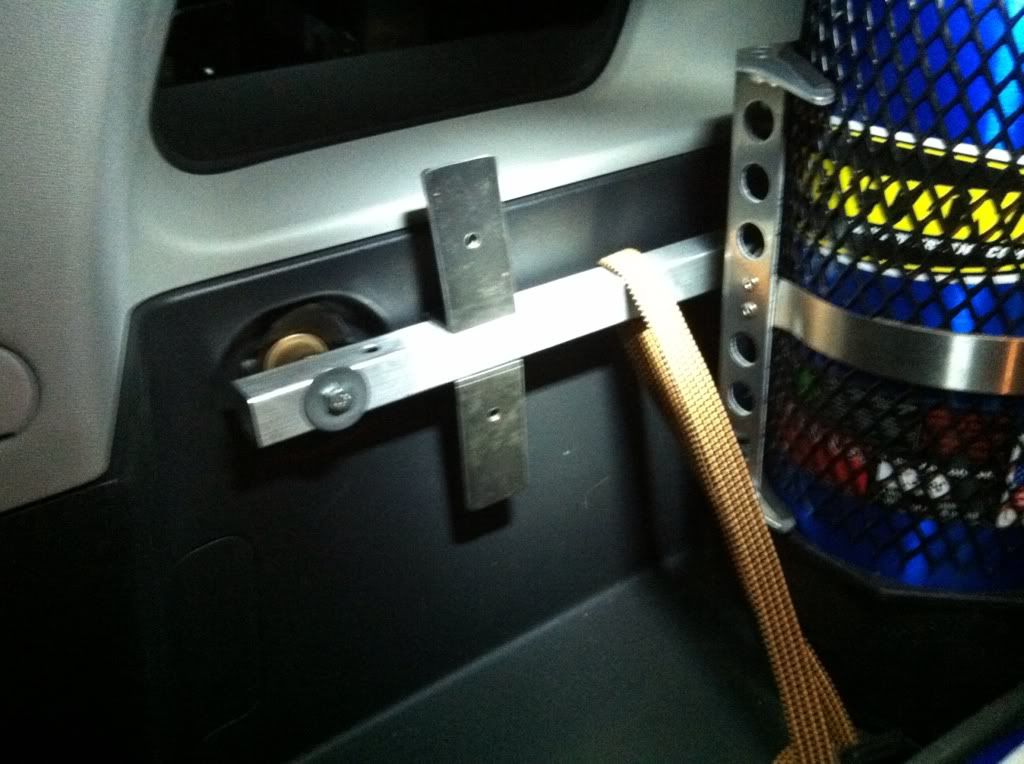
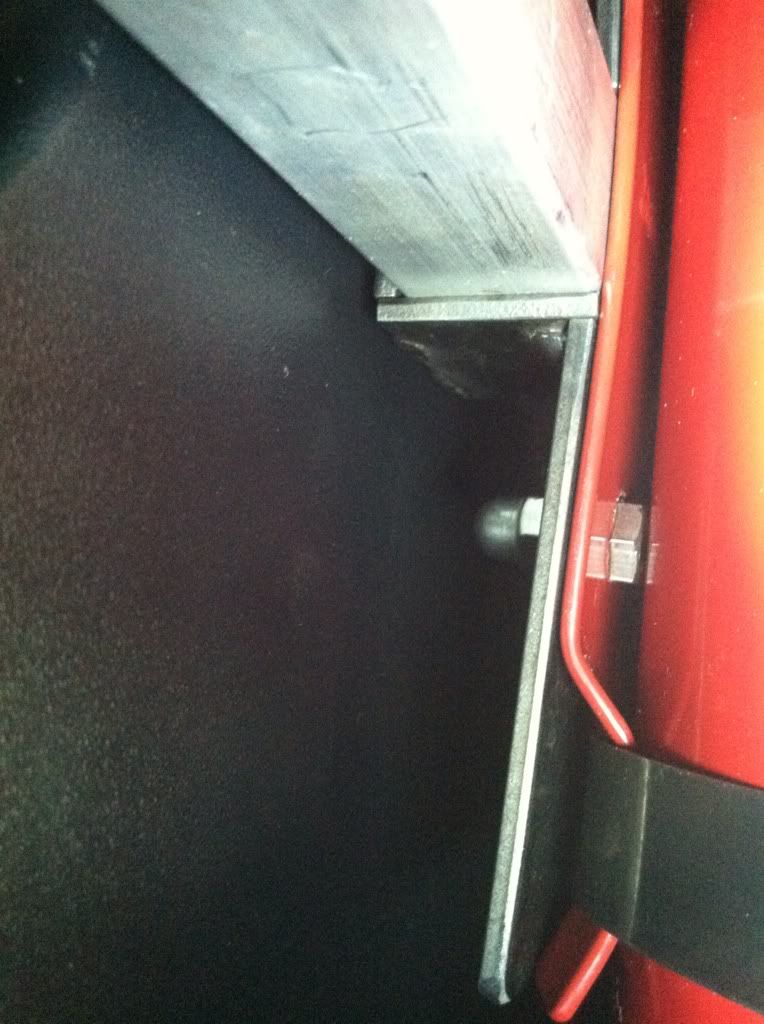
Mounted bracket in rig

Image

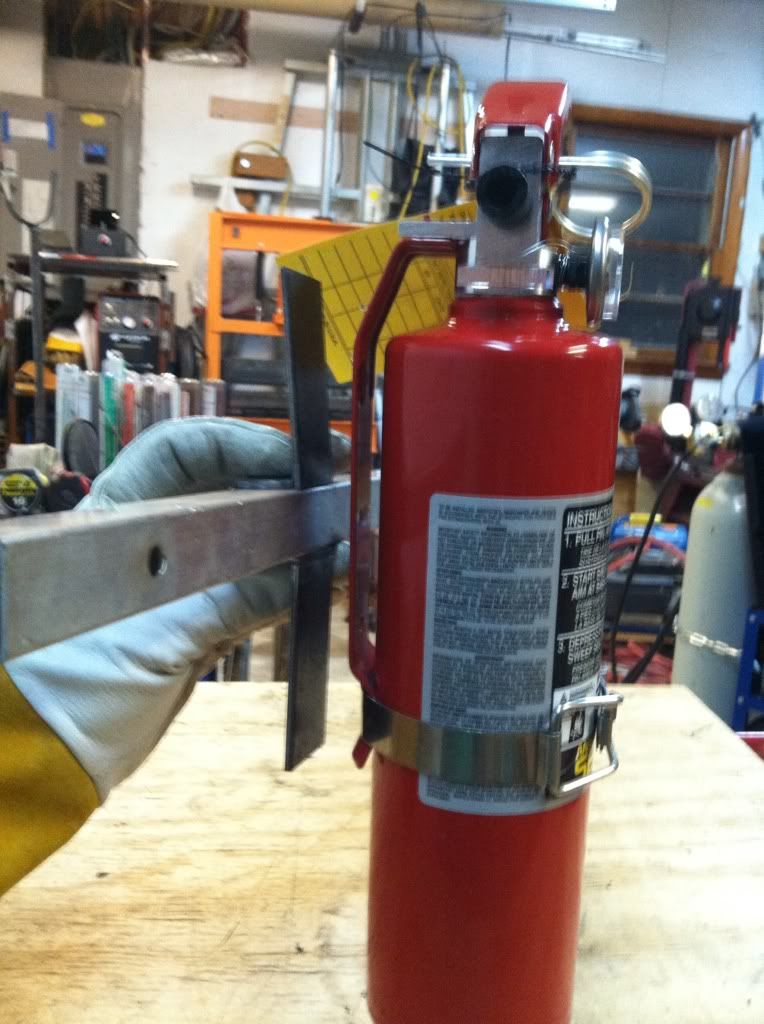
Tight like a tiger! The bracket fit perfect, bolted on the extinguisher and vuala!

Image

The underside, looks good enough...

Image

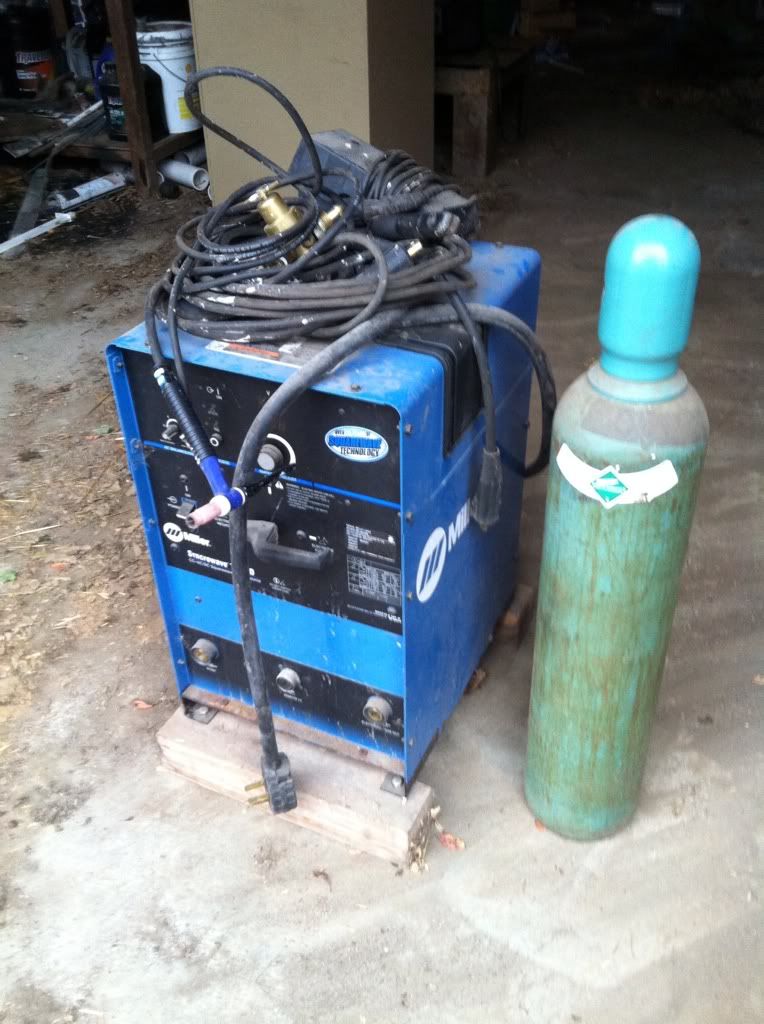
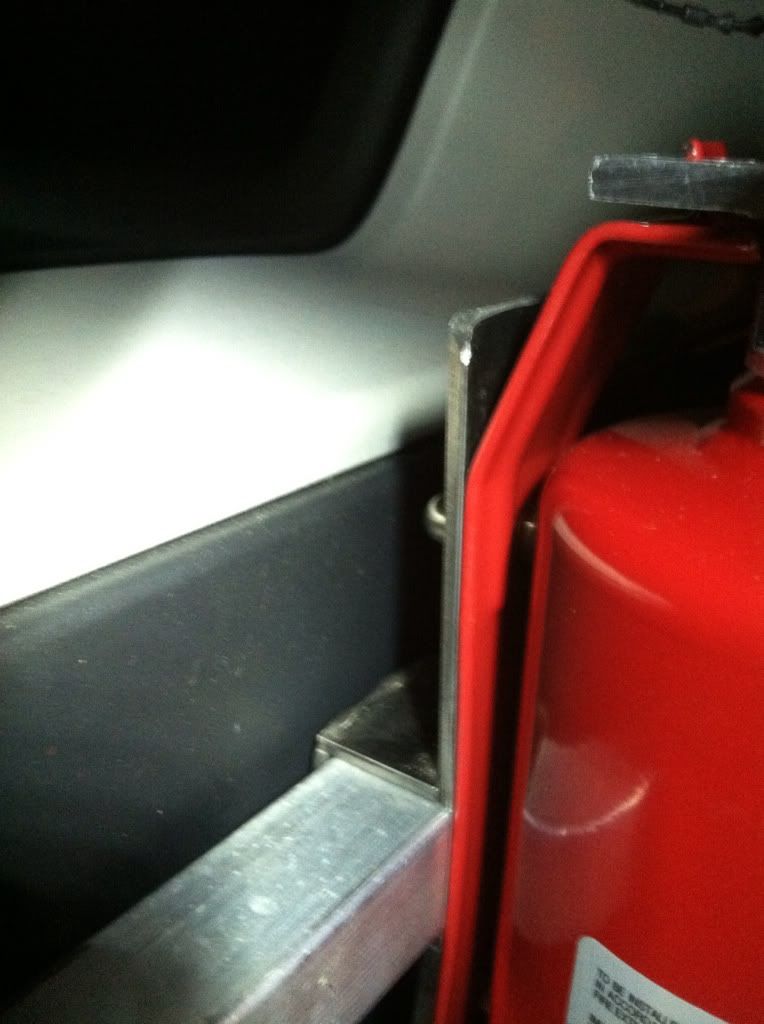
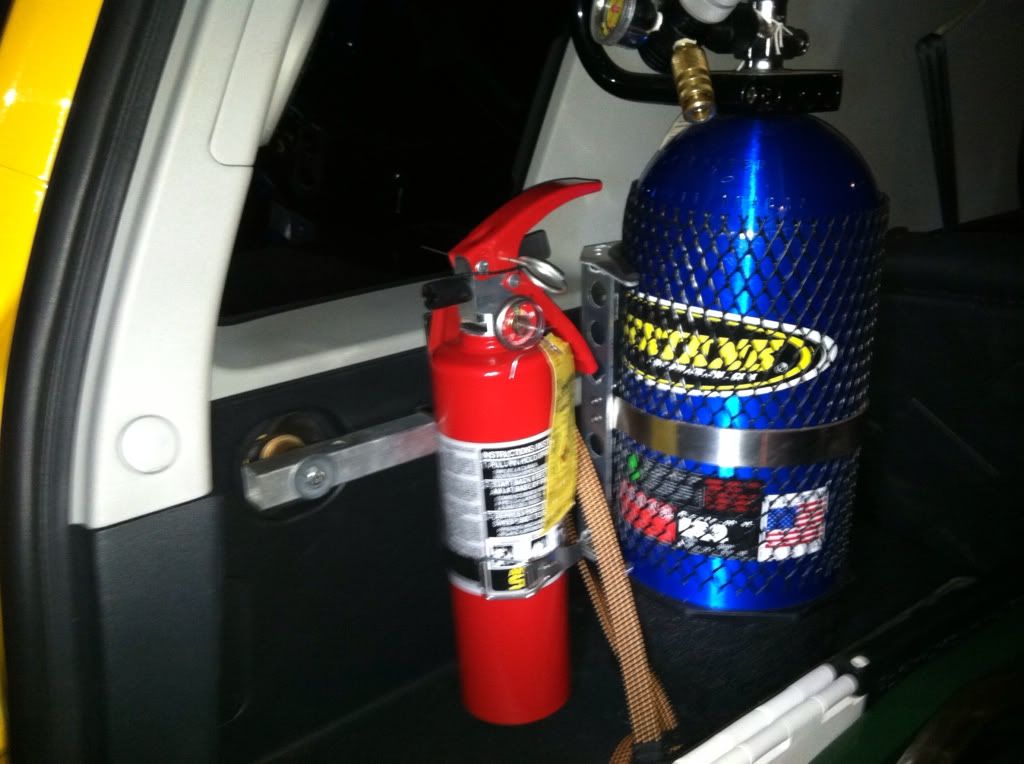
Project complete... Mounted where I can reach it and safe next to my co2 tank that I won in a 4x4 rally dinner :P I never win anything and made up for it big time here...

Image

So that was today's afternoon project ...
User avatar
  • Posts:
  • Joined:
    Thu Jan 06, 2011 11:40 pm
  • Location:
    Near New Orleans

That's nice work!

I have to make a comment on your eyes, though.

I struggled through a 100% x-ray aluminum project using reading glasses, because I was too stubborn to go to the eye doctor.

I since made the visit, and I can SEE!

Just a thought....
CraigLam
  • Posts:
  • Joined:
    Sun Jun 17, 2012 1:52 pm

Hor-Hey, nice Miller. I got my welding certificate last year. I bought a Lincoln sp 140T. I wanted a Miller real bad, but, didn't have the money. Your projects are cool. I like the little projects. There more fun, cost less, and are real helpful around the house. The money you save is unreal. The cost of having something welded nowadays, you can buy a welder and take lessons! And of course, the forums are the best.
TamJeff
  • Posts:
  • Joined:
    Tue Dec 04, 2012 4:46 am

Nice to see project threads going on with a bit of frequency here. Keep up the good work. The world would be a better place if there was more welders. :)
Miller ABP 330, Syncrowave 250, Dynasty 300 DX.
Honorary member of the Fraternity of Faded Tee Shirts.
Jorgesalazar417
  • Posts:
  • Joined:
    Thu Jan 24, 2013 11:04 am
  • Location:
    Branchburg NJ

Thanks for the support men, to Otto I got the eyeballs checked and use lenses for close up 1.5 min I can use more to really see but as I look around the room or further than arms length it makes you dizzy, I tried losing the glasses and putting a lens in the helmet but it makes me dizzy too so it's a rough call... A larger set of glasses seems to work i guess ...I have you get used to being older.

Little projects are my specialty and you might notice I don't actually "finish" stuff as in paint things but I don't because its winter and I don't have much luck with stuff drying in the garage in winter.

Here was a fun one ... Wife and I went Christmas tree shopping. A first for me since my parents did artificial tree and I carried on with that until this year. Tried a real tree... We picked it out, they wrapped it up and then Kathy says we need a tree stand as she flips a tag over on a floor model... 75 bucks!? No way I say- I can make a better one! She's pretty happy about the the fact that I gave in on the tree so I get the "ok- maybe you can make something" short drive home I am inspired...

I figure it needs to be able to hold the tree and witdthsatnd the cat (her first holiday season) and accommodate a water pan... I got this ... One trip to the inventory pile and here you go...

Image

Good guess that is the base from my old recliner which I scrapped except for the metal base, my motto never throw away a good piece of metal! Back to the inventory pile and I pulled a short piece of square tubing and a longer piece that fits inside the other, tacked it up and found a bucket...

You can see the welded version here ...

Image

And finally mount the tree... The limbs of the tree did not get in the way of the tree stand too much and a few zip ties and there you go...

Image

Yeah it's not decorated or even in the living room but I promise this took no time at all, leaving it rusty made it blend with the tree bark and the wife had Some apron thing for the base of the tree and well I was the holiday hero! Team WTT strikes again! Totally saved 75 bucks and I amazed myself ;)
Post Reply